DIY Stucco Fireplace: Complete Guide to Building Your Own
Transform your living space with a custom stucco fireplace. Our comprehensive guide walks you through every step of the process, from planning to finishing touches.
A stucco fireplace adds timeless elegance and architectural interest to any home. With its textured finish and versatile design options, stucco has been used for centuries to create beautiful, durable fireplace surrounds. Whether you're looking to enhance a modern living space or add character to a rustic room, a DIY stucco fireplace project can be accomplished with the right materials, tools, and techniques.
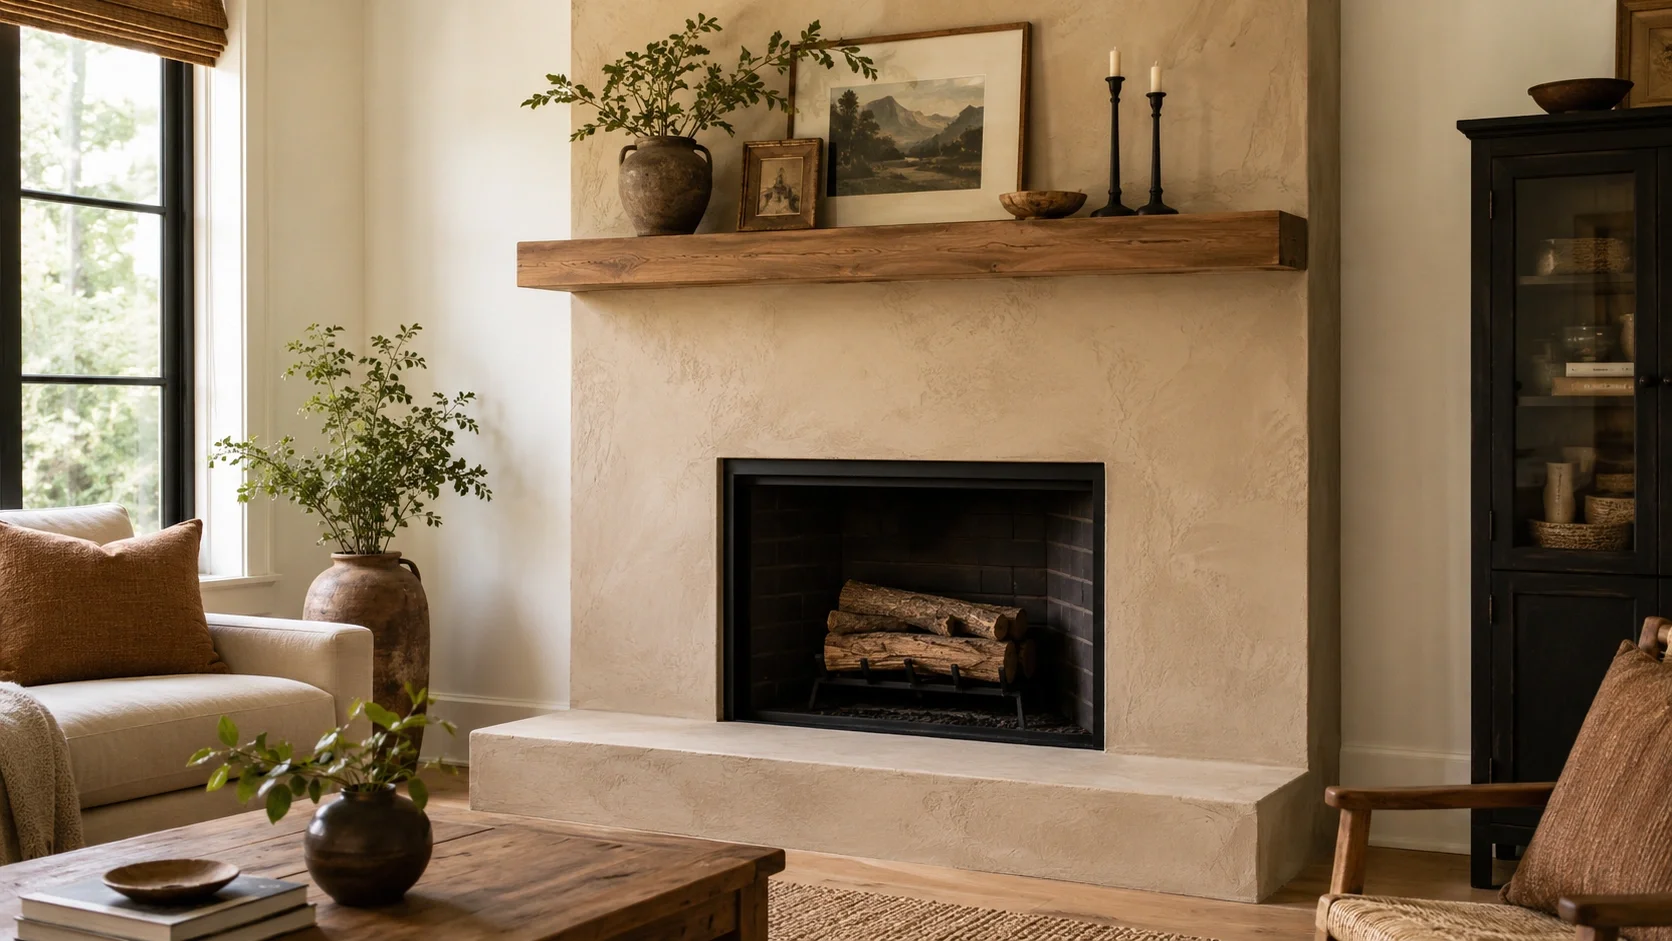
Why Choose Stucco for Your Fireplace?
Stucco offers numerous advantages that make it an excellent choice for fireplace surrounds. Its unique properties and aesthetic versatility have made it a popular option for homeowners looking to create a distinctive look:
- Durability: Stucco is extremely resistant to fire, making it one of the safest materials for fireplace applications. It can withstand high temperatures without cracking or deteriorating.
- Versatility: Available in various colors and textures, stucco can be customized to match any interior design style, from smooth modern finishes to textured rustic appearances.
- Cost-effectiveness: Compared to natural stone or brick, stucco is generally more affordable while still providing a high-end appearance.
- Low maintenance: Once properly sealed, stucco requires minimal upkeep and can last for decades without significant repairs.
- Thermal mass: Stucco has excellent thermal properties, helping to radiate heat into the room after the fire has died down.
- Customization: Unlike pre-fabricated options, a DIY stucco fireplace allows for complete customization in shape, size, and design elements.
When considering different fireplace surround materials, stucco stands out for its balance of beauty, practicality, and affordability. It's particularly well-suited for those who want a unique look that can't be achieved with standard off-the-shelf products.
Planning Your Stucco Fireplace Project
Before diving into your DIY fireplace project, careful planning is essential for success. Consider these key factors:
Design Considerations
Determine the overall style you want to achieve. A smooth finish with clean lines works well for modern fireplace ideas, while a textured surface with organic shapes complements rustic designs. Consider how the fireplace will integrate with the rest of the room's architecture and decor elements.
Size and Proportions
The fireplace should be proportionate to the room size. For larger spaces, consider incorporating a substantial mantel and extending the stucco work to include a hearth extension. In smaller rooms, a more compact design with minimal embellishments will prevent the space from feeling overwhelmed.
Fireplace Type Compatibility
Stucco can be applied to various fireplace types, including wood-burning, gas, and electric fireplaces. However, the underlying structure and preparation will differ based on the heat output and ventilation requirements of each type.
💡 Pro Tip
Visit local showrooms or browse online galleries to gather inspiration before finalizing your design. Create a mood board with images of stucco fireplaces that appeal to you to help guide your project.
Materials and Tools Needed
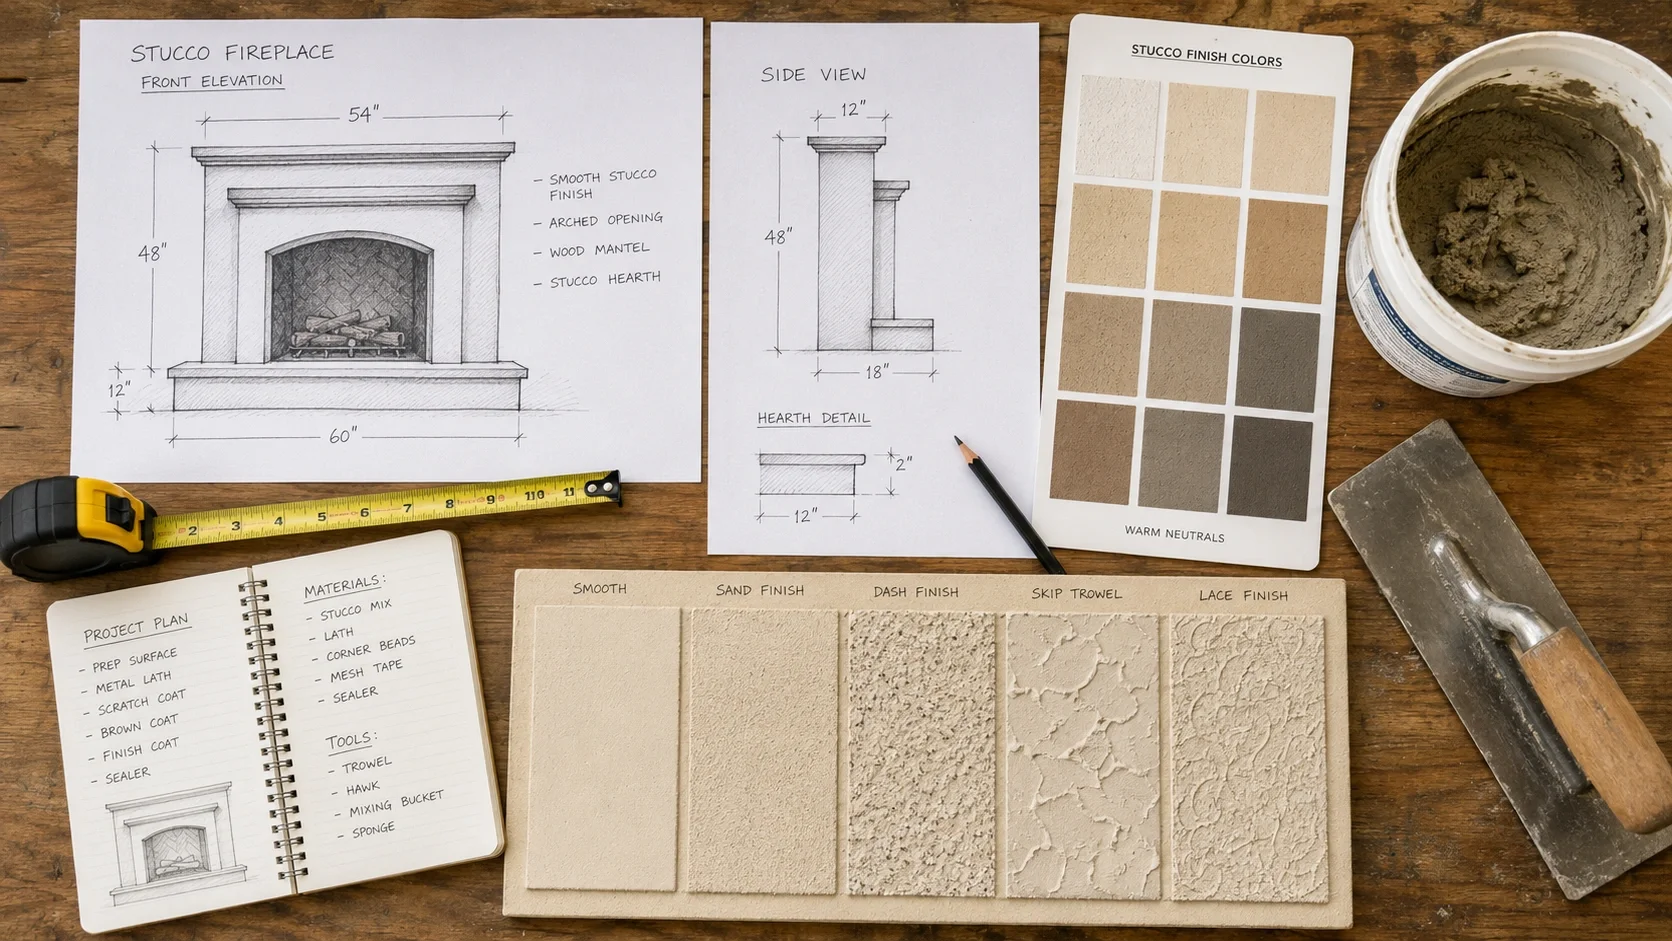
Gathering the right materials and tools before starting your project will help ensure a smooth process and professional results. Here's what you'll need:
Essential Materials
- Stucco mix (traditional or synthetic)
- Metal lath (expanded or woven)
- Scratch coat ingredients (cement, sand, water)
- Brown coat ingredients
- Finish coat stucco
- Wire mesh or lathe nails
- Concrete bonding agent
- Waterproofing sealer
- Pigment (if custom coloring desired)
Tools Required
- Trowels (various sizes)
- Hawk (for holding and applying stucco)
- Mixing drill with paddle attachment
- Mixing tub or wheelbarrow
- Sponges and float
- Level and straight edge
- Tin snips (for cutting metal lath)
- Hammer and nail gun
- Safety equipment (gloves, goggles, mask)
- Spray bottle for moisture control
Optional Enhancements
- Decorative molds or stamps
- Aggregate for texture variation
- Integral color additives
- Reinforcement fibers
- Expansion joints
- Corner beads
- Control joints
- Seamless texture rollers
- Specialty trowels for unique textures
Cost Breakdown
One of the advantages of a DIY stucco fireplace is its cost-effectiveness compared to hiring a professional or using premium materials like natural stone. Here's a typical cost breakdown for a standard stucco fireplace project:
| Item | Estimated Cost |
|---|---|
| Stucco materials (all coats) | $150-$300 |
| Metal lath and fasteners | $50-$100 |
| Tools (if not already owned) | $100-$250 |
| Waterproofing sealer | $30-$50 |
| Pigments or decorative elements | $20-$80 |
| Miscellaneous supplies | $30-$60 |
| Total Estimated Cost | $380-$840 |
This is significantly less than the $2,500-$5,000+ you might pay for professional installation or the $3,000-$8,000 cost of natural stone surrounds. However, keep in mind that costs can vary based on the size of your project, quality of materials chosen, and any additional design elements you wish to incorporate.
💡 Cost-Saving Tip
Consider renting specialized tools like mixing drills or texture rollers instead of purchasing them if you don't anticipate using them regularly. Many home improvement stores offer daily rentals at a fraction of the purchase price.
Step-by-Step Installation Guide
Now that you have your materials and a clear plan, it's time to begin the installation process. Follow these detailed steps for a successful stucco fireplace project:
Prepare the Surface
Begin by ensuring the existing fireplace structure is sound and free of any loose materials. For new construction, this means having a solid masonry or framed wall in place. For renovations, remove any existing finish down to the bare substrate.
Clean the surface thoroughly, removing dust, debris, and any substances that might prevent proper adhesion. Apply a concrete bonding agent to improve the bond between the existing surface and the new stucco.
Ensure the area around the fireplace is protected with drop cloths or plastic sheeting to prevent damage from splatters and debris.
Install Metal Lath
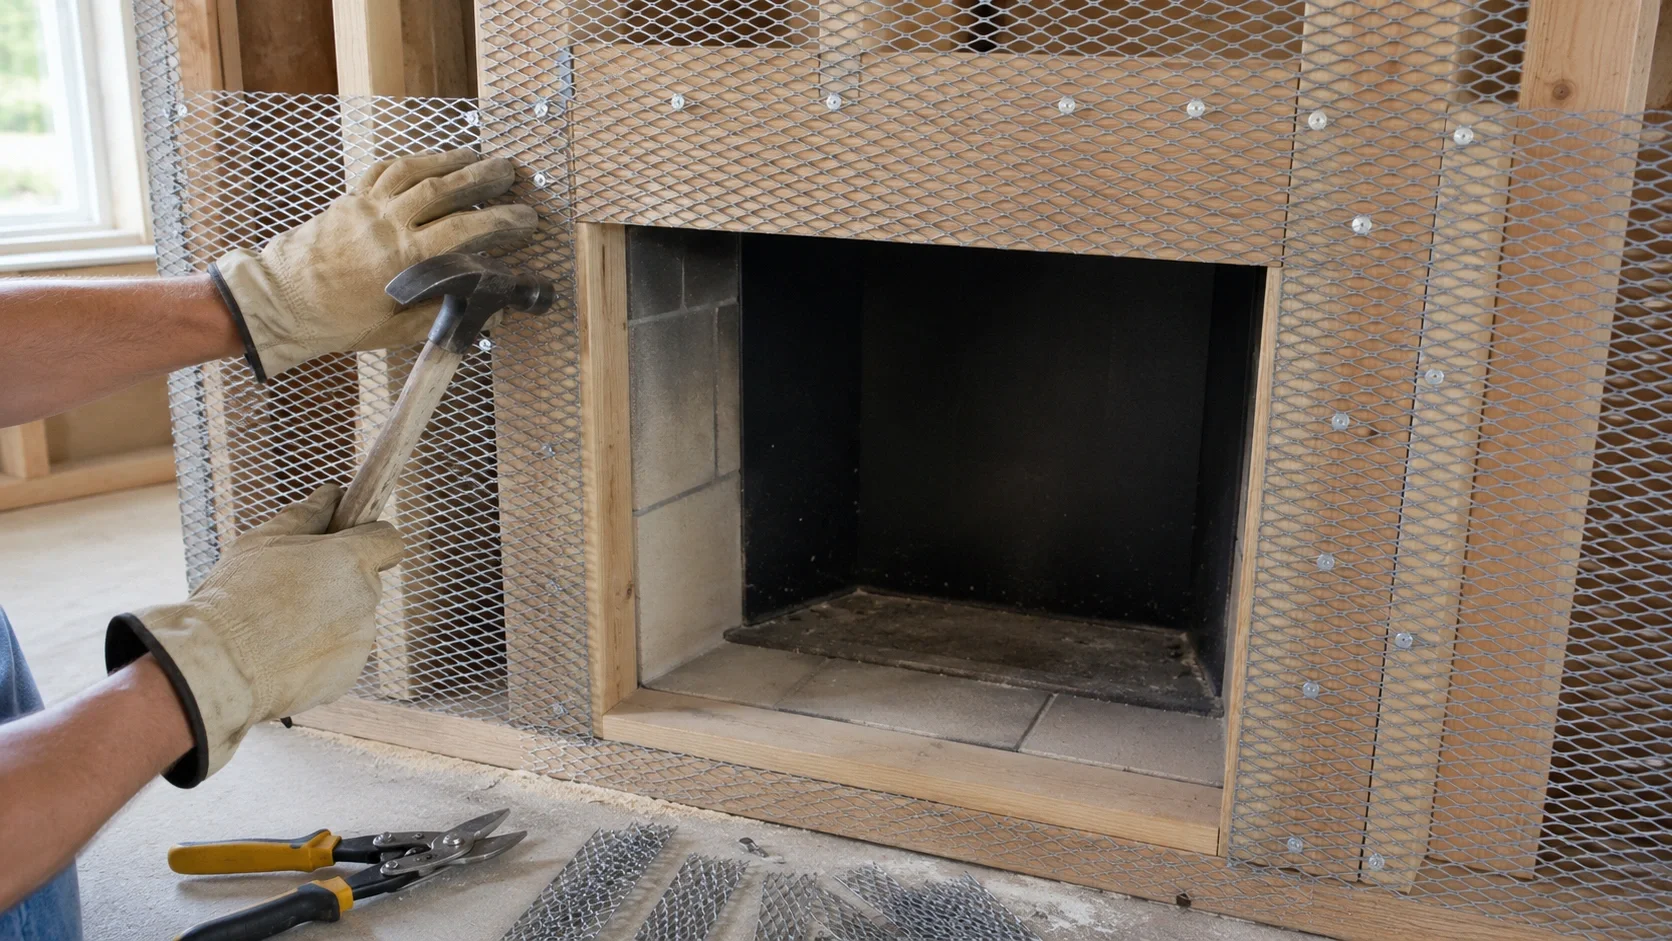
Cut the metal lath to size using tin snips, allowing for a slight overlap at joints. Attach the lath to the surface using appropriate fasteners, ensuring it's securely fastened at regular intervals (typically every 6-8 inches).
The lath should be installed with the rough side facing out to provide better grip for the stucco. Overlap seams by at least 2 inches and ensure there are no gaps or loose areas.
⚠️ Safety Warning
Metal lath has sharp edges that can cause serious cuts. Always wear heavy-duty gloves when handling and cutting metal lath. Eye protection is also essential to prevent metal shards from causing injury.
Apply the Scratch Coat
Mix the scratch coat according to the manufacturer's instructions. This first layer typically consists of one part cement to three parts sand, with enough water to create a workable consistency.
Apply the mixture to the lath using a trowel, pressing firmly to ensure it penetrates the lath openings. The coat should be about 3/8 inch thick. Once applied, use a notched trowel or scratcher to create horizontal grooves in the surface. These grooves help the next layer adhere properly.
Allow the scratch coat to cure for at least 24-48 hours, keeping it slightly moist by misting with water periodically to prevent too-rapid drying.
Apply the Brown Coat
After the scratch coat has properly cured, mix the brown coat, which has a similar composition to the scratch coat but may contain slightly more cement for added strength.
Apply this second layer to a thickness of about 3/8 inch, smoothing it with a trowel to create a relatively even surface. This layer provides the structural body of the stucco and creates the base for the final finish.
Allow the brown coat to cure for 5-7 days, maintaining moisture by misting regularly. This extended curing time is crucial for developing the strength needed to support the final coat.
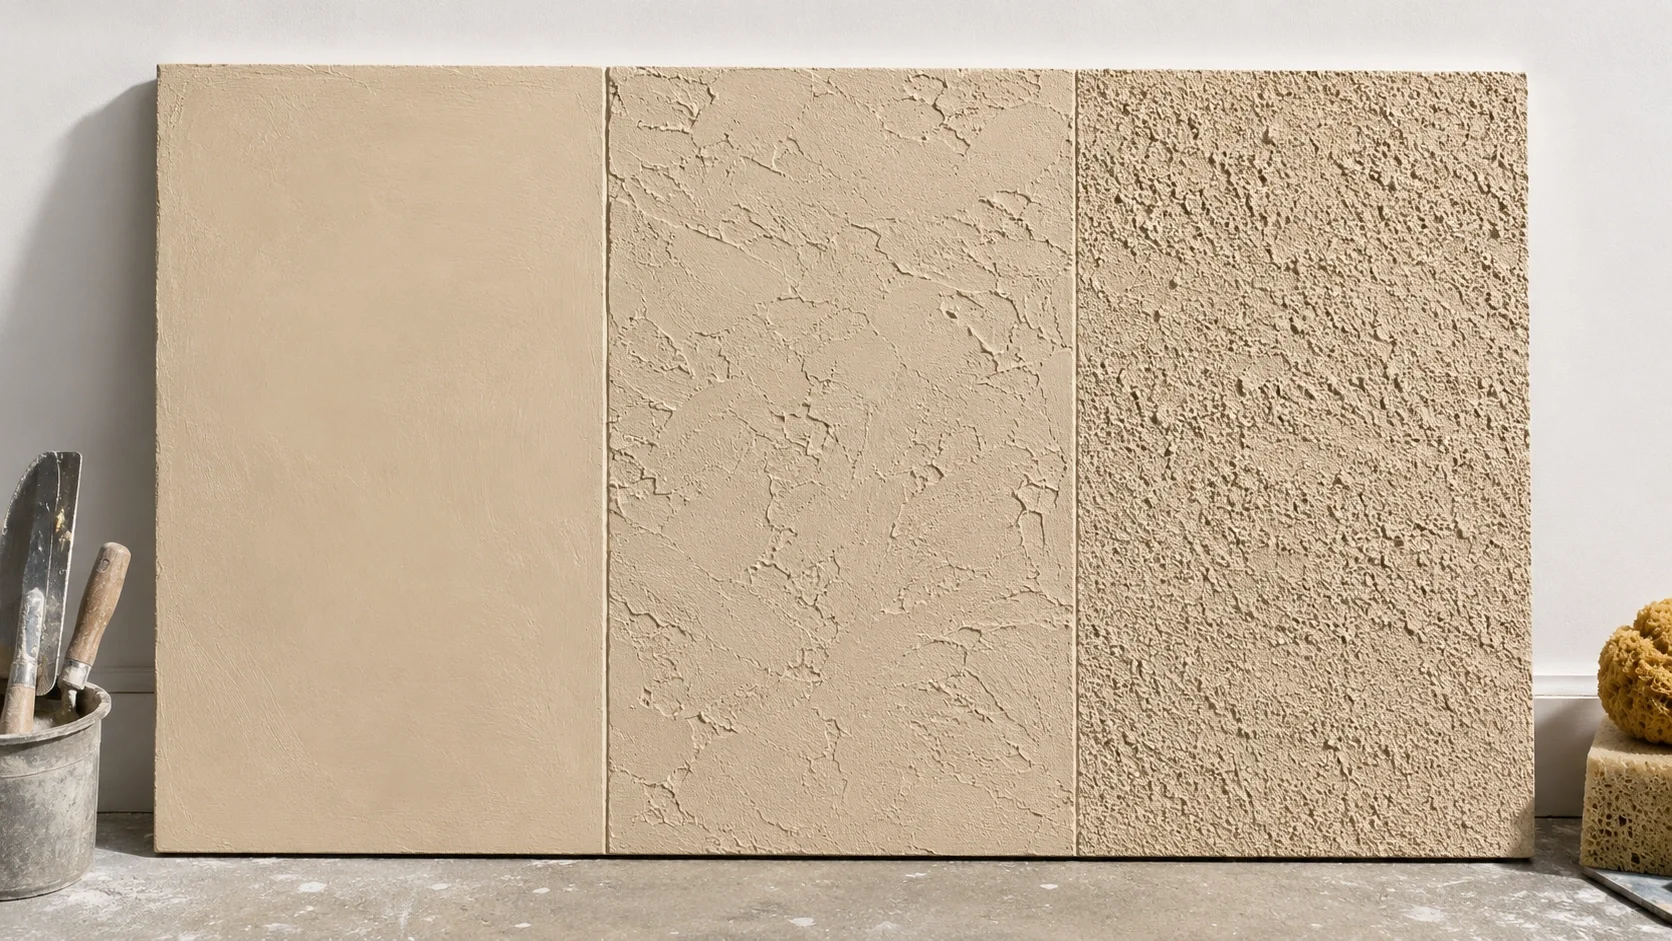
Apply the Finish Coat
The finish coat is where your stucco fireplace will take on its final appearance. This layer is typically thinner (about 1/8 to 1/4 inch) and contains finer sand for a smoother texture.
Mix the finish coat material according to the manufacturer's instructions, adding any pigment if you're creating a custom color. Apply this final layer using your chosen technique:
- For a smooth finish, use a steel trowel and apply even pressure
- For a textured finish, use a sponge, brush, or specialized texture roller
- For a skip-trowel texture, apply with inconsistent pressure to create variations
- For a patterned finish, use stamps or molds while the material is still workable
Work in small sections to maintain consistency across the entire surface. Blend sections together while the edges are still workable to avoid visible seams.
Cure and Seal
Allow the finish coat to begin curing for at least 48-72 hours, misting periodically to prevent rapid drying. After this initial curing period, apply a high-quality waterproofing sealer specifically formulated for stucco surfaces.
The sealer will protect your finished fireplace from moisture penetration, staining, and minor damage while enhancing the color and texture. Apply according to the manufacturer's instructions, typically using a roller or sprayer in thin, even coats.
Allow the complete stucco system to fully cure for at least 28 days before exposing it to high heat from fires, though decorative fireplaces can be enjoyed immediately.
Design Variations and Ideas
One of the greatest advantages of a DIY stucco fireplace is the ability to customize the design to perfectly suit your space. Here are some popular design variations to consider:
Integrated Shelving
Incorporate built-in shelving on either side of the fireplace for a cohesive look. This works particularly well in living room designs where storage and display space is valued. The shelves can be formed as part of the stucco structure or added as separate elements that appear integrated through color and texture matching.
Arched Design
An arched opening adds architectural interest and can make a traditional fireplace feel more authentic and refined. The curve can be subtle or dramatic, depending on your preference and the style of your home.
Textured Accent Areas
Create visual interest by using different textures in specific areas. For example, you might use a smooth finish on the main surround but add a rougher, more textured treatment to the hearth or a decorative panel above the firebox.
Color Blocking
Use contrasting colors in different sections of the fireplace to create a modern, graphic look. This technique works particularly well with minimalist designs where clean lines and bold contrasts are featured.
Integrated Lighting
Plan for recessed lighting in the stucco surround to highlight the texture and create ambiance. This is especially effective when combined with a mirror above the fireplace to amplify the light effect.

Maintaining Your Stucco Fireplace
Proper maintenance will ensure your stucco fireplace remains beautiful and functional for decades. Follow these maintenance guidelines to protect your investment:
- Regular Inspection: Examine your stucco fireplace at least twice a year for any cracks, chips, or areas of damage. Early detection of issues allows for simple repairs before they become major problems.
- Gentle Cleaning: Clean the surface annually using a soft brush and mild detergent solution. Avoid pressure washing, which can damage the stucco surface and force water behind the finish coat.
- Seal Reapplication: Reapply waterproofing sealer every 3-5 years, or more frequently in high-humidity environments or if you notice water absorption rather than beading on the surface.
- Crack Repair: Address hairline cracks promptly by cleaning the area, applying a stucco repair compound, and blending with the surrounding surface. Larger cracks may indicate structural issues that should be evaluated by a professional.
- Moisture Management: Ensure proper ventilation around the fireplace and address any moisture issues in the surrounding area. Excessive moisture is the primary enemy of stucco longevity.
- Paint Consideration: If you choose to paint your stucco fireplace, use a high-quality masonry paint specifically formulated for stucco surfaces. Be aware that painting makes future maintenance more challenging, as the paint must be removed before reapplying stucco repairs.
Common Mistakes to Avoid
Learning from others' experiences can help you avoid costly and frustrating mistakes. Here are the most common pitfalls in DIY stucco fireplace projects:
Improper Surface Preparation
Rushing through the preparation phase is perhaps the most common mistake. Inadequate cleaning, failure to apply bonding agent, or improperly installed lath will result in poor adhesion and eventual failure of the stucco system.
Inadequate Curing Time
Not allowing sufficient curing time between coats is a frequent error that compromises the strength and durability of the finished product. Each layer needs proper time to cure before the next is applied.
Inconsistent Mixing
Not mixing stucco thoroughly or consistently between batches can result in variations in color, texture, and strength. Always follow the same mixing procedure and ratios for each batch.
Ignoring Climate Conditions
Working in extreme temperatures (too hot, too cold, or too humid) can affect how the stucco cures and performs. Ideal conditions are between 50°F and 90°F with moderate humidity. Avoid working in direct sunlight if possible, as rapid drying can cause cracking.
Skipping the Sealer
Failing to apply a quality waterproofing sealer leaves your stucco vulnerable to moisture penetration, staining, and premature deterioration. This final step is crucial for long-term performance.
⚠️ Important Note
While a DIY stucco fireplace is achievable for many homeowners, if you're unsure about any aspect of the project—especially regarding ventilation requirements or fire safety—consult with a professional. The decision between DIY and professional installation should be based on your skill level and the complexity of your specific project.
Transform Your Space with a Custom Stucco Fireplace
A DIY stucco fireplace offers an excellent opportunity to add character, value, and warmth to your home. With proper planning, quality materials, and careful execution, you can create a stunning focal point that reflects your personal style and enhances your living space for years to come.
Whether you're drawn to the smooth elegance of a modern design or the textured charm of a rustic aesthetic, stucco provides the versatility to bring your vision to life. The relatively low cost of materials compared to the high-end appearance makes this one of the most rewarding DIY fireplace projects you can undertake.
By following the guidelines in this comprehensive tutorial and avoiding common mistakes, you'll be well-equipped to tackle this project with confidence. The result will be a unique, handcrafted fireplace that becomes the heart of your home and a source of pride for years to come.