
Fall Fireplace Inspection: Your Complete Safety Checklist
A thorough fall inspection ensures your fireplace operates safely and efficiently throughout the heating season. Don't wait until the first cold night to discover problems.
VIEW THE CHECKLISTWhy This Matters: The National Fire Protection Association reports that failure to clean chimneys and fireplaces is one of the leading causes of home heating fires. A fall inspection catches hidden hazards before they become emergencies, saving you from costly repairs and protecting your family's safety.
Why a Fall Fireplace Inspection Is Critical
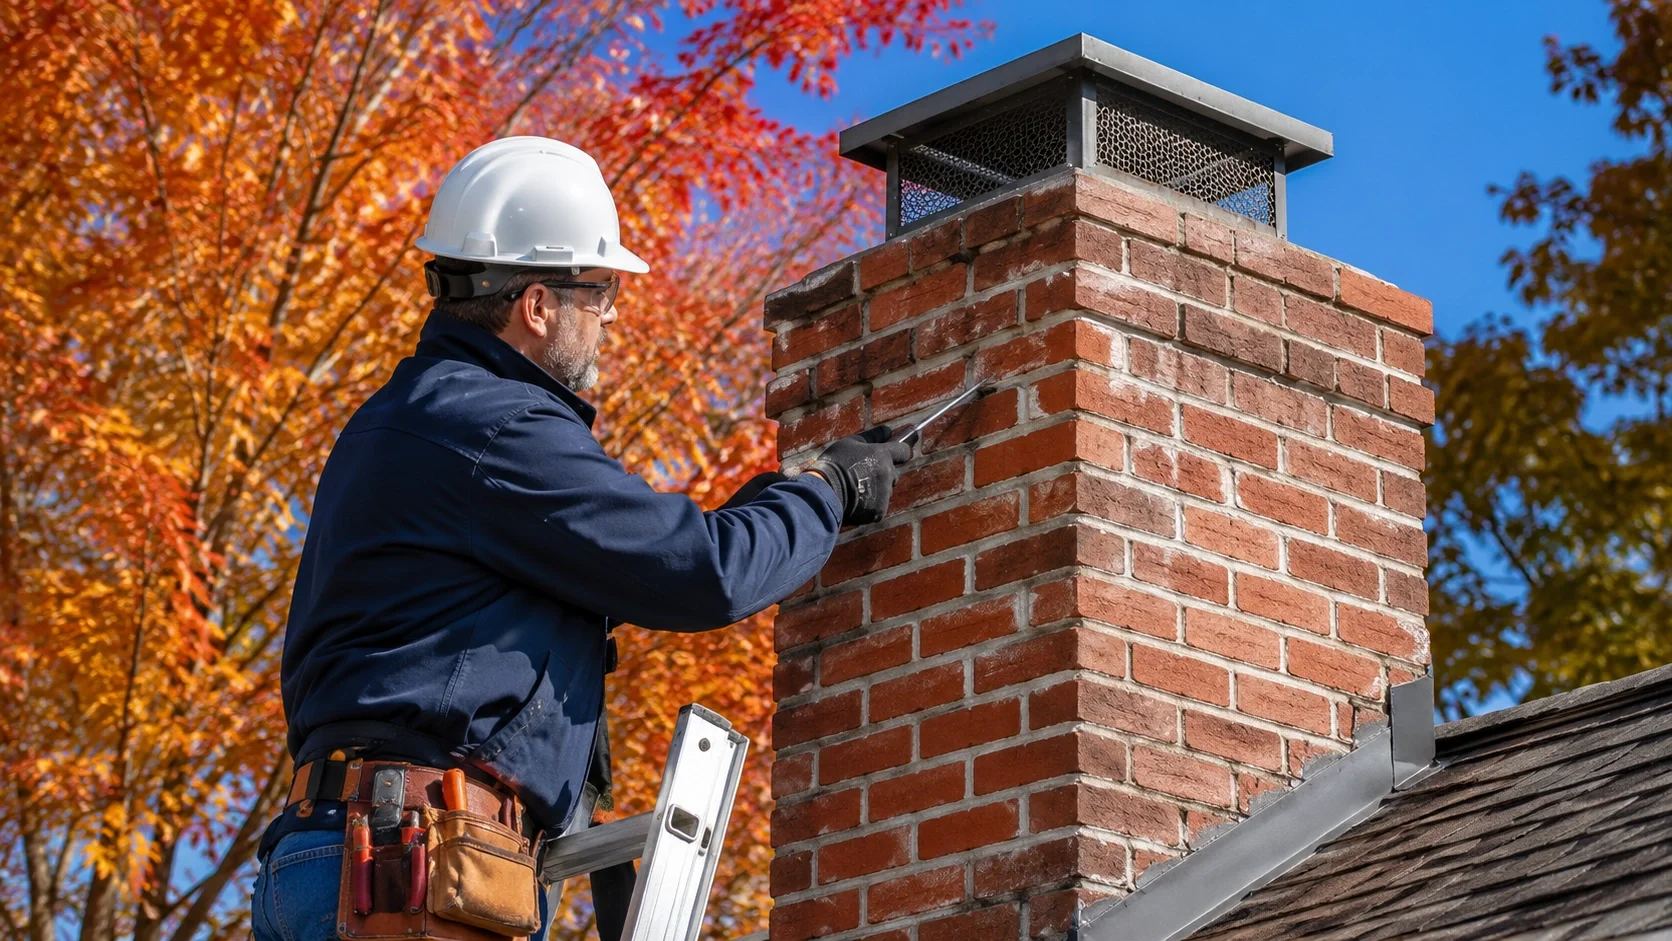
Fall is the most important time to inspect your fireplace. After months of disuse during summer, debris can accumulate in the chimney, moisture may have caused cracks or deterioration, and animals sometimes build nests in the flue. Ignoring these issues before firing up your fireplace on the first cold evening can lead to chimney fires, carbon monoxide leaks, and expensive structural damage.
A proper seasonal fireplace checklist goes beyond a quick visual glance. It involves systematically evaluating the exterior, interior, venting, safety devices, and fuel-specific components of your hearth. Whether you own a wood-burning, gas, or electric fireplace, each type has unique inspection requirements that must be addressed before the heating season begins.
According to the Chimney Safety Institute of America, homeowners should have their chimneys inspected at least once per year. Fall is the ideal time because it allows you to schedule repairs before harsh winter weather makes access difficult and before chimney cleaning professionals are booked solid.
💡 Pro Tip: Schedule your fall inspection in September or early October. Chimney sweeps get extremely busy from late October through December, and appointment availability shrinks while prices often increase. Early booking saves both time and money.
Complete Fall Fireplace Inspection Checklist
This comprehensive checklist covers every component you need to inspect before using your fireplace this heating season. Follow each step carefully, and document any issues you find for professional follow-up.
Exterior & Chimney Check
- Inspect chimney cap for damage or missing sections
- Check chimney crown for cracks or crumbling mortar
- Examine brickwork and mortar joints for deterioration
- Look for water stains or efflorescence (white powder)
- Verify chimney flashing is sealed and intact
- Check for animal nests or debris at the top
- Ensure vegetation is at least 10 feet from chimney
Interior Firebox Inspection
- Check firebox bricks for cracks, gaps, or loose mortar
- Inspect the smoke shelf for creosote or debris buildup
- Look for signs of water damage or rust inside the firebox
- Examine the ash dump and clean-out door
- Check for warped or damaged refractory panels
- Remove ash and debris from previous season
Damper & Venting System
- Open and close the damper to check smooth operation
- Inspect damper for rust, warping, or debris obstruction
- Verify the damper seals tightly when closed
- Check flue liner for cracks or gaps (use flashlight)
- Look for creosote buildup inside the flue
- Test for proper draft by holding smoke near the opening
Gas Components (Gas Fireplaces)
- Inspect gas line connections for leaks (soapy water test)
- Check pilot light assembly and thermocouple
- Examine burner ports for blockages or corrosion
- Test ignition system (electronic or manual)
- Verify gas valve operation and shut-off access
- Inspect log placement per manufacturer specifications
Electrical Components (Electric Fireplaces)
- Inspect power cord for fraying, cracks, or damage
- Check plug and outlet for discoloration or heat marks
- Test all heater settings and flame display modes
- Clean dust from vents, fans, and heating elements
- Verify remote control and thermostat functionality
- Confirm circuit breaker is properly rated
Safety Device Testing
- Test carbon monoxide detectors near the fireplace
- Replace CO detector batteries (even if still working)
- Test smoke alarms on every floor
- Verify fireplace safety gate or screen is secure
- Check that clearances to combustibles are maintained
- Review fire extinguisher placement and expiration
⚠️ Safety Warning: If you detect a gas odor at any point during your inspection, leave the house immediately and call your gas company or 911 from outside. Never attempt to locate a gas leak yourself. Learn more about carbon monoxide warning signs from fireplaces.
Inspection by Fireplace Type
Each fireplace type requires a targeted approach during your fall inspection. Below are the specific checks for the three most common residential fireplace types.

Wood-Burning Fireplace
- Measure creosote buildup (over 1/8 inch requires cleaning)
- Check for soot stains on exterior walls
- Inspect baffle plate and catalytic combustor
- Clean ash pit and ash dump thoroughly
- Verify chimney draft before first fire
- Inspect grate for warping

Gas Fireplace
- Test pilot light and thermocouple response
- Inspect glass doors for cracks or discoloration
- Clean burner and check flame pattern
- Verify venting system is unobstructed
- Check gas pressure and valve operation
- Inspect gas logs placement

Electric Fireplace
- Vacuum dust from intake and exhaust vents
- Inspect heating element for discoloration
- Test GFCI outlet if applicable
- Check wall switch and remote operation
- Examine LED flame display for flickering
- Confirm no strange odors when running
For detailed guidance on each type, refer to our dedicated guides on wood fireplace maintenance, gas fireplace maintenance, and electric fireplace maintenance. Each guide covers the full range of seasonal tasks specific to your fireplace type.
Common Issues Found During Fall Inspections
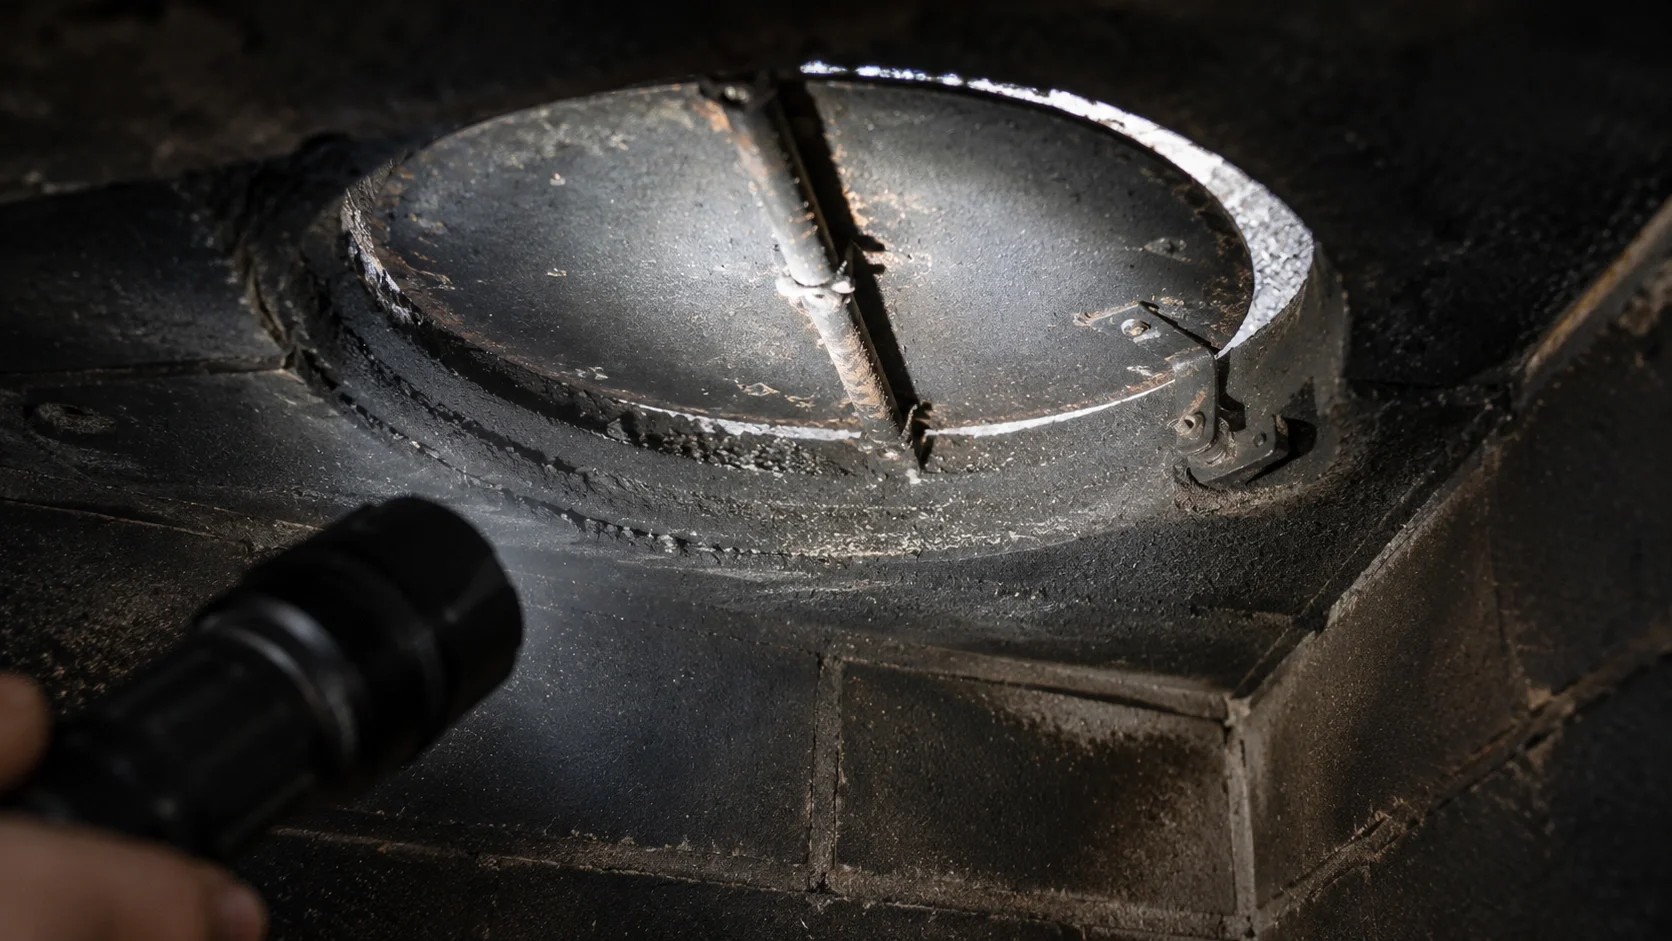
Knowing what problems to look for helps you catch issues early. Here are the most common findings during fall fireplace inspections, along with their implications and recommended actions.
Creosote Buildup
Tarry residue from wood combustion accumulates in the flue. Even 1/8 inch of glaze creosote can ignite. Requires professional creosote removal and prevention.
Cracked Mortar & Bricks
Freeze-thaw cycles damage masonry. Cracks allow water infiltration and heat transfer to combustibles. Small repairs cost $200–$500; major rebuilding can reach $2,500+.
Damper Malfunction
Rust, debris, or warping can prevent the damper from sealing properly, causing drafts and heat loss. Learn how to address stuck damper problems.
Animal Nests & Debris
Birds, squirrels, and raccoons nest in chimneys during summer. Blocked flues cause smoke backup and carbon monoxide risk. A chimney cap prevents re-entry.
Water Damage & Leaks
Water entering through cracked crowns or failed flashing causes rust, deterioration, and mold. Waterproofing sealant costs $150–$350; flashing repair runs $200–$600.
Gas Leaks & Weak Flames
Gas connections loosen over time. Weak or uneven flame patterns signal burner issues. A professional gas fireplace inspection is essential for safety.
Professional vs DIY Fall Inspection
While homeowners can perform basic visual checks, certain aspects of a fall fireplace inspection require professional expertise and specialized equipment. Understanding the difference helps you allocate your budget wisely and ensures nothing critical is missed.
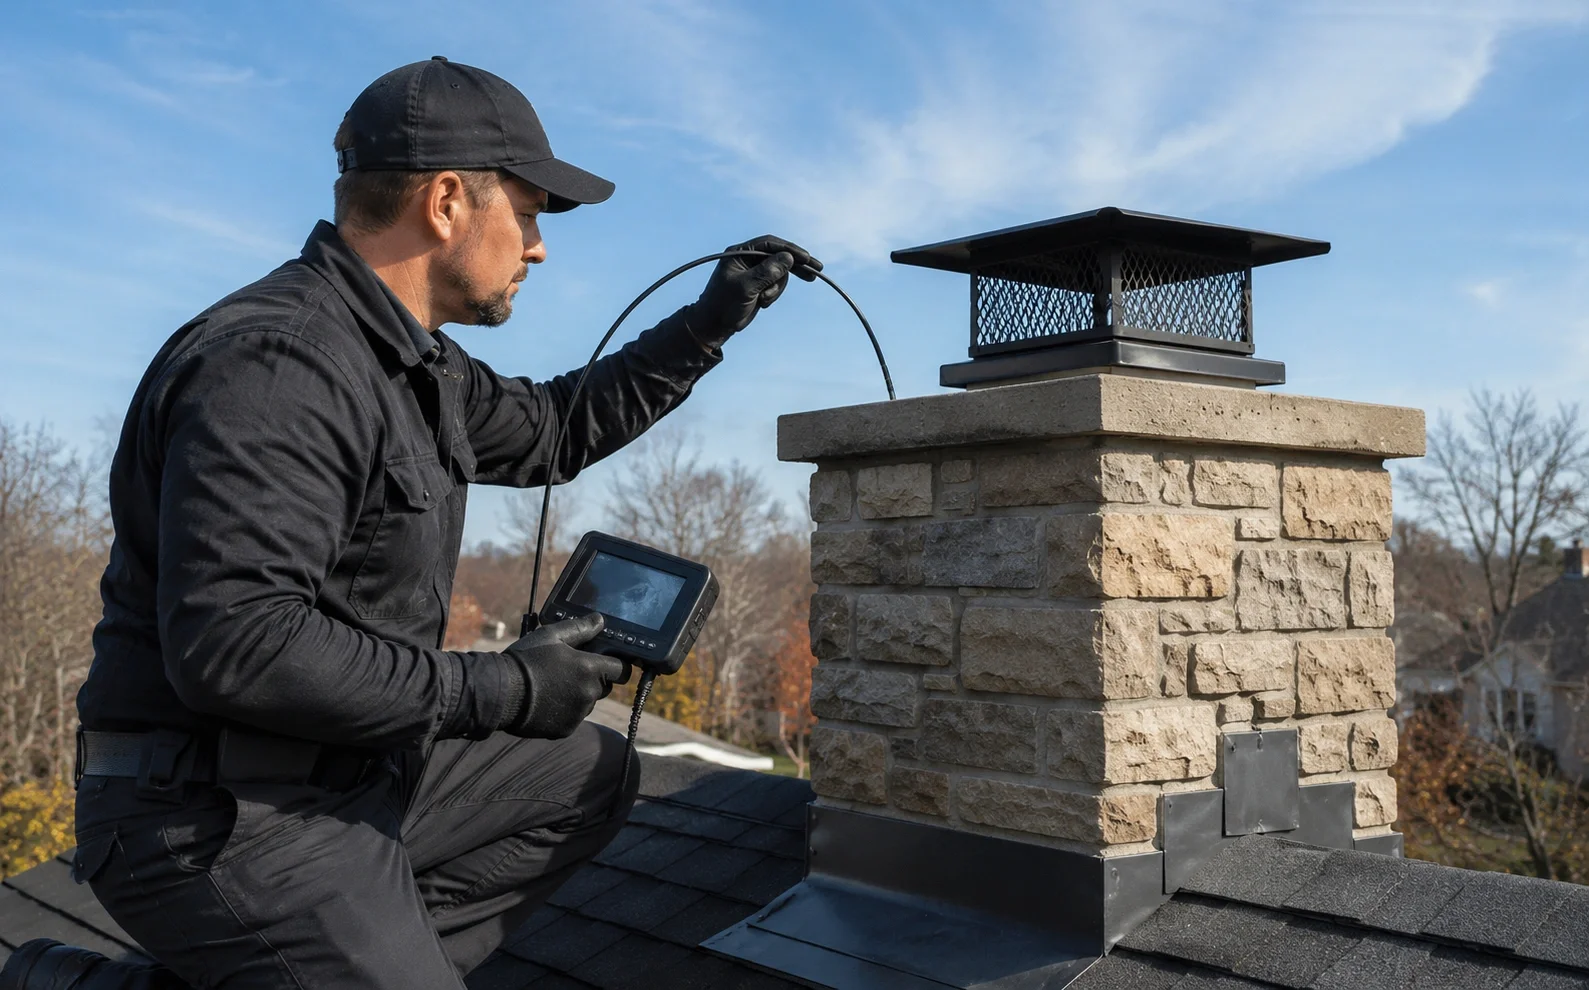
A certified chimney sweep can perform a Level 1 or Level 2 chimney inspection using video scanning equipment that reveals hidden damage inside the flue. This technology detects problems invisible to the naked eye, including liner cracks, hidden creosote deposits, and internal blockages.
| Inspection Task | DIY | Professional | Typical Cost |
|---|---|---|---|
| Visual firebox check | ✓ | ✓ | Free (DIY) |
| Damper operation test | ✓ | ✓ | Free (DIY) |
| Chimney cap visual check | ~ | ✓ | Free–$150 |
| Gas leak detection | ~ | ✓ | $75–$150 |
| Flue video scan | ✗ | ✓ | $300–$600 |
| Creosote measurement | ~ | ✓ | Included in sweep |
| Chimney sweep/cleaning | ✗ | ✓ | $150–$350 |
| Electrical component test | ✓ | ✓ | Free (DIY) |
| CO/smoke detector test | ✓ | ✓ | Free (DIY) |
| Structural integrity assessment | ✗ | ✓ | $200–$500 |
For a complete breakdown of what you can handle yourself, see our DIY fireplace inspection checklist. If you notice any of the following red flags, contact a professional immediately: strong creosote odor, visible cracks in the chimney structure, white staining on exterior brick (efflorescence), or a persistent musty smell coming from the fireplace.
Wondering how often you should schedule professional service? Our fireplace service frequency guide provides a detailed timeline based on fireplace type, usage patterns, and age of your system.
Preparing Your Fireplace for Winter After Inspection
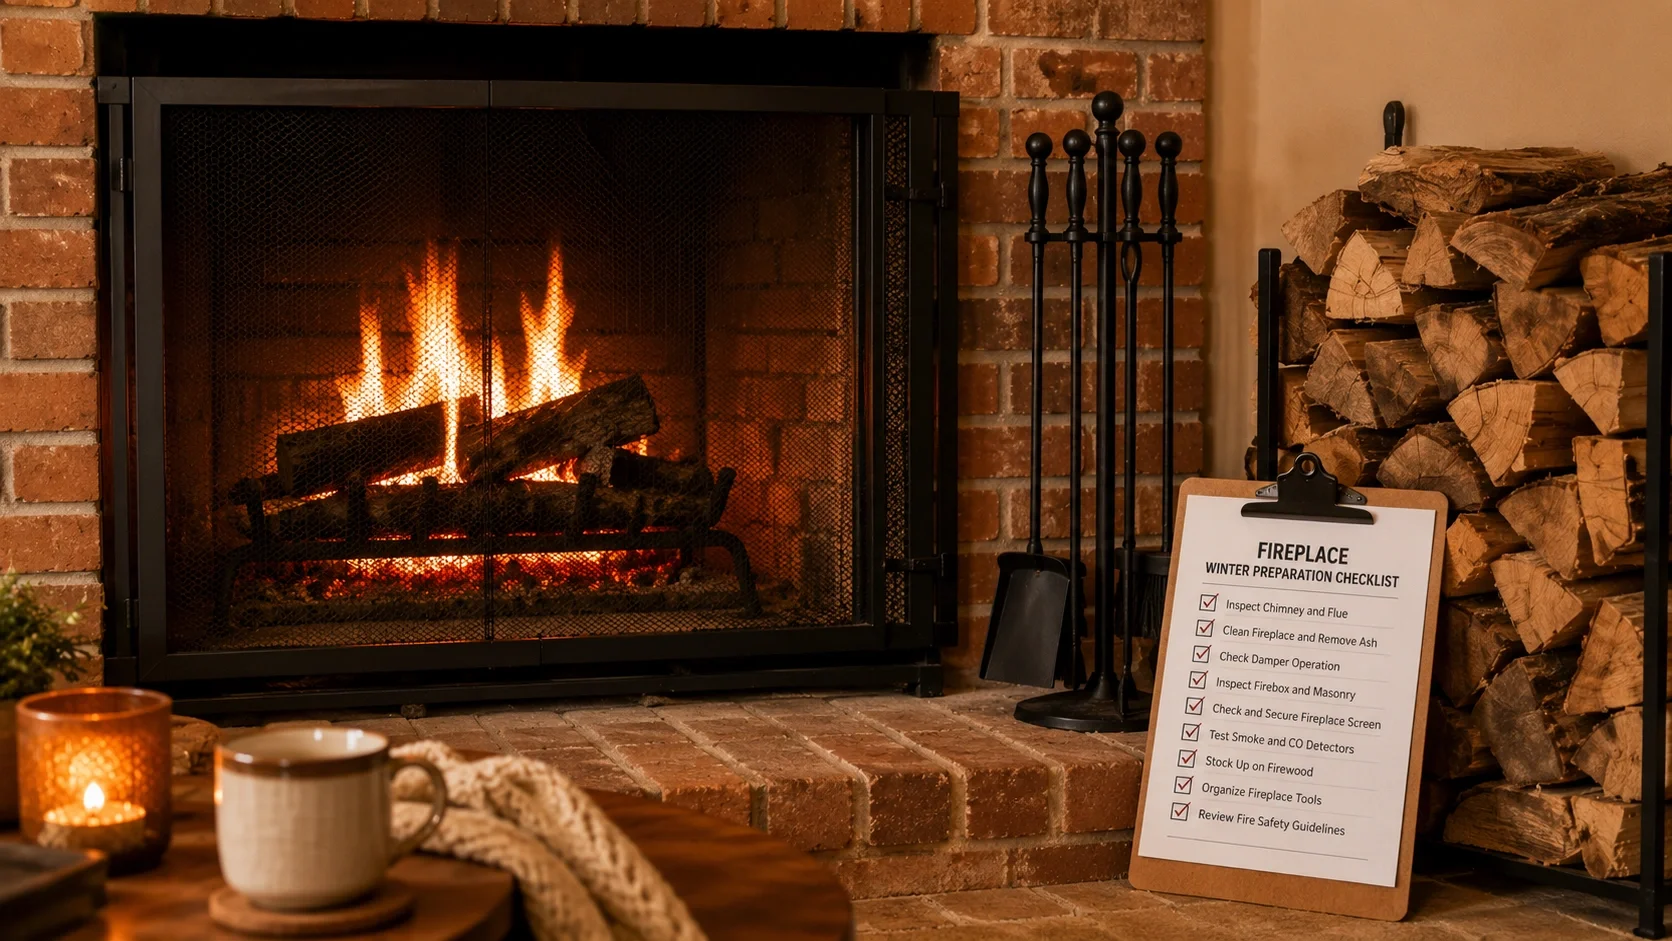
Once your fall inspection is complete and any necessary repairs are made, follow these steps to ensure your fireplace is ready for consistent winter use:
For Wood-Burning Fireplaces
- Stock up on seasoned hardwood (oak, maple, or ash) that has dried for at least 12 months
- Replace worn fireplace screens or doors to prevent ember escape
- Install an inflatable draft stopper if the damper doesn't seal completely
- Keep a shovel set and tongs within easy reach
- Check your fireplace gloves for wear and replace if needed
For Gas Fireplaces
- Verify the pilot light stays lit consistently after multiple cycles
- Clean the glass front with a gas fireplace-specific cleaner
- Test the wall switch, remote, and thermostat for reliable operation
- Consider upgrading to a smart Wi-Fi controller for remote management
- Review your gas burner cleaning procedure for mid-season maintenance
For Electric Fireplaces
- Run the unit on all heat settings for 10 minutes each to verify operation
- Ensure the thermostat accurately reads room temperature
- Replace the remote battery and test all functions
- Inspect wall mounting hardware for looseness or corrosion
- Review our electric fireplace inspection guide for additional checks
💡 Seasonal Tip: After your fall inspection, create a simple maintenance schedule to track mid-season tasks like glass cleaning, ash removal, and CO detector battery checks. Consistent upkeep prevents small problems from becoming expensive emergencies.
Fall Fireplace Inspection Cost Guide
Understanding the costs associated with fireplace inspection and common repairs helps you budget appropriately. Below are current market prices for the most common services:
| Service | Price Range | Recommended Frequency |
|---|---|---|
| Level 1 Chimney Inspection | $150–$350 | Annually |
| Level 2 Video Scan Inspection | $300–$600 | Every 3–5 years or after changes |
| Chimney Sweep & Cleaning | $150–$350 | Annually (wood-burning) |
| Gas Fireplace Inspection | $100–$250 | Annually |
| Chimney Cap Replacement | $150–$400 | As needed (10–15 year lifespan) |
| Chimney Waterproofing | $150–$350 | Every 5–10 years |
| Mortar Repair (Tuckpointing) | $200–$500 | As needed |
| Flashing Repair | $200–$600 | As needed |
These costs are significantly lower than emergency repairs or fire damage restoration. For more on the long-term financial picture, see our analysis of fireplace maintenance costs and hidden costs of owning a fireplace.
Fall Fireplace Inspection FAQ
When should I schedule a fall fireplace inspection?
Schedule your fall fireplace inspection in September or October, before the heating season begins. This gives you enough time to address any repairs before you need to use the fireplace regularly. Chimney sweeps are busiest in late fall, so booking early ensures faster service and often lower prices.
Can I perform a fall fireplace inspection myself?
You can perform a basic visual inspection of your fireplace, checking for obvious cracks, debris, and damper function. However, a professional inspection is recommended at least once a year because certified inspectors use specialized cameras to examine the internal chimney flue, detect hidden creosote buildup, and identify structural issues that are not visible to the naked eye. For what you can safely do on your own, follow our DIY fireplace inspection checklist.
How much does a professional fall fireplace inspection cost?
A basic Level 1 fireplace inspection typically costs $150–$350. A Level 2 inspection with video scanning, which is recommended if you have made changes to your system or experienced a chimney fire, costs $300–$600. Level 3 inspections involving removal of components start at $500 and can exceed $1,000 depending on the scope of work needed.
What happens if I skip my fall fireplace inspection?
Skipping your fall inspection increases the risk of chimney fires from undetected creosote buildup, carbon monoxide leaks from blocked or damaged flues, and costly structural damage that worsens over winter. According to the NFPA, failure to clean chimneys is a leading cause of home heating fires. Repairs from fire damage typically cost $3,000–$30,000+, far exceeding the cost of an annual inspection.
Does an electric fireplace need a fall inspection?
Yes. While electric fireplaces do not produce combustion gases or creosote, they still require an annual inspection. Check the power cord for damage, clean dust from vents and heating elements, test the thermostat and remote control, verify the circuit breaker rating, and inspect the flame display components for wear. Our electric fireplace inspection guide walks you through each step.
What is the difference between Level 1, 2, and 3 chimney inspections?
A Level 1 inspection is a basic visual check of accessible components, suitable for fireplaces with no changes in use or fuel type. Level 2 includes video scanning of the internal flue and is required when changing fuel type, after a chimney fire, or when selling the home. Level 3 involves removal of components (like walls or chimney parts) to access concealed areas and is performed when a serious hazard is suspected. Most fall inspections require only Level 1 or Level 2.
Ready to Inspect Your Fireplace?
Don't wait until the first freeze. Use our complete seasonal checklists to ensure your fireplace is safe, efficient, and ready for the heating season ahead.
Winter Preparation Guide →


