DIY Brick Fireplace: Complete Step-by-Step Installation Guide
Transform your living space with a custom brick fireplace. Our comprehensive guide walks you through planning, materials, construction, and finishing for a professional result.
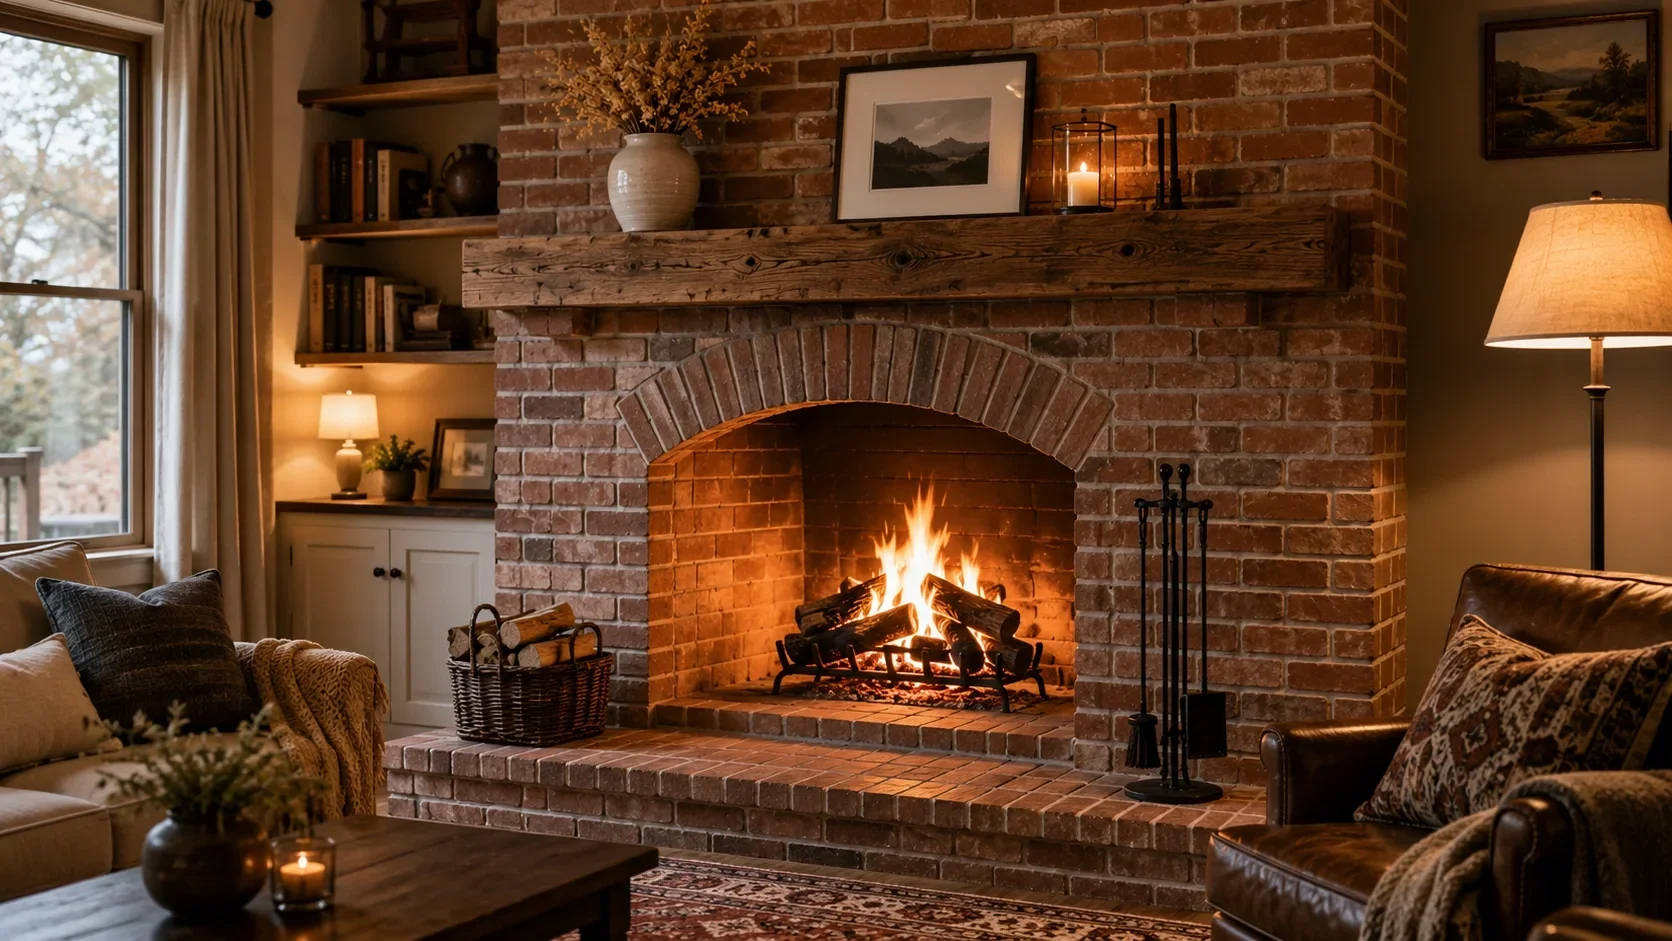
Building a DIY brick fireplace is a rewarding project that adds both warmth and character to your home. Whether you're looking to create a traditional focal point in your living room or add an outdoor gathering spot, a brick fireplace offers timeless appeal and excellent heat retention. With proper planning and execution, even homeowners with moderate DIY skills can successfully complete this project.
Before diving into construction, it's essential to understand the scope of work involved, necessary materials, and safety considerations. This guide covers everything from initial planning to final touches, helping you create a beautiful and functional brick fireplace that will enhance your home for years to come.
Benefits of a Brick Fireplace
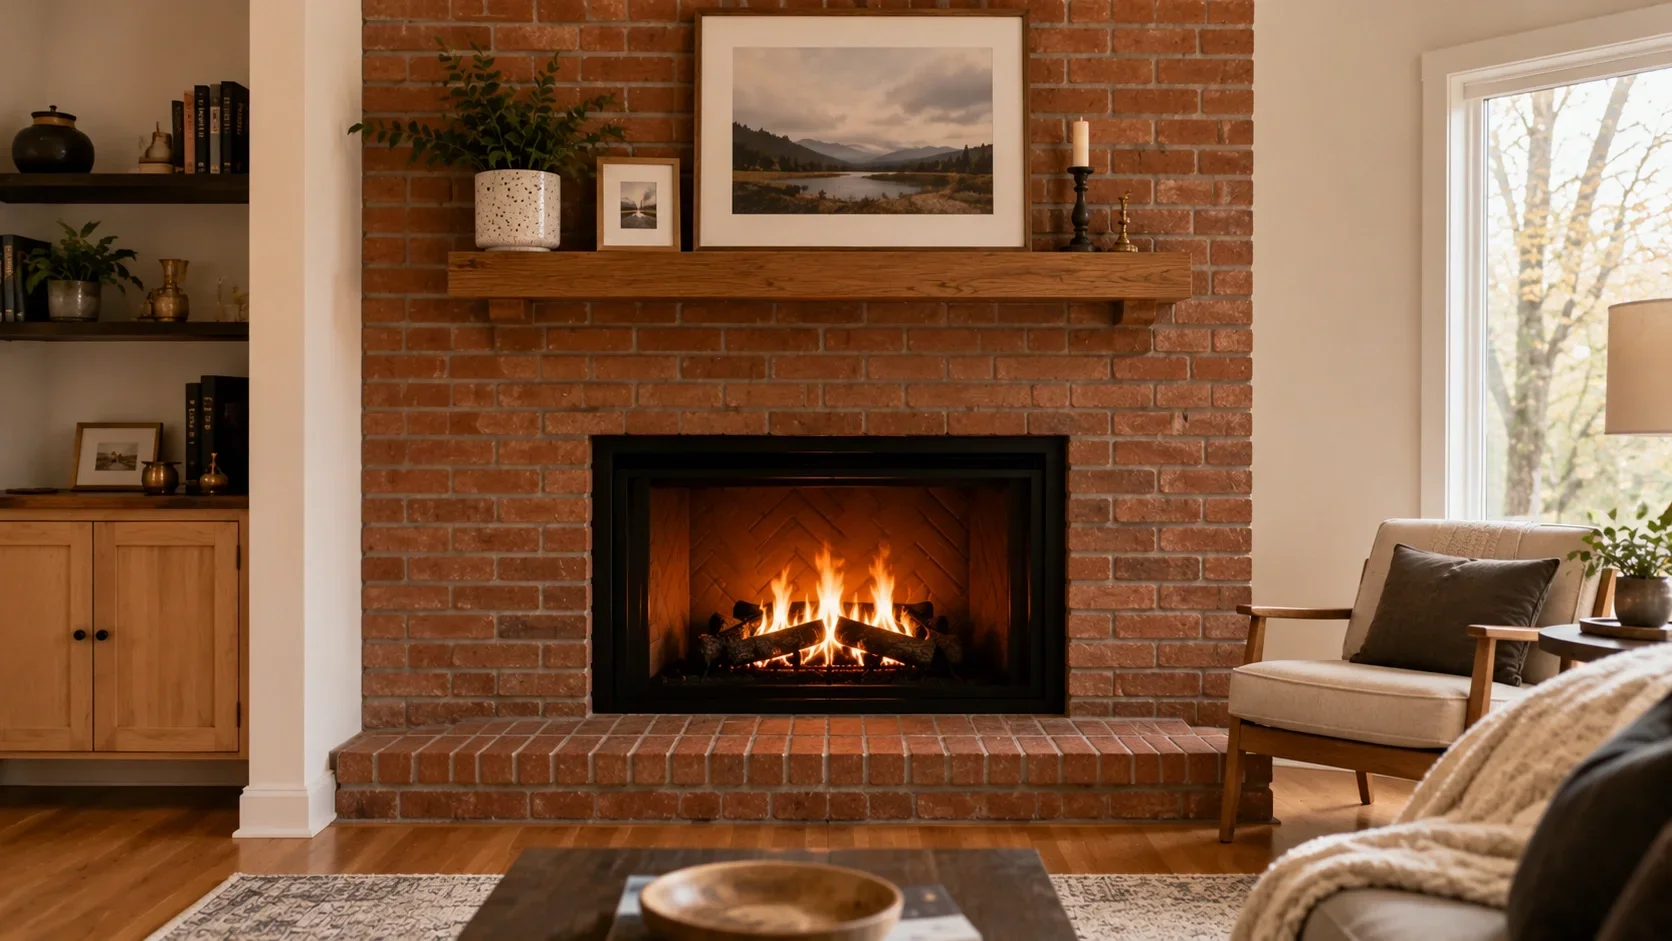
Brick fireplaces have been a cornerstone of home design for centuries, and for good reason. Beyond their classic aesthetic appeal, they offer several practical advantages that make them a worthwhile investment for homeowners.
Exceptional Heat Retention
Brick has excellent thermal mass properties, meaning it absorbs heat during operation and slowly releases it long after the fire has died down. This makes brick fireplaces particularly efficient at maintaining comfortable temperatures in your living space. Unlike metal fireplaces that cool quickly once the fire is out, brick continues to radiate warmth for hours.
Durability and Longevity
When properly constructed and maintained, a brick fireplace can last for generations. Brick is resistant to fire, weather, and general wear and tear. Unlike other materials that may degrade or require frequent replacement, brick maintains its structural integrity and appearance with minimal maintenance.
Versatile Design Options
Brick fireplaces complement a wide range of interior design styles, from traditional to modern. The natural variations in brick color and texture create visual interest, and you can further customize the look with different mortar colors, patterns, and paint techniques.
Increased Home Value
A well-built brick fireplace is a desirable feature that can significantly increase your home's resale value. Many homebuyers specifically look for properties with fireplaces, and a quality brick installation signals craftsmanship and attention to detail.
Planning Your DIY Brick Fireplace
Proper planning is crucial for a successful brick fireplace project. Before purchasing materials or beginning construction, consider these important factors:
Location and Positioning
Decide whether your fireplace will be an indoor or outdoor installation. For indoor fireplaces, common locations include against an exterior wall (easiest for venting), as a corner fireplace to maximize space, or as a room divider. Consider traffic flow, furniture placement, and how the fireplace will integrate with your existing living room design.
Size and Scale
The size of your fireplace should be proportionate to the room. A good rule of thumb is that the fireplace opening should be approximately 1/20th to 1/30th of the room's square footage. For example, in a 400-square-foot room, the fireplace opening should be about 13-20 square feet. The height of the chimney should also be considered, as taller chimneys create better draft.
Building Codes and Permits
Before beginning construction, check with your local building department about permit requirements and building codes for fireplaces in your area. Most municipalities require permits for fireplace construction, and inspections will be necessary at various stages of the project. Failure to obtain proper permits can result in fines, safety issues, and problems when selling your home.
Important: Always verify local building codes before starting your project. Requirements vary significantly between jurisdictions, and compliance is essential for safety and legal reasons.
Firebox Design
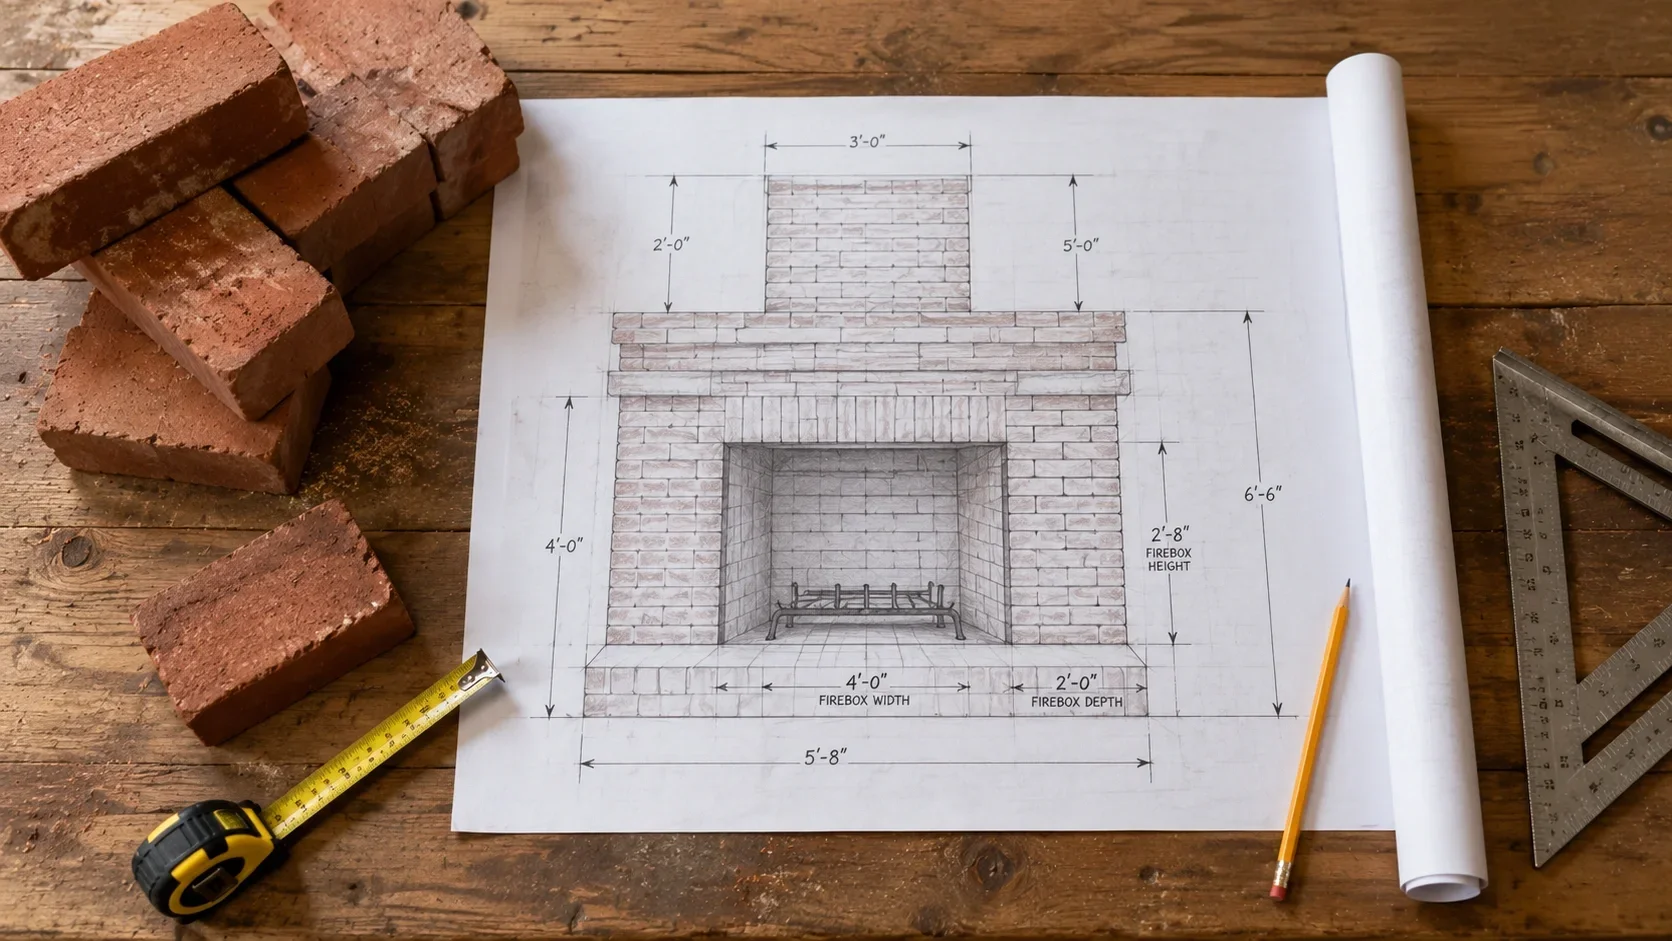
The firebox is the heart of your fireplace, where the fire actually burns. Standard firebox dimensions follow specific ratios for optimal performance. The depth should be about 2/3 of the opening height, the width should be approximately 2.5 times the depth, and the back wall should be about 1/3 the width of the opening. These proportions ensure proper draft and efficient burning.
Materials Needed for a DIY Brick Fireplace
Gathering the right materials before starting your project will help ensure a smooth construction process. Here's a comprehensive list of what you'll need:
Brick Selection
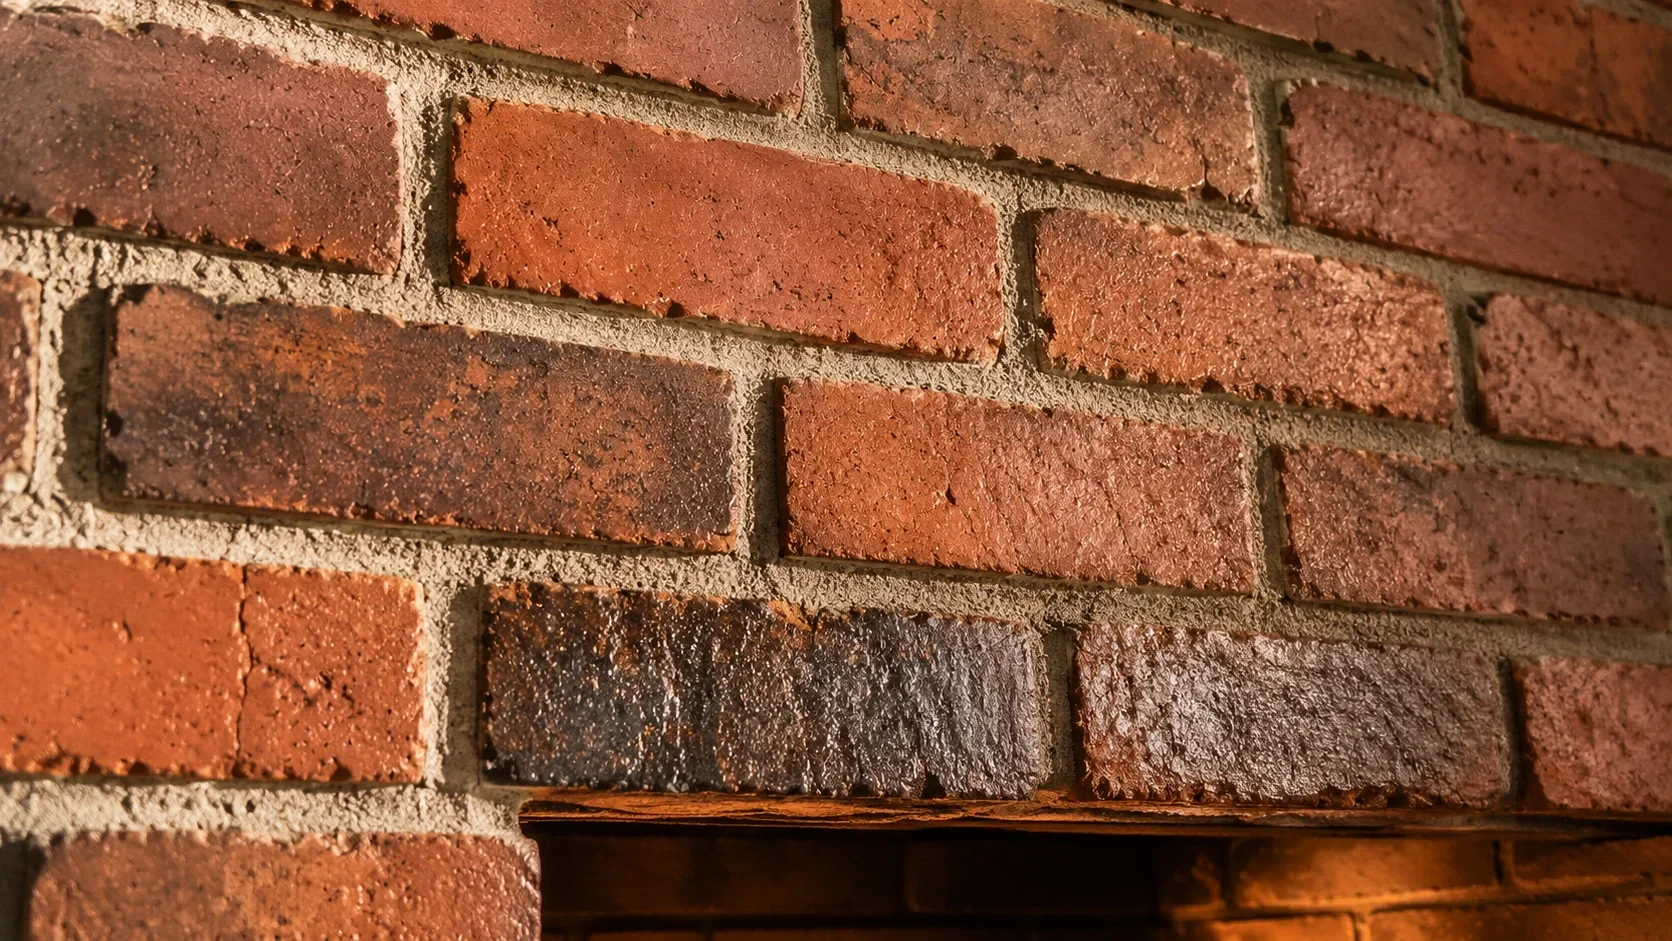
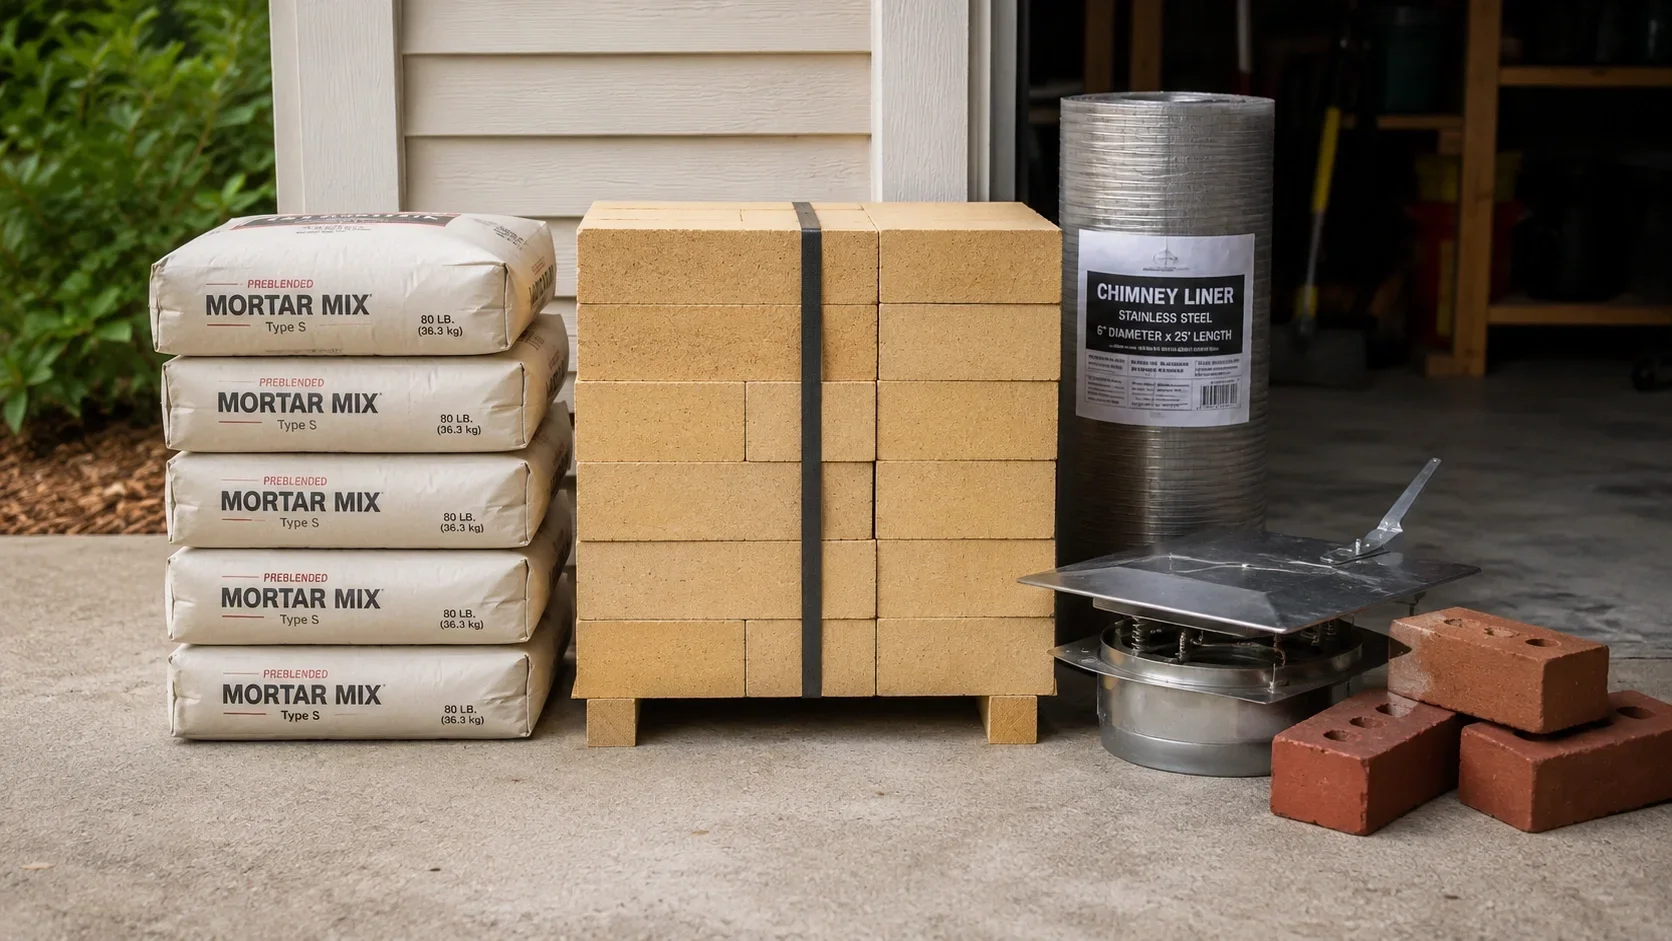
Choose firebricks (also called refractory bricks) for the firebox interior, as they're designed to withstand extreme temperatures without cracking. For the exterior and chimney, standard building bricks work well. Consider the aesthetic you want to achieve—red bricks offer a classic look, while painted or whitewashed bricks can create a more modern feel.
| Material | Quantity Estimate (Standard Fireplace) | Investment Tier |
|---|---|---|
| Firebricks (for firebox) | 150-200 | Entry-Level to Mid-Range |
| Face bricks (for exterior) | 300-500 | Mid-Range |
| Refractory mortar | 5-10 bags | Entry-Level to Mid-Range |
| Type S mortar (for exterior) | 10-15 bags | Entry-Level to Mid-Range |
| Chimney liner | 1 (sized to code) | Mid-Range |
| Chimney cap | 1 | Entry-Level to Mid-Range |
| Damper assembly | 1 | Entry-Level to Mid-Range |
| Fireproof insulation | As needed | Entry-Level to Mid-Range |
| Rebar and ties | As needed | Entry-Level |
Additional Components
Depending on your design, you may also need:
- Hearth extension materials (stone, tile, or brick)
- Mantel (wood, stone, or metal)
- Surround materials if different from brick
- Glass doors for improved efficiency
- Fire screen for safety
- Flashing for roof penetration
Essential Tools for the Project
Having the right tools will make your brick fireplace construction project much easier and help ensure professional results. Here are the essential tools you'll need:
Additional helpful tools include a wheelbarrow for mixing mortar, a joint ragger for creating clean mortar joints, and a brush for cleaning excess mortar from brick faces.
Investment Tier Breakdown for a DIY Brick Fireplace
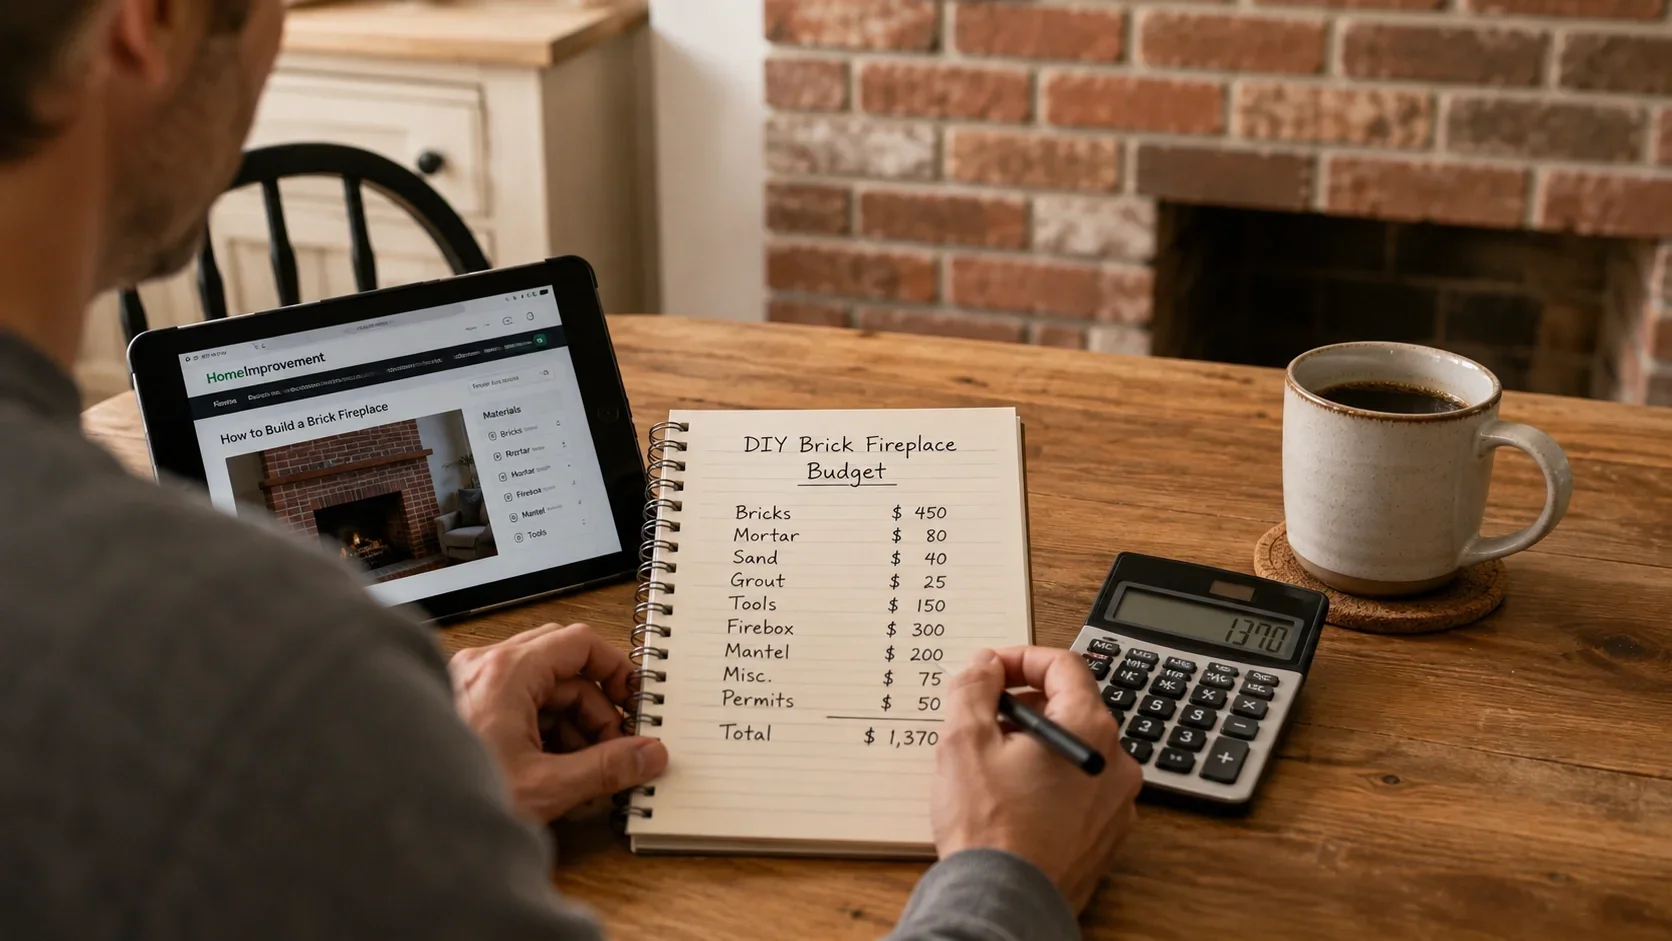
Understanding the investment tiers involved in building a DIY brick fireplace helps with planning. While DIY installation significantly reduces labor, materials still represent a substantial portion of the project.
Basic Materials
Bricks, mortar, chimney liner, and basic components
Tools & Equipment
If purchasing new (many can be rented)
Permits & Inspections
Varies by location
Additional Features
Mantel, hearth, doors, decorative elements
The overall investment tier for a DIY brick fireplace typically sits in the mid-range category, depending on size, materials, and additional features. This compares favorably to professional installation, which typically sits in the mid-range to premium tier. However, it's important to factor in the value of your time and consider whether you have the necessary skills for such a substantial project.
Budget-Friendly Tip: Consider using reclaimed bricks for the exterior to lower your investment tier while adding character. Many demolition companies sell salvaged bricks at a fraction of the cost of new ones.
Step-by-Step Construction Guide
Building a brick fireplace is a multi-day project that requires careful attention to detail. Here's a comprehensive step-by-step guide to help you through the process:
Prepare the Foundation
A solid foundation is critical for a brick fireplace, which can weigh several tons. If building on an existing concrete slab, ensure it's at least 8 inches thick and properly reinforced. For new construction, excavate to below frost line (typically 36-42 inches in most regions), install rebar, and pour a concrete foundation. Allow the concrete to cure for at least 7 days before beginning construction.
For outdoor fireplaces, ensure the foundation extends beyond the fireplace footprint by at least 6 inches on all sides to provide stability.
Lay Out the Firebox
Using chalk lines, mark the dimensions of the firebox on the foundation. Double-check your measurements against your plans, ensuring the firebox follows the proper ratios for efficient operation. Install a layer of firebrick mortar on the foundation where the firebox will be built.
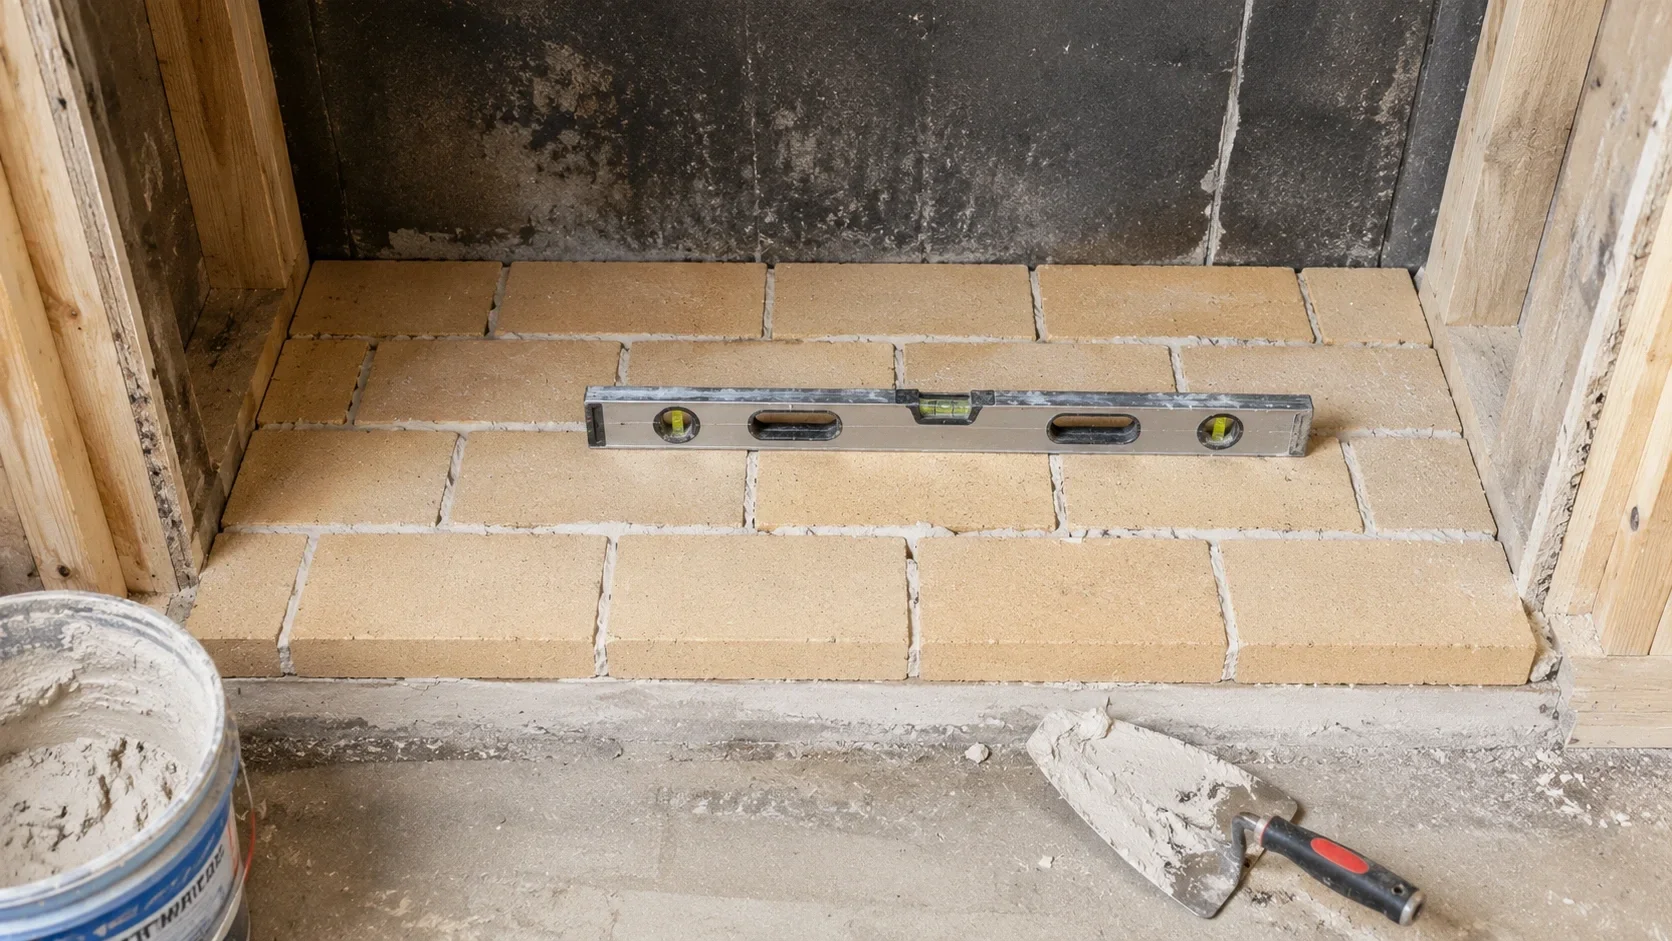
Build the Firebox Floor
Begin by laying firebricks for the firebox floor. Use a level to ensure the bricks are perfectly flat, as any irregularities will affect the entire structure. Apply a thin, even layer of refractory mortar between bricks, and check for level frequently as you work.
Construct the Firebox Walls
Build the firebox walls using firebricks and refractory mortar. Start at the corners and work inward, checking for plumb and level as you progress. The back wall should be angled slightly forward (about 1 inch per foot of height) to help reflect heat into the room. Leave space for the damper assembly at the top of the firebox.
Install metal ties between the firebrick and the exterior brick to ensure the two wythes work together structurally.
Install the Damper
Set the damper assembly in place at the top of the firebox opening. The damper should be sized to match the flue and positioned so it opens fully without obstruction. Secure it with mortar and continue building the firebox walls around it.
Begin the Exterior Brickwork
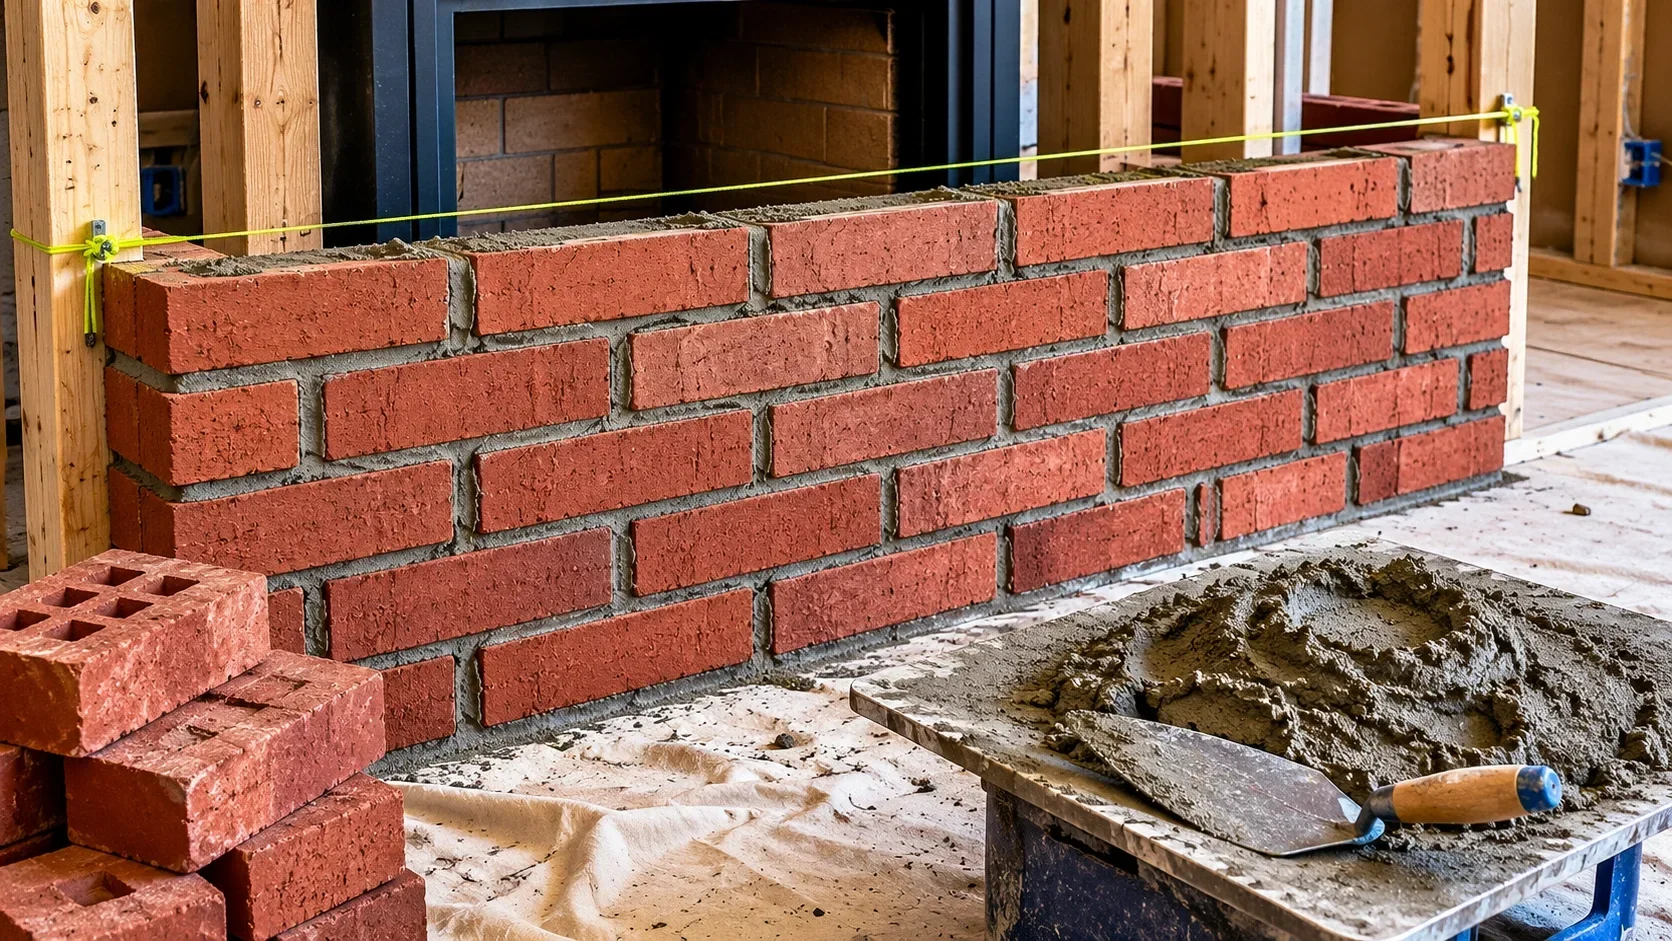
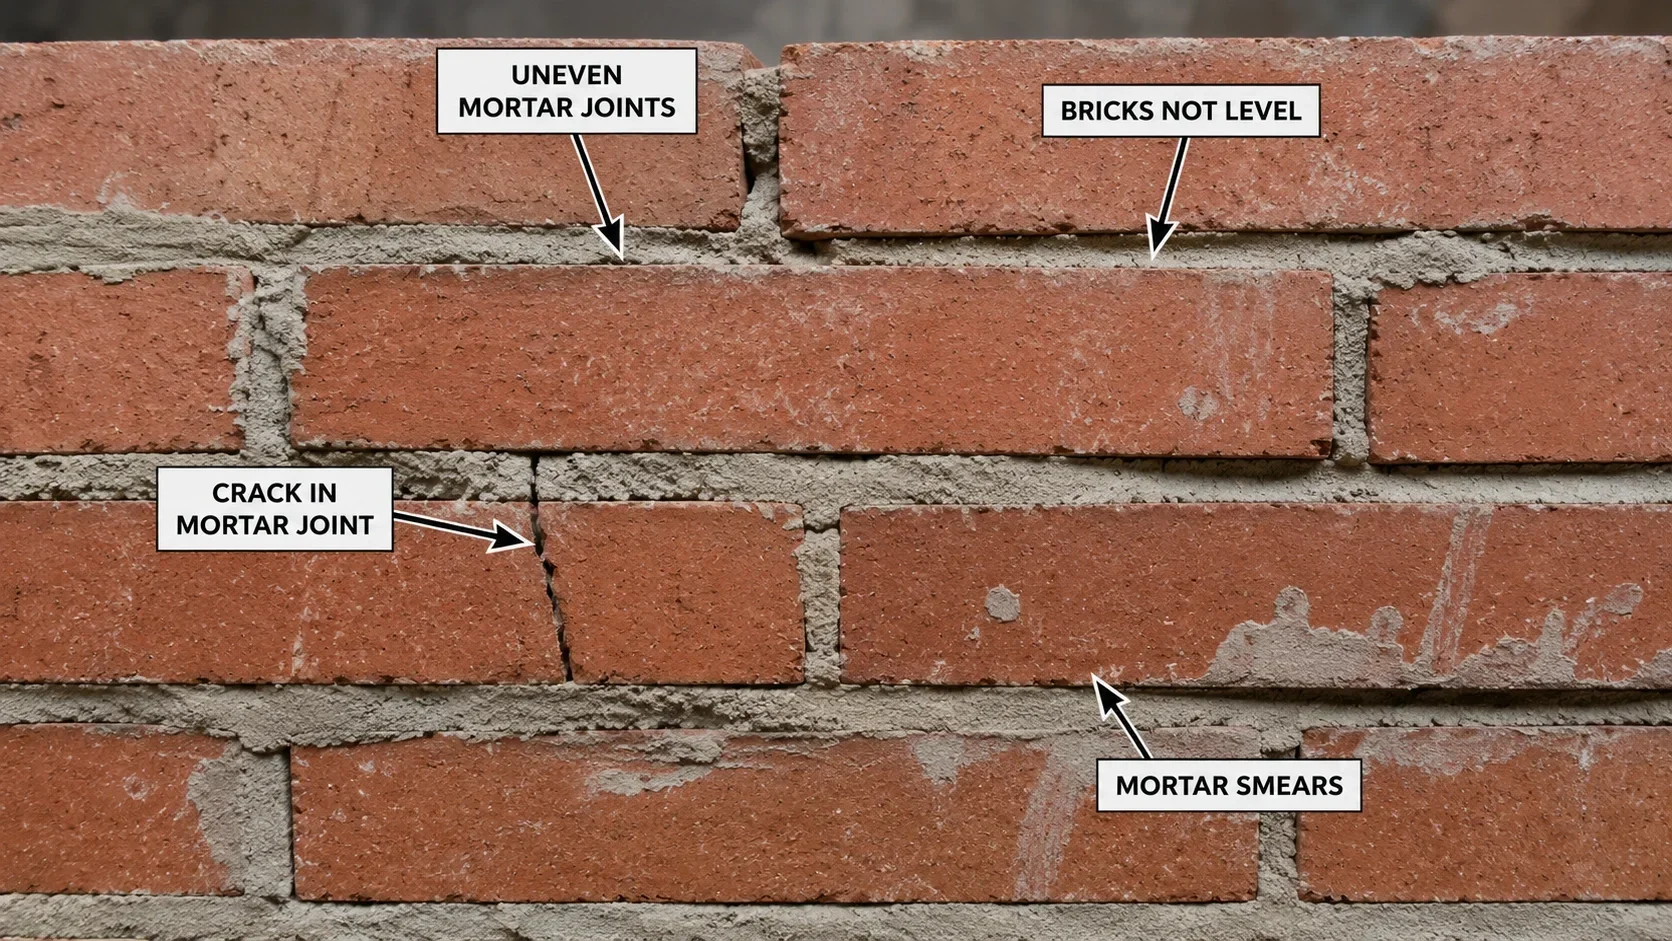
Start building the exterior wall of brick around the firebox. Use standard building bricks and Type S mortar for this portion. Maintain a consistent mortar joint size (typically 3/8 inch) for a professional appearance. Check frequently for plumb and level, and use story poles marked with course heights to ensure even brick courses.
Construct the Smoke Chamber
Above the firebox, build the smoke chamber, which narrows from the firebox opening to the flue size. This is typically done by corbeling the brick inward row by row. The smoke chamber walls should be smooth to minimize turbulence and improve draft. Consider parging (applying a smooth coat of mortar) to the smoke chamber walls for optimal performance.
Build the Chimney
Continue building upward to create the chimney. Install the chimney liner according to the manufacturer's instructions, connecting it to the smoke chamber. The chimney should extend at least 3 feet above the roof surface and 2 feet higher than any part of the building within 10 feet horizontally.
Install chimney bands at specified intervals to tie the chimney together structurally. Leave weep holes in the mortar joints near the bottom of the chimney to allow moisture to escape.
Complete the Roof Penetration
Install proper flashing where the chimney passes through the roof. This typically includes step flashing interwoven with the shingles and a counterflashing embedded in the chimney mortar joints. This critical step prevents water intrusion that could damage both the chimney and your home's interior.
Install the Chimney Cap
Top the chimney with a cap to prevent rain, animals, and debris from entering. Choose a cap with a spark arrestor if required by local code. Secure the cap with mortar or mechanical fasteners according to the manufacturer's instructions.
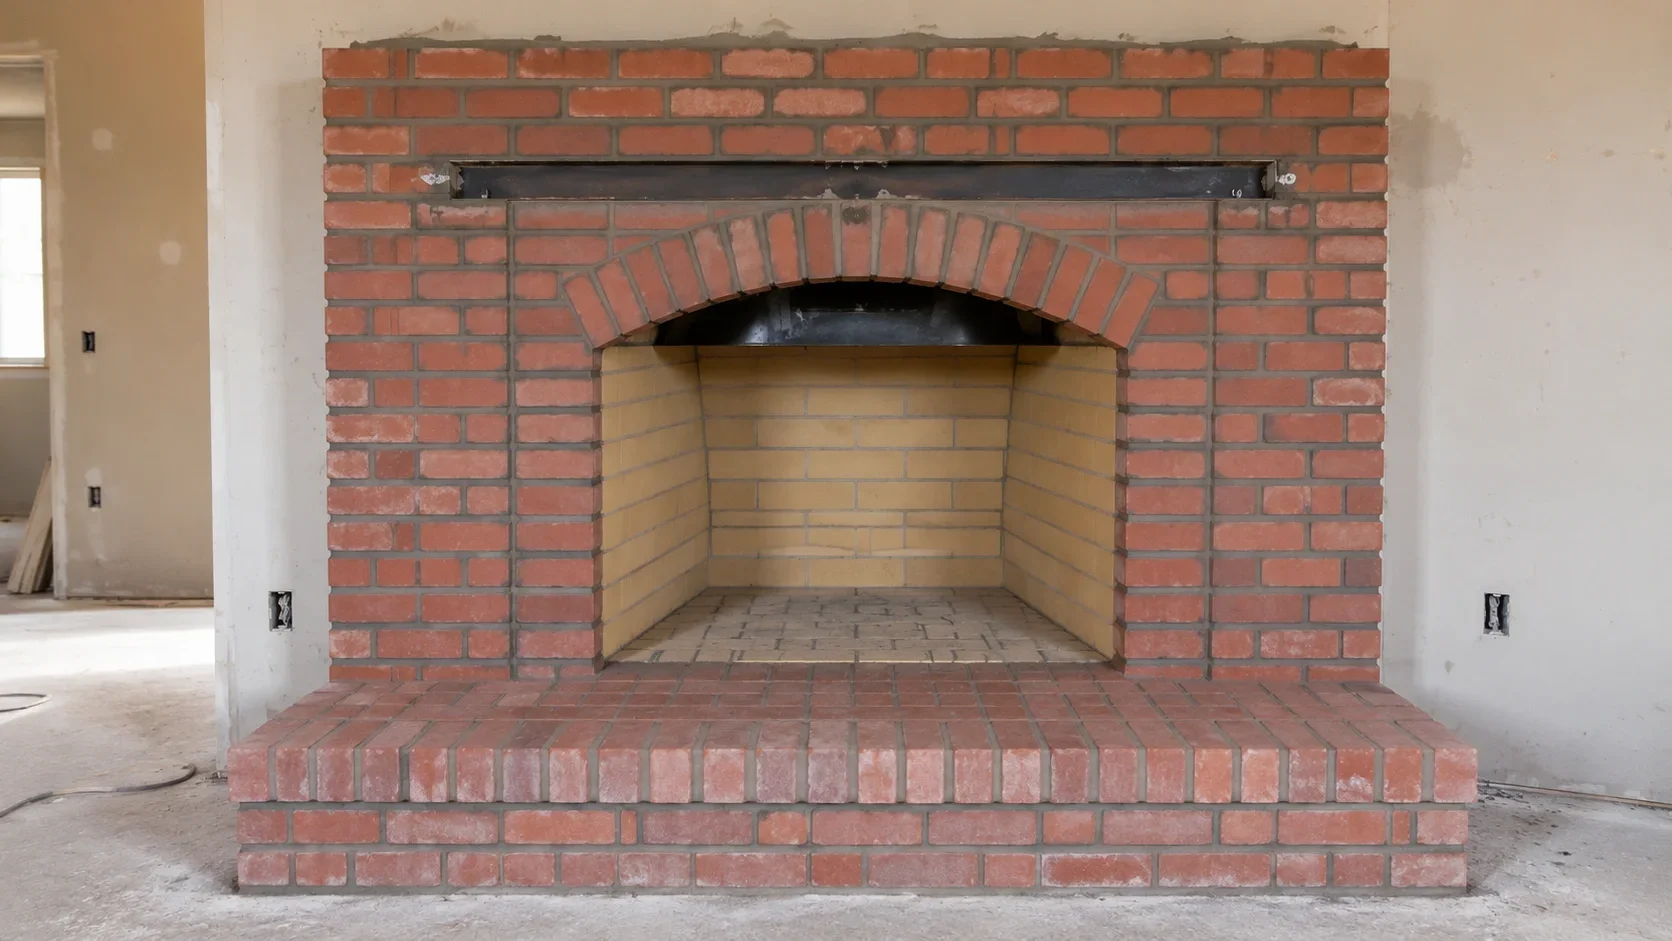
Finish the Fireplace Opening
Complete the fireplace opening with a lintel to support the brick above the opening. Install the hearth extension in front of the fireplace, ensuring it extends the required distance (typically 16-20 inches) beyond the fireplace opening and is made of non-combustible material.
Add Finishing Touches
Complete your fireplace with desired finishing elements such as a mantel, surround, or decorative elements. Clean any mortar residue from the brick faces using a mild acid solution (muriatic acid diluted with water) and a stiff brush. Apply a sealer if desired to protect the brick from staining.
Critical Safety Note: Before using your new fireplace, schedule a professional inspection to verify proper construction and safe operation. Even experienced DIY builders should have their work checked by a certified chimney sweep or building inspector. This is not only a safety measure but may be required by your local building department to finalize your permit.
Design Variations for DIY Brick Fireplaces
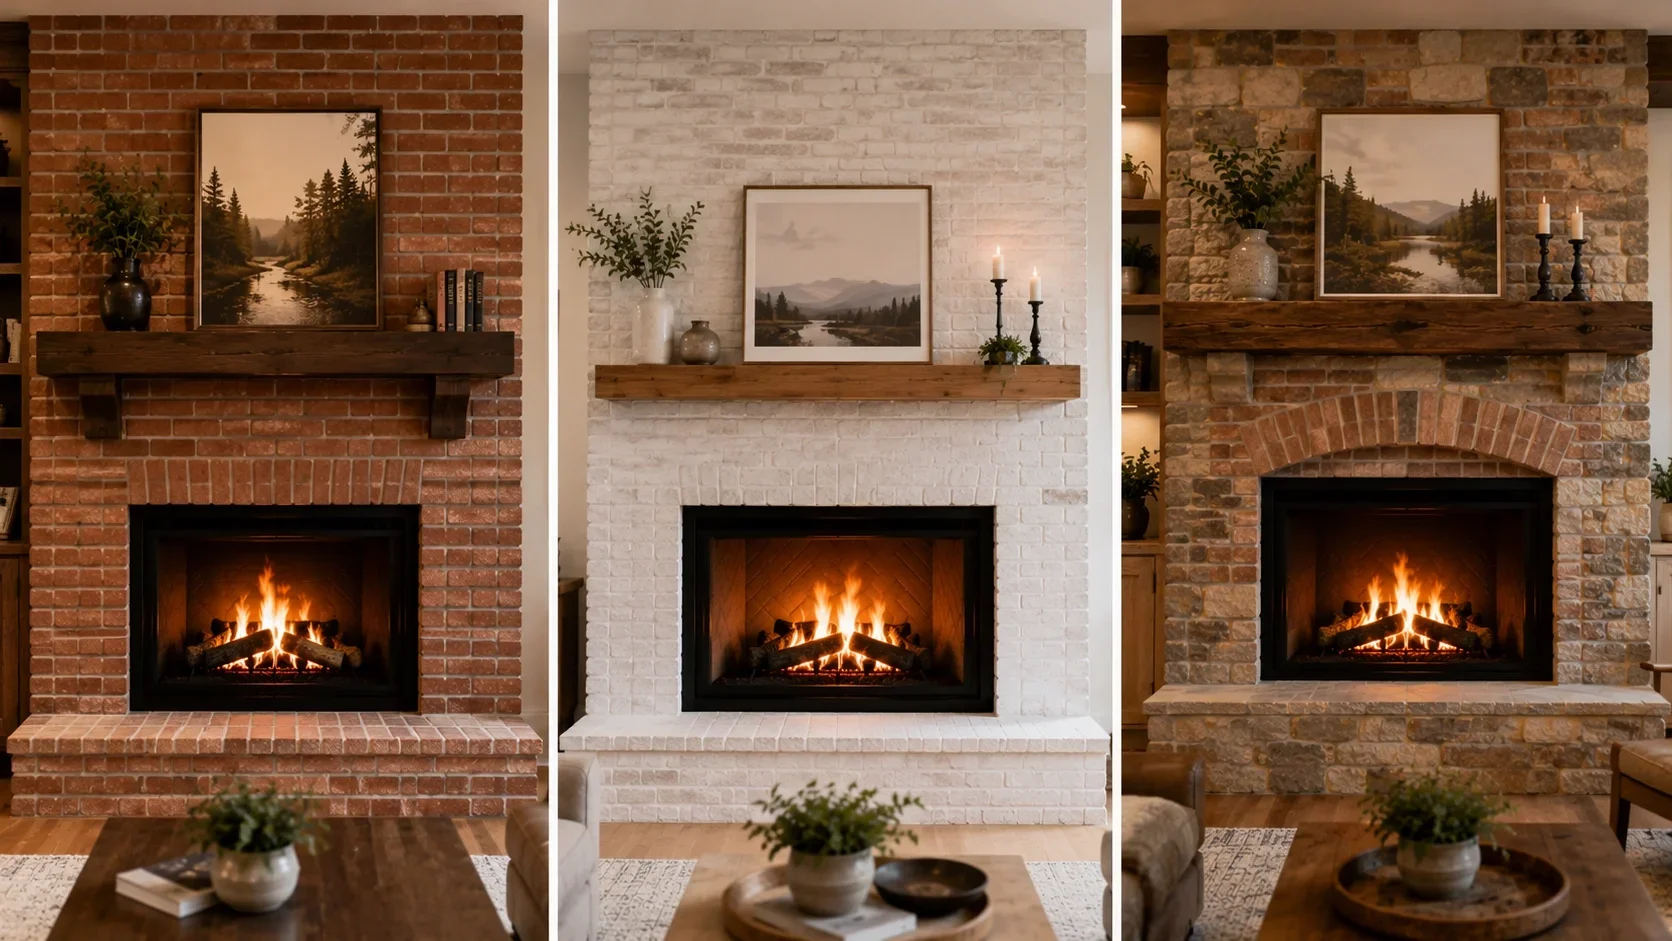
One of the advantages of building your own brick fireplace is the ability to customize the design to suit your preferences and home's style. Here are some popular design variations to consider:
Traditional Red Brick
The classic red brick fireplace features uniform red bricks with standard mortar joints. This timeless look works well in traditional, rustic, and vintage style homes. To enhance the traditional look, consider adding a wooden mantel and brick hearth.
Whitewashed Brick
For a softer, more contemporary look, consider whitewashing your brick fireplace. This technique involves applying a diluted white paint that allows the brick texture and some color to show through. Whitewashed brick works well in modern, minimalist, and coastal style interiors.
Herringbone Pattern
Instead of the standard running bond pattern, consider laying your bricks in a herringbone pattern for added visual interest. This pattern is particularly effective for the hearth or as an accent on the fireplace surround.
Brick and Stone Combination
Combine brick with natural stone for a more textured, organic look. Use stone for the surround or mantel while keeping the main body of the fireplace in brick. This combination works well in rustic and rock style designs.
Maintaining Your DIY Brick Fireplace
Proper maintenance ensures your brick fireplace remains safe, efficient, and attractive for years to come. Follow these maintenance guidelines:
Regular Cleaning
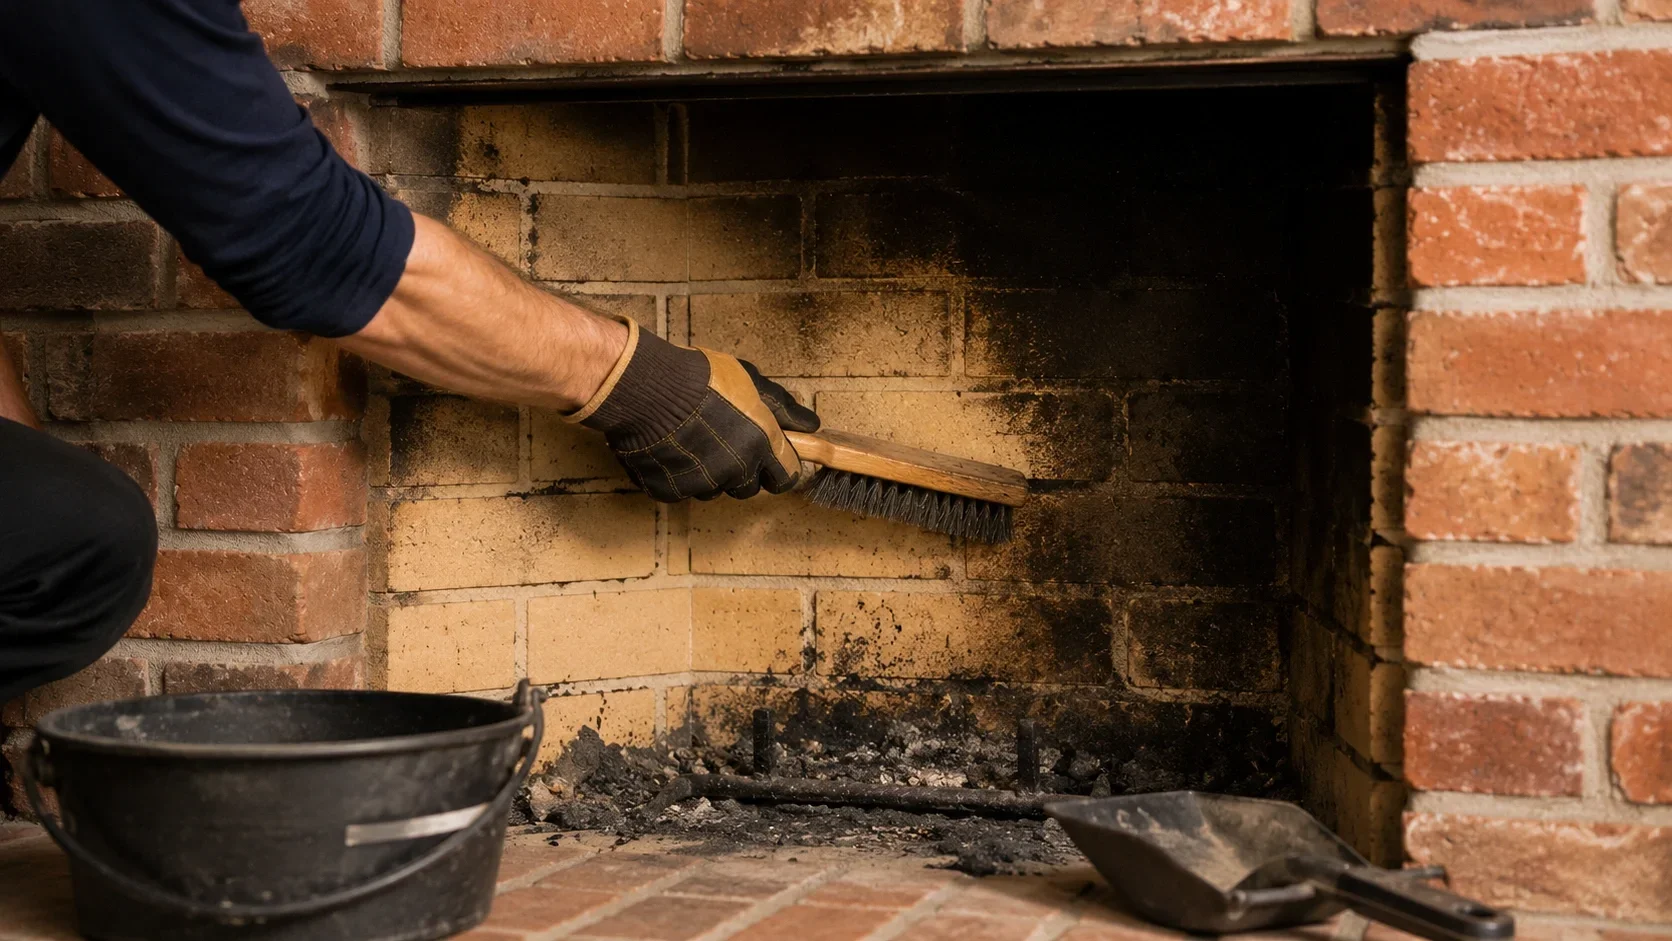
Clean the firebox regularly to remove ash and debris. For the exterior brick, occasional cleaning with a stiff brush and mild detergent will keep it looking its best. Avoid using harsh chemicals that could damage the brick or mortar.
Annual Inspection
Schedule a professional annual inspection to check for creosote buildup, mortar deterioration, and other potential issues. The inspection should include the firebox, smoke chamber, chimney liner, and exterior chimney.
Mortar Repair
Over time, mortar joints may crack or deteriorate due to heat exposure and weathering. Repointing (removing damaged mortar and replacing it with new mortar) should be done as needed to maintain structural integrity and prevent water infiltration.
Waterproofing
Apply a breathable masonry sealer to the exterior brick and chimney every 3-5 years to prevent water absorption while allowing moisture vapor to escape. This is particularly important for outdoor fireplaces and chimney exteriors exposed to the elements.
Chimney Cap Maintenance
Inspect the chimney cap regularly for damage or blockage. Ensure the spark arrestor is clean and free of debris to prevent dangerous creosote buildup and maintain proper draft.
Maintenance Tip: Keep a fireplace shovel and brush set near your fireplace for convenient ash removal. Wait at least 24 hours after the fire has gone out before cleaning to ensure all embers are completely extinguished.
Common Mistakes to Avoid
Learning from others' mistakes can save you time, money, and frustration. Here are common pitfalls to avoid when building a DIY brick fireplace:
Inadequate Foundation
One of the most serious mistakes is building on an insufficient foundation. A brick fireplace is extremely heavy, and an inadequate foundation can lead to settling, cracking, and structural failure. Always ensure your foundation meets or exceeds local building code requirements.
Incorrect Firebox Proportions
Fireboxes that don't follow proper dimensional ratios often have poor draft and smoking problems. Take the time to calculate the correct dimensions before beginning construction, and double-check your measurements frequently during the building process.
Using the Wrong Mortar
Standard mortar will degrade quickly when exposed to the extreme temperatures inside a firebox. Always use refractory mortar for the firebox and smoke chamber. For the exterior, use Type S mortar, which has greater strength and water resistance than other types.
Neglecting Ventilation
Proper ventilation is essential for safe and efficient fireplace operation. Ensure your chimney is sized correctly for your firebox, extends above the roofline as required by code, and is free of obstructions. Improper ventilation can lead to dangerous carbon monoxide buildup in your home.
Skipping Permits and Inspections
Building without proper permits can result in fines, forced removal of your work, and problems when selling your home. Additionally, inspections at critical stages of construction help catch potential problems before they become serious (and expensive) issues.
Rushing the Curing Process
Both the concrete foundation and mortar need adequate time to cure before being exposed to high temperatures. Using your fireplace before the mortar has fully cured can cause cracking and structural damage. Follow manufacturer recommendations for curing times, typically 28 days for mortar.
Safety Considerations for DIY Brick Fireplaces
Safety should be your top priority when building and using a brick fireplace. Keep these essential safety considerations in mind:
Clearances to Combustibles
Maintain proper clearances between the fireplace and combustible materials such as wood framing, drywall, and furniture. The hearth extension must extend the required distance in front of the fireplace opening, and side clearances must be maintained as specified by local code (typically 6-12 inches on each side).
Carbon Monoxide Detection
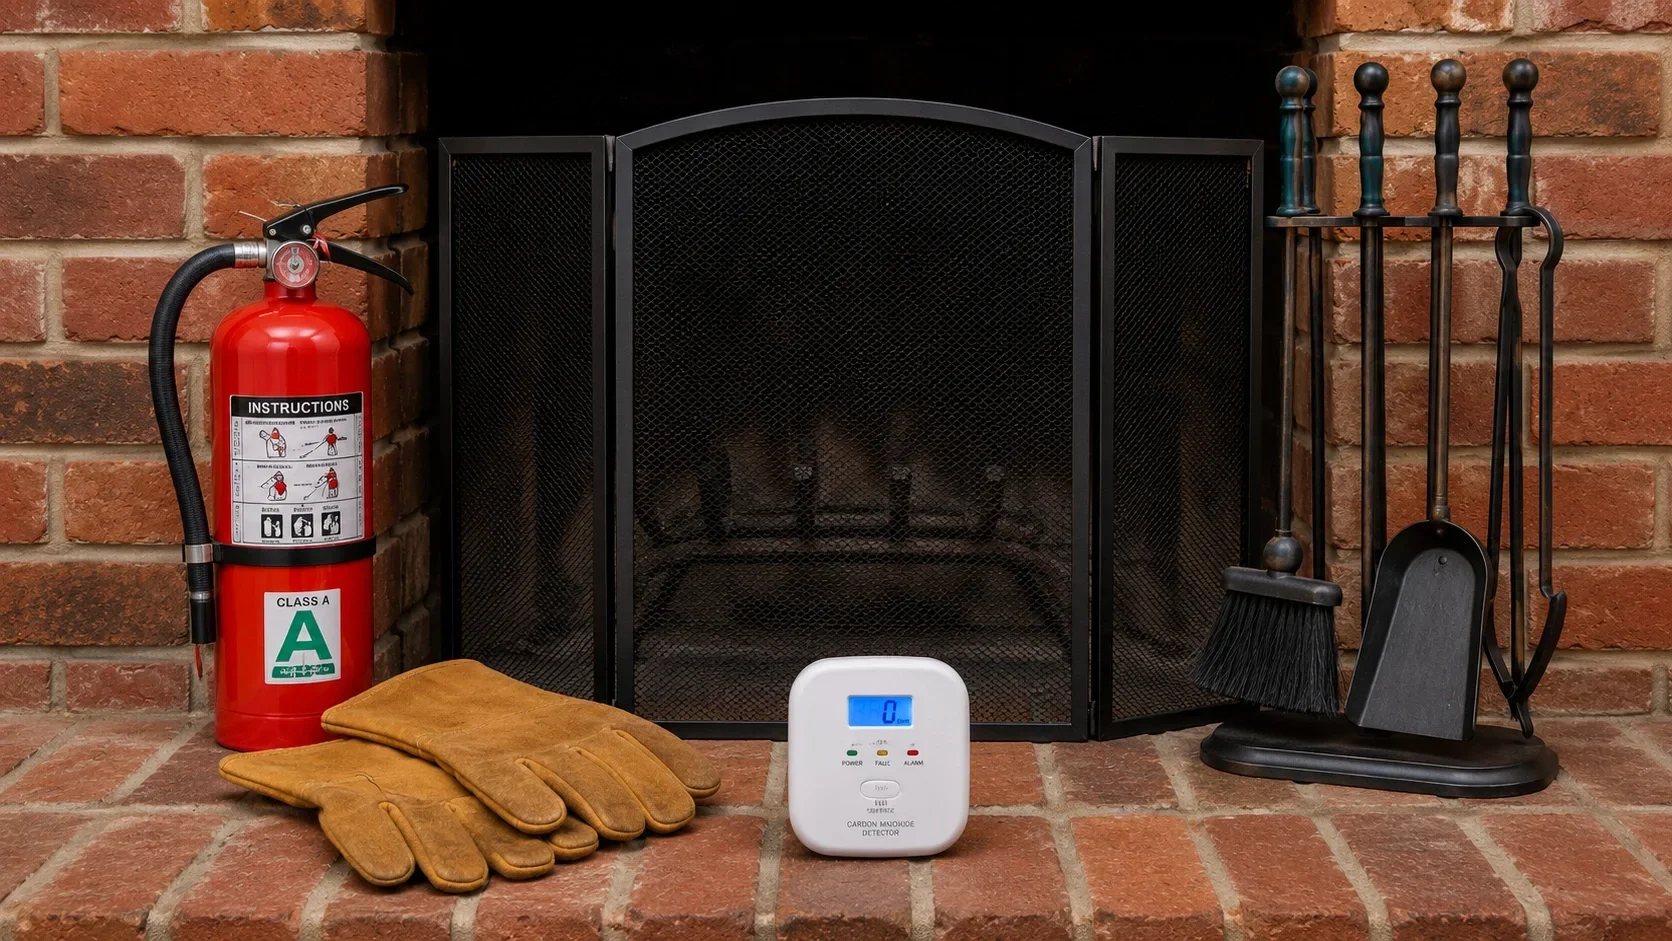
Install carbon monoxide detectors on every level of your home, particularly near sleeping areas. While brick fireplaces with proper ventilation are generally safe, malfunctioning dampers or blocked chimneys can cause dangerous carbon monoxide buildup. Test your detectors regularly and replace batteries annually.
Fire Safety Equipment
Keep appropriate fire safety equipment nearby, including a fire extinguisher rated for wood fires, a fire screen to prevent sparks from escaping, and heat-resistant gloves for handling fireplace tools.
Proper Wood Selection
Use only properly seasoned hardwood in your fireplace. Wet or green wood creates more smoke, produces less heat, and leads to faster creosote buildup in the chimney. Avoid burning treated wood, painted wood, or trash, as these can release toxic chemicals and damage your chimney.
Critical Safety Warning: Never use gasoline, lighter fluid, or other accelerants to start a fire in your fireplace. These substances can cause explosions and severe burns. Use only proper fire-starting techniques with kindling and newspaper.
Alternatives to Consider
While a traditional brick fireplace is an excellent choice for many homeowners, there are alternatives worth considering based on your specific needs, investment tier, and skill level:
Brick Veneer Fireplace
If you love the look of brick but want a simpler installation process, consider a brick veneer fireplace. This approach involves applying thin brick slices to a framed wall using metal lath and mortar. It's significantly lighter than a full masonry fireplace and can be installed more quickly, though it requires a separate firebox insert.
Brick Fireplace Kit
Pre-fabricated brick fireplace kits come with pre-cut bricks and detailed instructions, simplifying the construction process. These kits are available for both indoor and outdoor installations and can be a good option for less experienced DIYers.
Gas Insert with Brick Surround
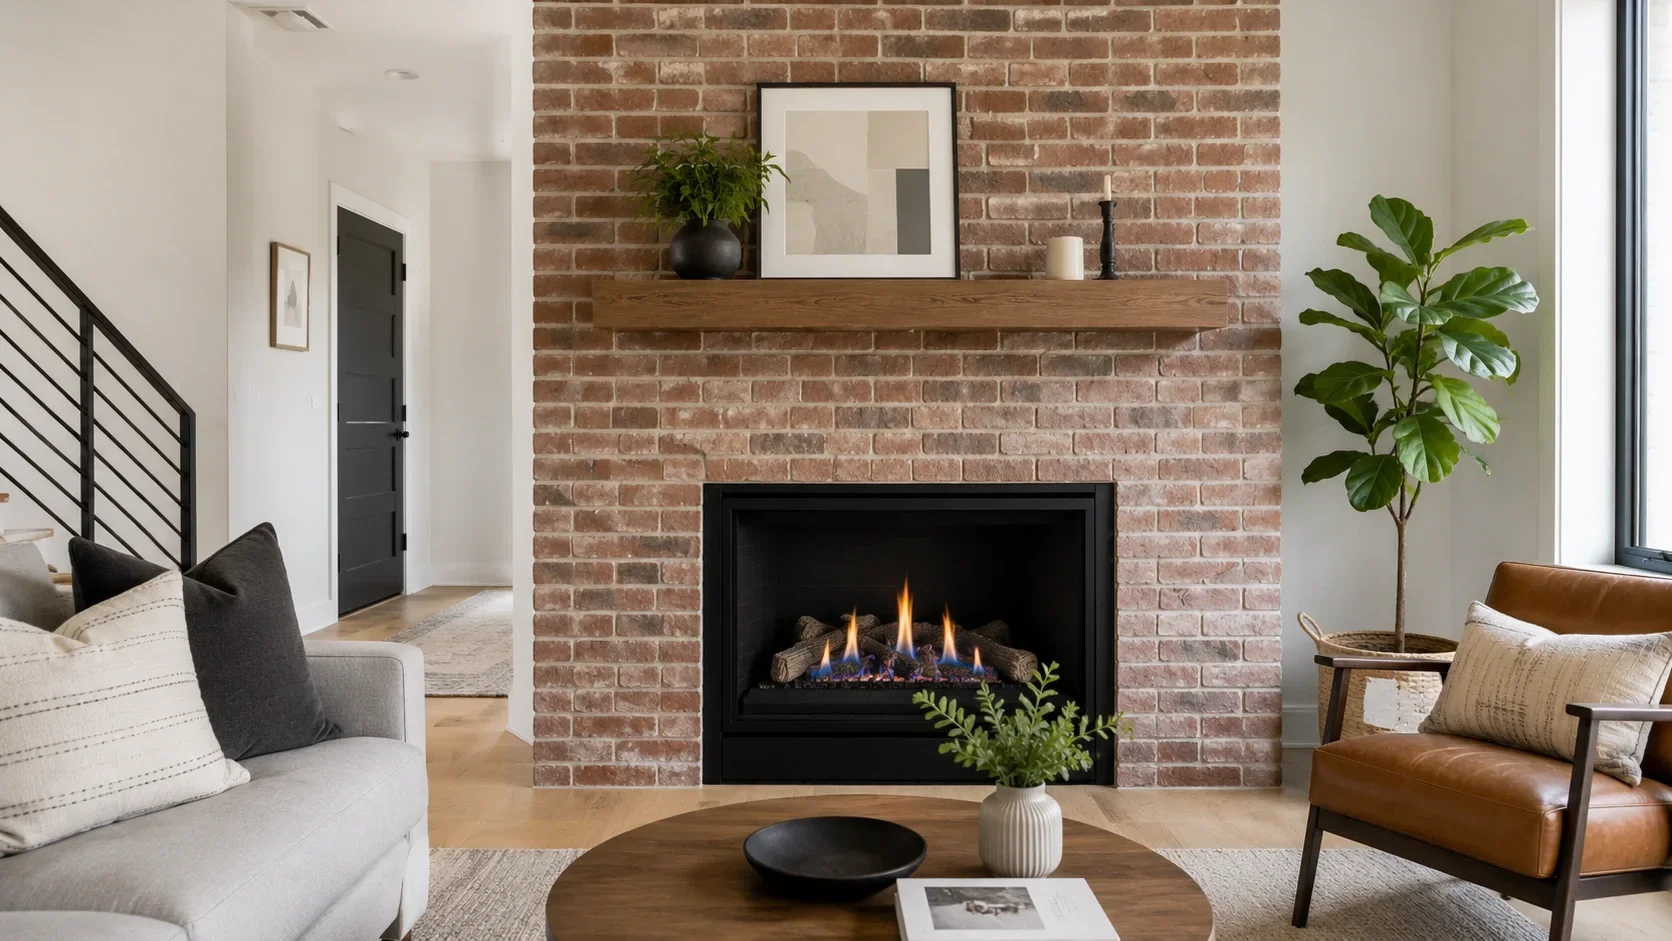
For the look of a brick fireplace with the convenience of gas, consider installing a gas fireplace insert with a brick surround. This approach provides efficient heating with realistic flames and eliminates the need for wood storage and ash cleanup.
Electric Fireplace with Brick Surround
If you want the aesthetic of a brick fireplace without the need for venting, an electric fireplace with a brick surround is an excellent option. Modern electric fireplaces offer realistic flame effects and can provide supplemental heating in smaller spaces.
Final Tips for Success
As you embark on your DIY brick fireplace project, keep these final tips in mind for the best possible outcome:
- Start small: If you're new to masonry, consider starting with a smaller project like a hearth extension or surround before tackling a complete fireplace.
- Take your time: Rushing leads to mistakes. Plan to spread the project over several weekends rather than trying to complete it in a few days.
- Follow manufacturer instructions: This is especially important for components like chimney liners and dampers.
- Work with a partner: Bricklaying is much easier with two people—one to lay bricks and one to mix and supply mortar.
- Check your work frequently: It's easier to correct mistakes early than to fix problems after the mortar has set.
- Plan for weather: Avoid working in extreme heat or freezing temperatures, as these conditions can affect mortar performance.
- Document your progress: Take photos during construction. These can be helpful for future maintenance and may be required for permit documentation.
Professional Help: Don't hesitate to consult with a masonry professional if you encounter challenges beyond your skill level. It's better to pay for expert advice than to risk safety issues or costly repairs down the road.