DIY Wood Fireplace: Complete Building Guide
Build your own wood burning fireplace with our comprehensive guide. From planning to completion, learn everything you need to create a functional and beautiful wood fireplace.
GET STARTEDIntroduction to DIY Wood Fireplaces
Building a wood burning fireplace yourself is a rewarding project that can add both warmth and value to your home. A DIY wood fireplace combines the traditional charm of a traditional fireplace with the satisfaction of creating something with your own hands. Whether you're looking to install an indoor fireplace or an outdoor fireplace, this comprehensive guide will walk you through the entire process.
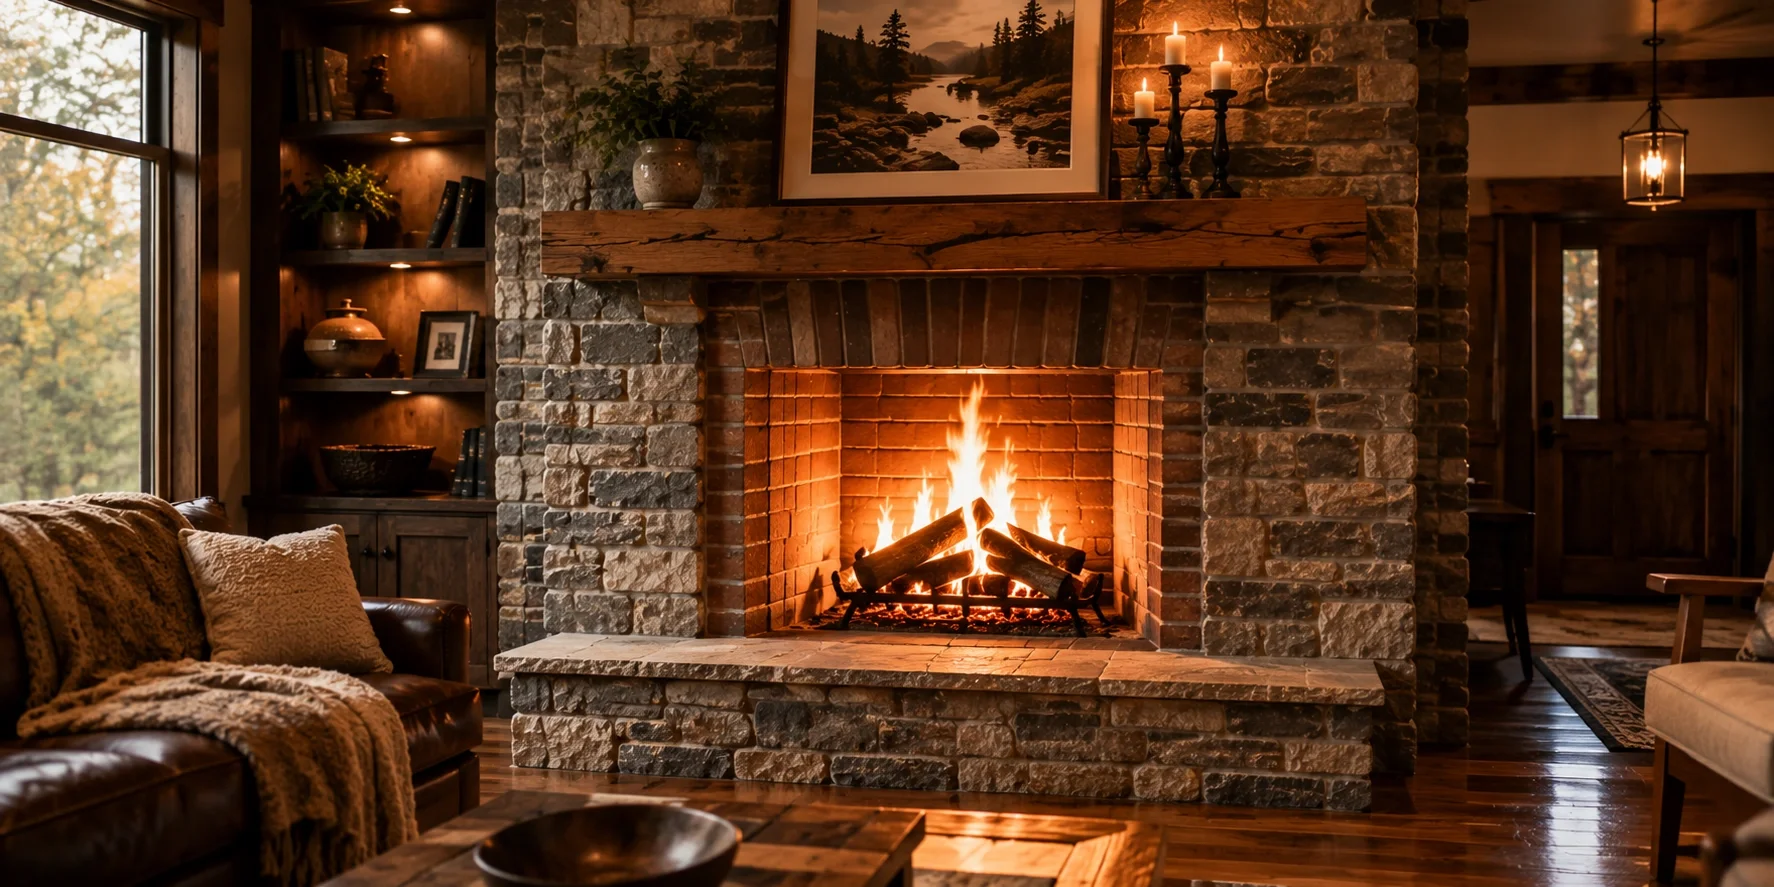
Unlike electric fireplaces or gas fireplaces, wood burning fireplaces require more extensive construction but offer the authentic crackling sounds, woodsy aromas, and unmatched heating capabilities that only real fire can provide. While building a wood fireplace is more complex than creating a faux fireplace, the results are well worth the effort for homeowners who value authenticity and self-sufficiency.
Benefits of Building Your Own Wood Fireplace
Cost Savings
Professional installation can cost $3,000-$10,000, while DIY projects typically range from $500-$2,500 for materials. You're paying for materials, not labor.
Customization
Design your fireplace to perfectly match your home's aesthetic, whether you prefer rustic, modern, or traditional styles.
Heating Efficiency
Wood fireplaces can heat 1,000-2,000 square feet effectively, reducing reliance on central heating and lowering utility bills.
Emergency Heat Source
During power outages, a wood fireplace provides reliable heat and a cooking surface, making your home more resilient.
Home Value Increase
A well-built fireplace can increase your home's value by 6-12%, according to the National Association of Realtors.
Sense of Accomplishment
Building a functional structure with your own hands provides lasting satisfaction and a unique talking point for guests.
Planning and Preparation
Before beginning your DIY wood fireplace project, thorough planning is essential. Unlike electric fireplace installations that can often be completed in a few hours, wood fireplace construction requires careful consideration of multiple factors.
Location Considerations
The placement of your fireplace affects both its functionality and aesthetic impact. Consider these factors when selecting the location:
- Proximity to existing chimney or ability to construct a new one
- Distance from combustible materials (minimum 36 inches recommended)
- Room layout and furniture arrangement
- Ability to properly vent smoke outdoors
- Foundation support for the weight of the fireplace (can exceed 1,000 pounds)
Local Regulations and Permits
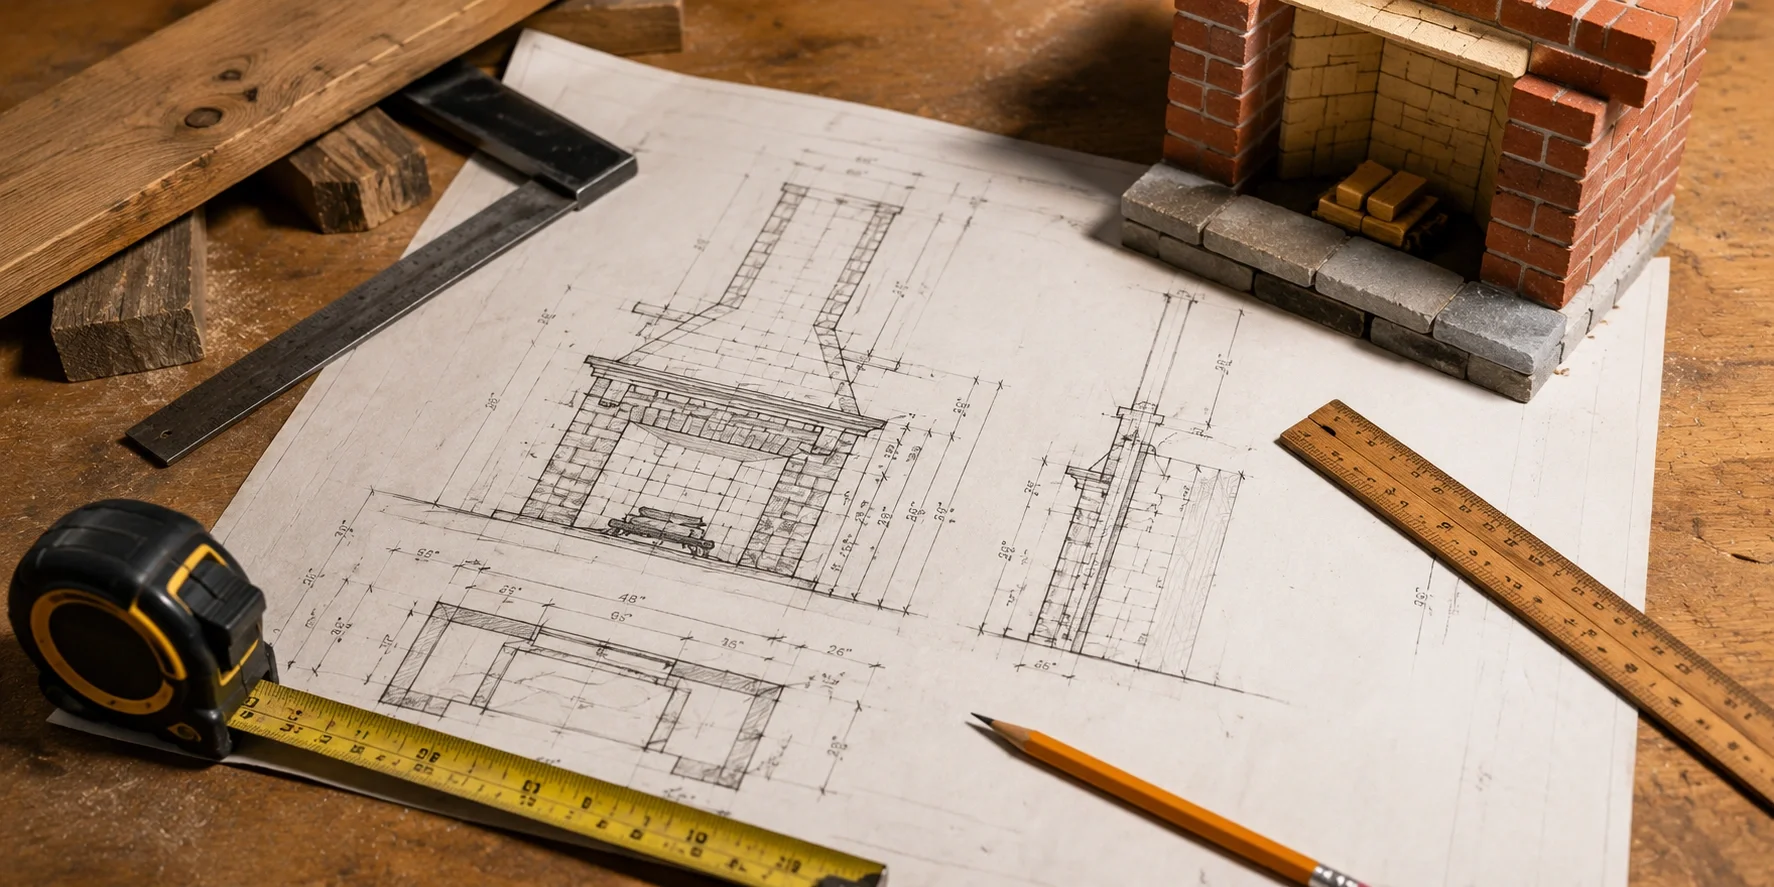
Most jurisdictions require permits for fireplace construction. Check with your local building department about:
- Building permits required for fireplace installation
- Specific building codes for masonry fireplaces
- Chimney height requirements relative to roofline
- Clearance requirements from combustible materials
- Inspection schedule during construction
For detailed information about regulations, visit our fireplace permit requirements guide.
Design Decisions
Your design choices will affect both the appearance and functionality of your fireplace:
- Firebox size: Typically 24-36 inches wide for residential use
- Opening shape: Rectangular, arched, or custom designs
- Mantel style: Wood, stone, or metal options
- Hearth extension: Required non-combustible area in front of fireplace
- Finish materials: Brick, stone, tile, or stucco exterior
Materials and Tools Needed
Building a wood fireplace requires specific materials designed to withstand high temperatures. Using improper materials can create serious safety hazards. Unlike simpler projects like building a fireplace frame, this project requires fire-rated components.
Essential Materials
- Firebrick (600-1,200 depending on size)
- Fireclay mortar (10-20 bags)
- Reinforced concrete blocks for outer structure
- Chimney flue liner (stainless steel or clay)
- Chimney cap and spark arrestor
- Damper assembly
- Steel lintel for firebox opening
- Angle iron for supporting structure
- Rebar for reinforcement
- Concrete for foundation and hearth
- Insulation material (ceramic fiber blanket)
- Flashing for roof penetration
- Finish materials (brick, stone, or tile)
Required Tools
- Masonry trowels (various sizes)
- Masonry hammer
- Level (4-foot and 2-foot)
- Plumb bob
- Mortar mixer (rental)
- Brick saw or masonry grinder
- Tape measure and framing square
- Safety equipment (goggles, gloves, mask)
- Wheelbarrow for mixing mortar
- Chalk line

Step-by-Step Construction Process
Building a wood fireplace is a multi-day project that requires patience and precision. The following steps outline the complete construction process from foundation to finishing touches.
Prepare the Foundation
A proper foundation is critical for supporting the substantial weight of a masonry fireplace. Excavate to below frost line (typically 36-48 inches deep in most regions). Pour a concrete foundation extending at least 6 inches beyond the fireplace footprint on all sides. Include rebar reinforcement for added strength. Allow concrete to cure for at least 7 days before proceeding.
Build the Hearth Base
Construct the raised hearth using concrete blocks or poured concrete. The hearth should extend at least 16 inches in front of the fireplace opening and 8 inches on each side. Include a slight forward slope (1/4 inch per foot) to prevent water accumulation. Install a moisture barrier between the foundation and hearth base.
Lay the Firebox Foundation
On top of the hearth base, lay a solid foundation of firebrick using fireclay mortar. This base should be level and extend slightly beyond the firebox dimensions to provide a stable platform for construction. Ensure the mortar joints are completely filled to prevent heat transfer to the outer structure.
Construct the Firebox Walls
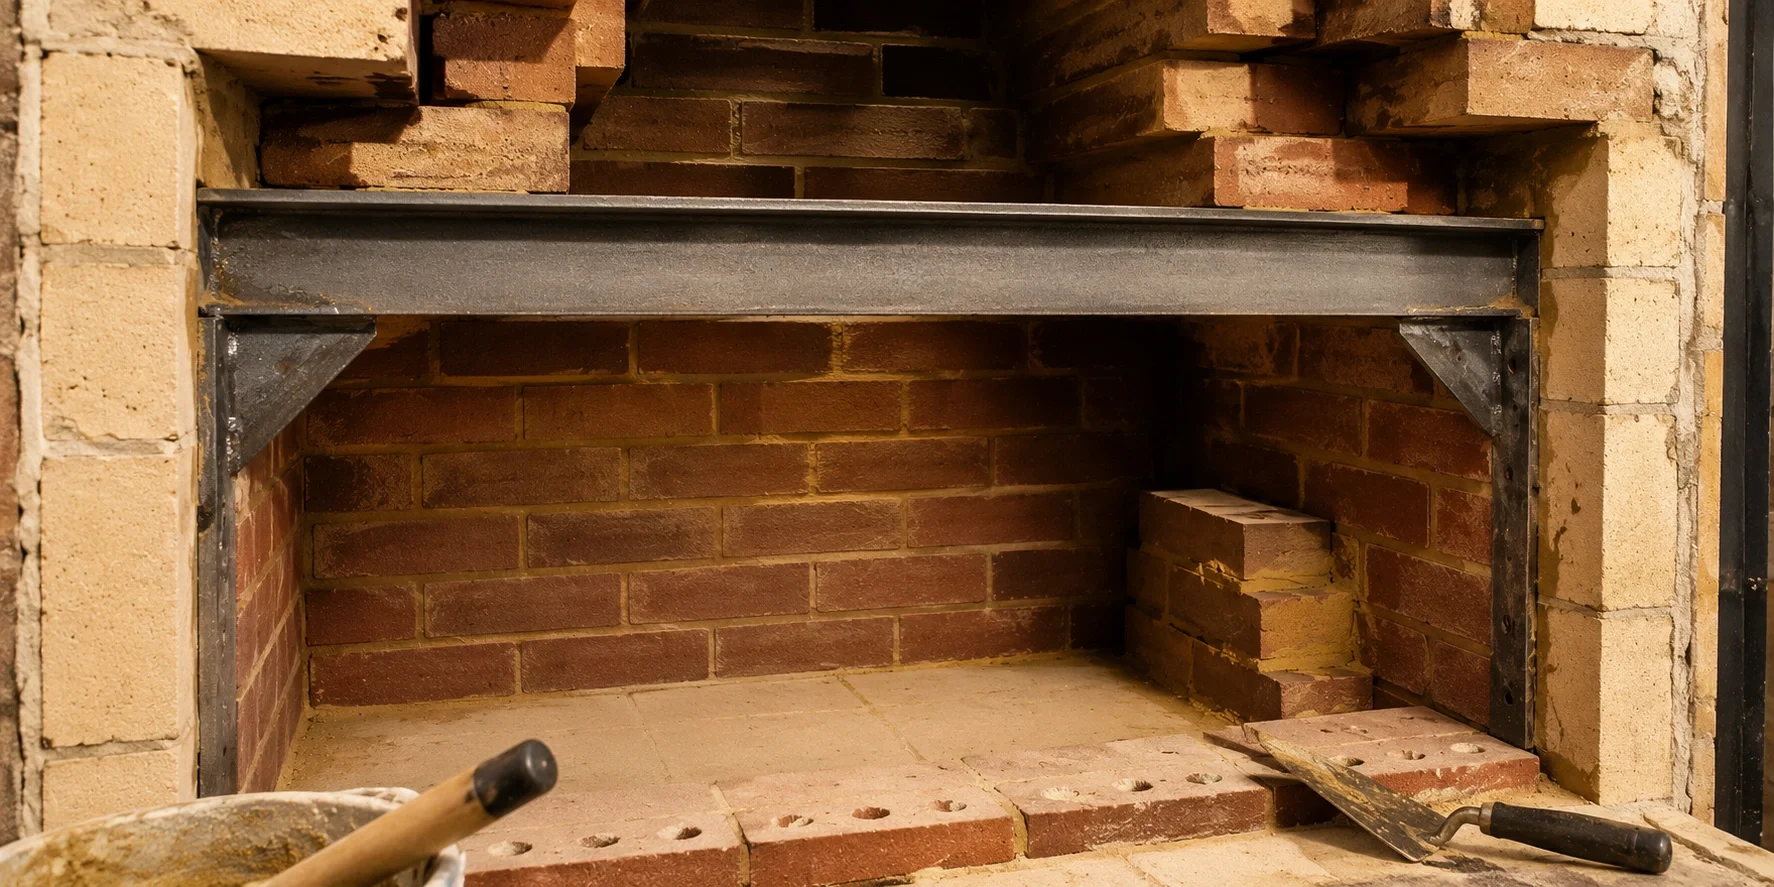
Build the firebox walls with firebrick, maintaining a wall thickness of at least 8 inches (typically two brick widths). The back wall should angle forward slightly (about 1 inch per foot) to reflect heat into the room. Install the steel lintel across the top of the firebox opening to support the weight above. The firebox dimensions should follow the 1:2 ratio of depth to width for optimal drafting.
Install the Smoke Chamber
Above the firebox, construct the smoke chamber that transitions from the rectangular firebox to the round chimney flue. This area should be smooth to minimize turbulence and improve drafting. Use corbeled brickwork or a preformed smoke chamber kit. The smoke chamber should not exceed 30 inches in height to prevent excessive smoke residence time and creosote buildup.
Build the Chimney Structure
Construct the chimney around the flue liner using concrete blocks or brick. Install the stainless steel or clay flue liner, ensuring proper alignment and sealing at all joints. The chimney should extend at least 3 feet above the roofline and 2 feet higher than any part of the building within 10 feet horizontally. Install the damper assembly at the base of the chimney.
Add Insulation
Install ceramic fiber insulation between the firebox and outer structure to improve heating efficiency and protect surrounding building materials from heat transfer. This insulation is critical for preventing structural damage and reducing the risk of fire. Leave no gaps in the insulation coverage.
Complete the Exterior
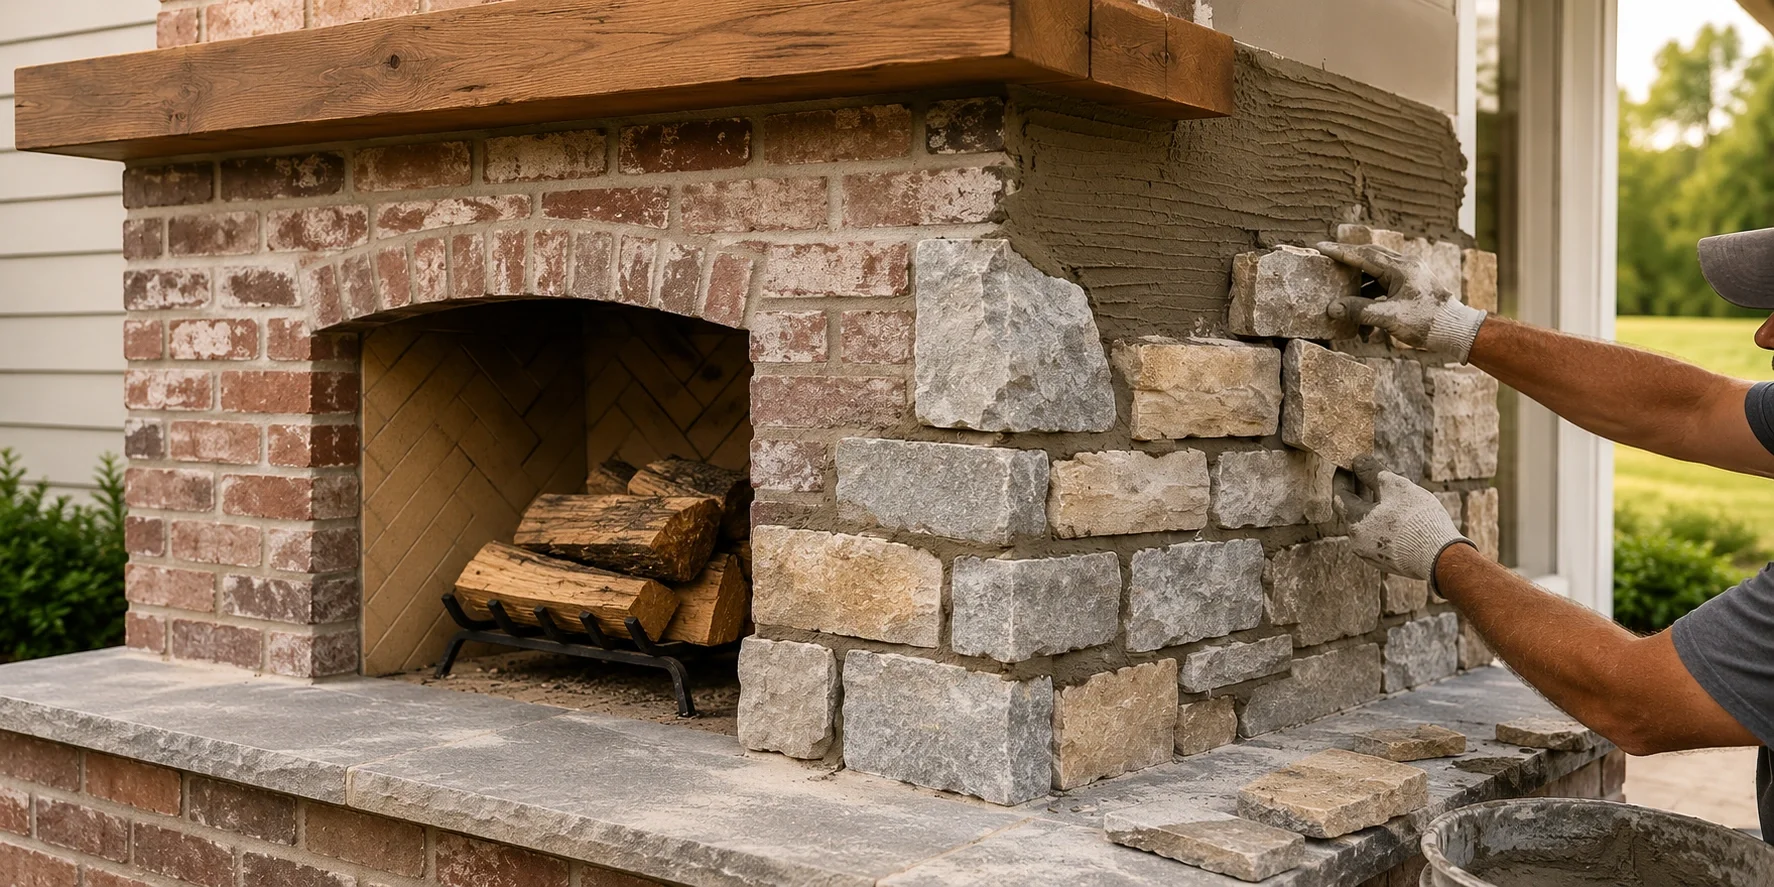
Finish the exterior of your fireplace with your chosen material—brick, stone, or stucco. This is where you can personalize the appearance to match your home's style. For a brick fireplace, use matching mortar and proper bricklaying techniques. For stone, select pieces that fit together well and create a natural appearance. For a stucco finish, apply in multiple thin layers for durability.
Install the Mantel and Hearth Extension
Add the mantel and finish the hearth extension with non-combustible materials. The mantel must be installed at the proper height (typically 12-18 inches above the fireplace opening) and with adequate clearance from the firebox. Complete the hearth with tile, stone, or brick that extends the required distance from the fireplace opening.
Install Chimney Cap and Final Details
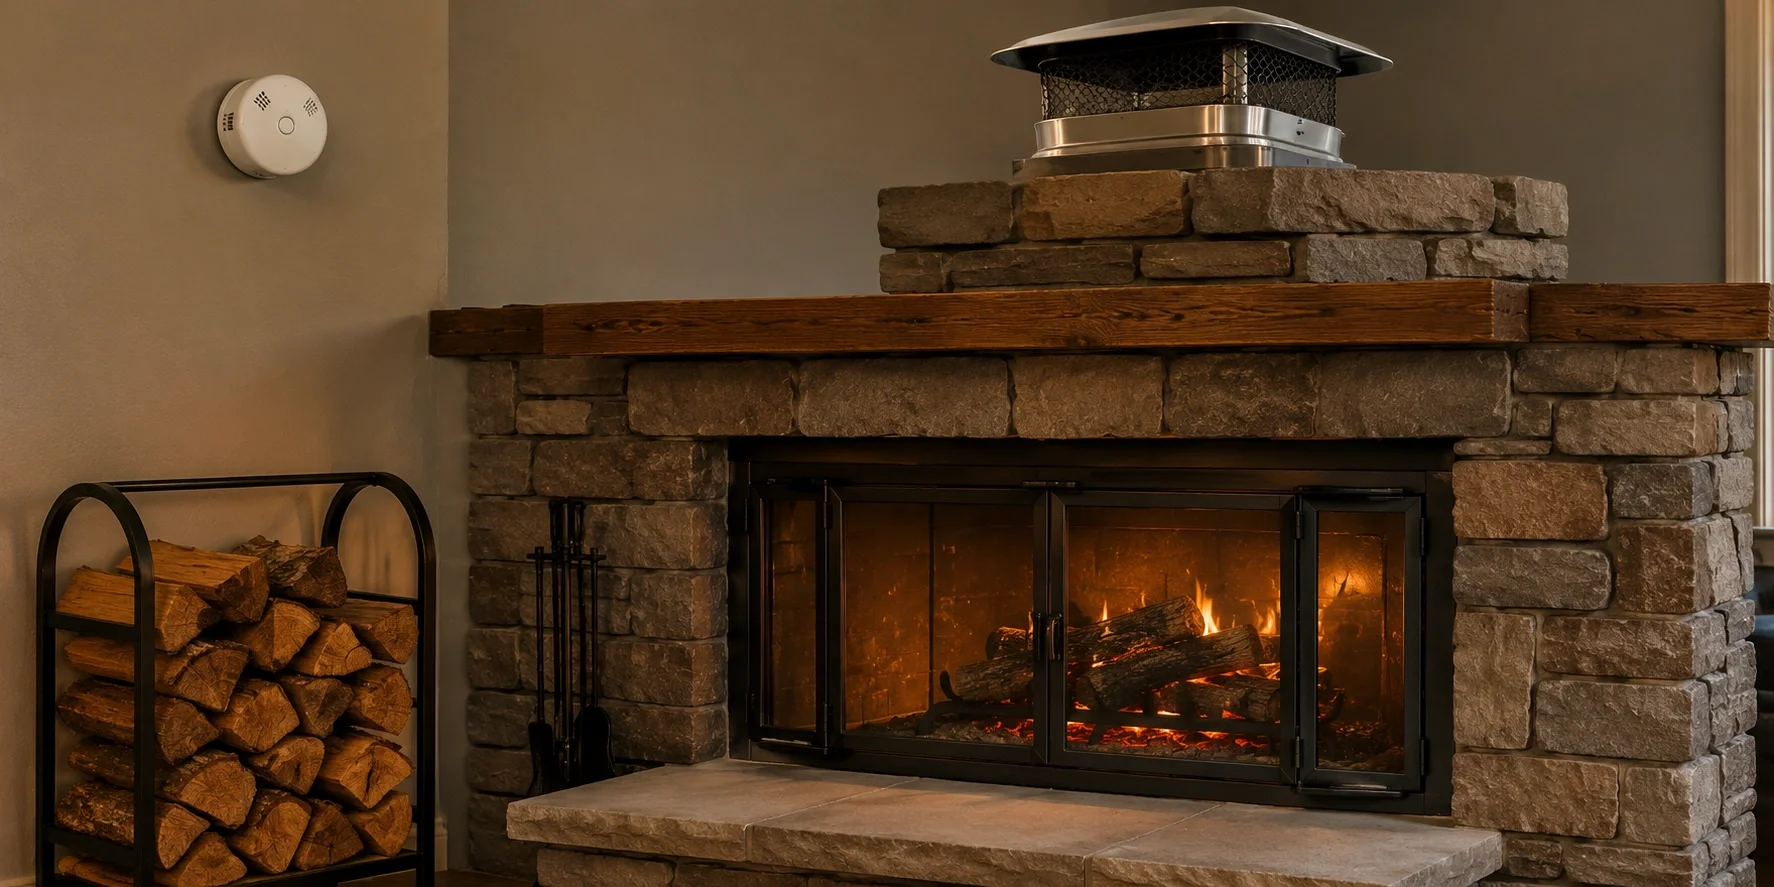
Install a chimney cap with spark arrestor to prevent rain entry and reduce fire risk from escaping embers. Add any final details like glass doors or a screen. Allow all mortar to cure completely (typically 28 days) before building your first fire. Schedule a final inspection with your local building department.
DIY Wood Fireplace Cost Breakdown
Building a wood fireplace yourself can result in significant savings compared to professional installation. The following table provides a realistic cost breakdown for a standard indoor masonry fireplace project.
| Component | Materials Cost | Notes |
|---|---|---|
| Foundation and Hearth | $200-$400 | Concrete, rebar, forms |
| Firebrick and Mortar | $300-$600 | High-temperature rated materials |
| Chimney Flue Liner | $200-$500 | Stainless steel or clay |
| Structural Materials | $150-$300 | Blocks, lintels, angle iron |
| Insulation | $100-$200 | Ceramic fiber blanket |
| Finishing Materials | $300-$800 | Brick, stone, or stucco |
| Hardware and Accessories | $150-$300 | Damper, cap, doors |
| Tools (purchase/rental) | $100-$400 | If not already owned |
| Permits and Inspections | $100-$300 | Varies by location |
| Total Estimated Cost | $1,600-$3,800 | Depending on size and materials |
For comparison, professional installation of the same fireplace would typically cost $3,000-$10,000 including labor. Your DIY savings could range from $1,400 to $6,200 or more. For more detailed cost analysis, see our fireplace cost breakdown guide.
Safety Considerations
Safety is paramount when building and using a wood fireplace. Unlike electric fireplaces that have minimal safety concerns, wood burning fireplaces require strict adherence to safety protocols during both construction and use.
Construction Safety
- Always wear appropriate safety equipment: goggles, gloves, and a dust mask when cutting masonry materials
- Ensure the foundation can support the weight (often exceeding 1,000 pounds for a complete fireplace and chimney)
- Maintain proper clearances from combustible materials as specified by building codes
- Use only fire-rated materials for the firebox and smoke chamber
- Install a proper spark arrestor on the chimney to prevent roof fires
- Schedule required inspections during construction to verify compliance with local codes
Operational Safety
- Have the chimney inspected and cleaned annually by a professional chimney sweep
- Never burn treated wood, plastics, or garbage in your fireplace
- Install and maintain carbon monoxide detectors in rooms with fireplaces
- Keep a safety gate or screen in place to prevent sparks from escaping
- Never leave a fire unattended, especially with children or pets present
- Dispose of ashes in a metal container with a tight-fitting lid, stored away from combustibles
For comprehensive safety information, visit our carbon monoxide signs and ember safety guides.
Maintenance Tips for Your DIY Wood Fireplace
Proper maintenance ensures your fireplace operates safely and efficiently for years to come. While wood fireplaces require more upkeep than electric fireplace maintenance, following these guidelines will help protect your investment.
Regular Maintenance Tasks
- Clean the firebox regularly, removing ash buildup to maintain proper airflow
- Inspect the firebrick and mortar for cracks or deterioration, repairing as needed
- Check the damper operation before each burning season to ensure it opens and closes properly
- Remove creosote buildup from the chimney at least once annually, or more frequently if you use the fireplace regularly
- Inspect the chimney cap and flashing for damage after severe weather
- Check for and seal any gaps in the mortar joints to prevent water infiltration
Seasonal Maintenance
- Spring: Schedule a professional chimney inspection and cleaning after the burning season ends
- Summer: Keep the damper closed when not in use to prevent cool air from entering and warm air from escaping
- Fall: Prepare for the burning season by checking all components and stocking up on seasoned firewood
- Winter: Monitor performance during use and address any drafting issues immediately
For a complete maintenance schedule, refer to our wood fireplace maintenance guide and seasonal checklist.
Common Mistakes to Avoid
Learning from others' experiences can help you avoid costly and potentially dangerous mistakes in your DIY wood fireplace project.
Construction Errors
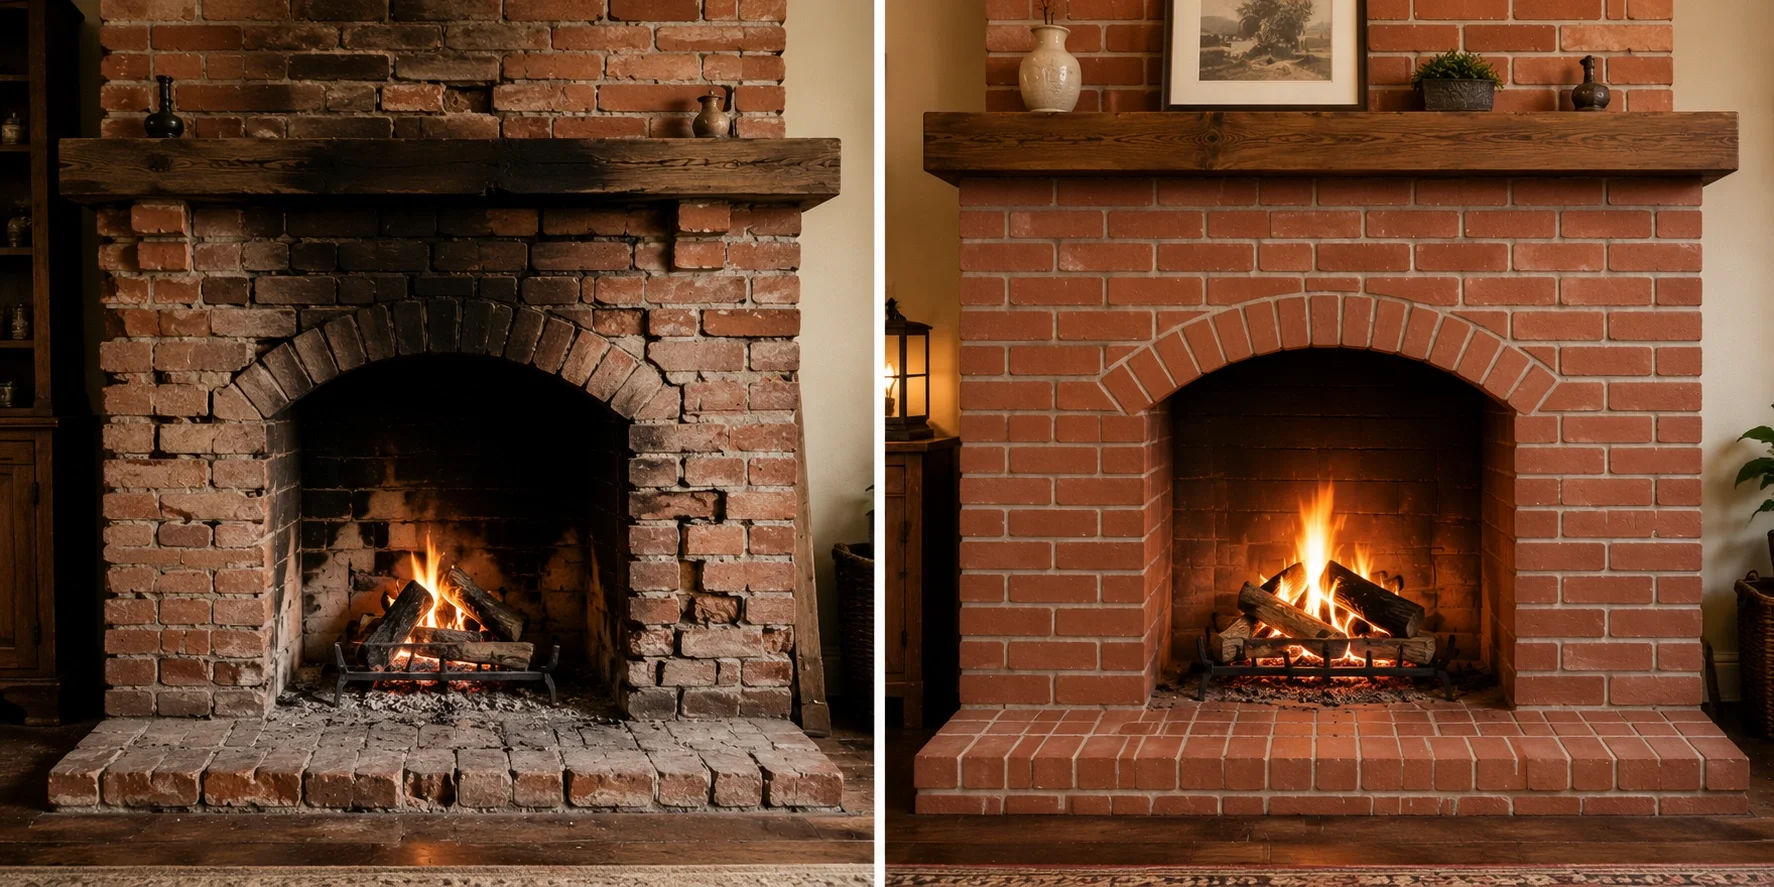
- Inadequate foundation: Underestimating the weight of a masonry fireplace leads to settling and structural damage
- Incorrect firebox dimensions: Improper ratios between width, depth, and height can cause drafting problems and poor combustion
- Poor mortar work: Gaps or weak joints in the firebox can allow heat to transfer to combustible materials
- Insufficient chimney height: A chimney that's too short won't draft properly, causing smoke problems
- Neglecting insulation: Failing to properly insulate between the firebox and outer structure creates fire hazards
Design Mistakes
- Ignoring room proportions: An oversized fireplace can overwhelm a small room, while a tiny fireplace looks lost in a large space
- Poor location choice: Placing the fireplace where it disrupts traffic flow or furniture arrangement reduces its usability
- Incompatible style: Choosing a design that clashes with your home's architecture creates a disjointed appearance
- Forgoing a mantel: A well-designed mantel provides both aesthetic appeal and practical display space
For more troubleshooting information, visit our fireplace smoke problems and draft problems guides.
Alternatives to Consider
While a full masonry wood fireplace offers the most authentic experience, it's not the right choice for every situation. Consider these alternatives based on your specific needs and constraints:
Fireplace Inserts
If you have an existing masonry fireplace that's inefficient or damaged, a fireplace insert can transform it into a highly efficient heating source. Inserts are available in wood, gas, and electric models, with wood inserts providing the authentic wood-burning experience with significantly improved efficiency.
Prefab Wood Fireplaces
Prefabricated (prefab) fireplaces offer a middle ground between full masonry construction and simpler alternatives. These factory-built units are lighter, easier to install, and often more efficient than traditional masonry fireplaces, while still providing the wood-burning experience.
Outdoor Wood Fireplaces
If indoor installation seems too complex, consider an outdoor wood fireplace. These projects often have fewer regulatory requirements and can provide a beautiful focal point for your outdoor living space. For more information, see our fire pit vs outdoor fireplace comparison.
Alternative Fuel Types
If the maintenance requirements of wood burning seem daunting, consider these alternatives:
- Gas fireplaces offer realistic flames with push-button convenience
- Electric fireplaces provide the easiest installation and minimal maintenance
- Ethanol fireplaces offer real flames without the need for venting
For a comprehensive comparison of fuel types, see our electric vs gas vs wood fireplace comparison.
Conclusion
Building a DIY wood fireplace is a significant project that requires careful planning, proper materials, and attention to detail. When done correctly, it provides not only efficient heating but also a beautiful focal point that enhances your home's aesthetic and value. While the process is more involved than installing wall fireplaces or other simpler options, the rewards of creating a functional, beautiful wood fireplace with your own hands are substantial.
Remember that safety should always be your top priority—both during construction and in the ongoing use of your fireplace. When in doubt, consult with professionals or consider hiring experts for specific aspects of the project that are beyond your skill level.
With proper planning, quality materials, and careful execution, your DIY wood fireplace will provide warmth, ambiance, and satisfaction for years to come. For more information on related projects, explore our guides on DIY brick fireplaces, DIY stone fireplaces, and DIY fireplace surrounds.