DIY Fireplace: Complete Guide to Building Your Own
Transform your space with a custom-built fireplace. Our comprehensive guide covers everything from planning to completion.
Explore DIY OptionsWhy Build a DIY Fireplace? Creating your own fireplace not only saves money compared to professional installation but also gives you complete control over the design, materials, and features. Whether you're looking to add a focal point to your living room or create an outdoor gathering space, a DIY fireplace project can be both rewarding and practical.
Understanding DIY Fireplace Projects
A DIY fireplace can range from a simple faux fireplace for decorative purposes to a fully functional heating solution. The complexity of your project will depend on factors like your skill level, budget, and whether you want a real or simulated fire effect.
Before starting any DIY fireplace project, it's crucial to understand local building codes, especially for gas or wood-burning installations. Even electric fireplaces may require specific electrical work that should meet local regulations.
The benefits of a DIY approach extend beyond cost savings. You'll gain valuable skills, create a customized feature that perfectly matches your space, and have the satisfaction of completing a significant home improvement project.
Types of DIY Fireplaces
DIY Electric Fireplace
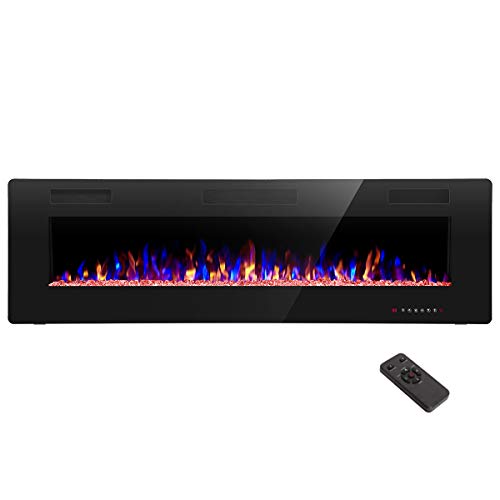
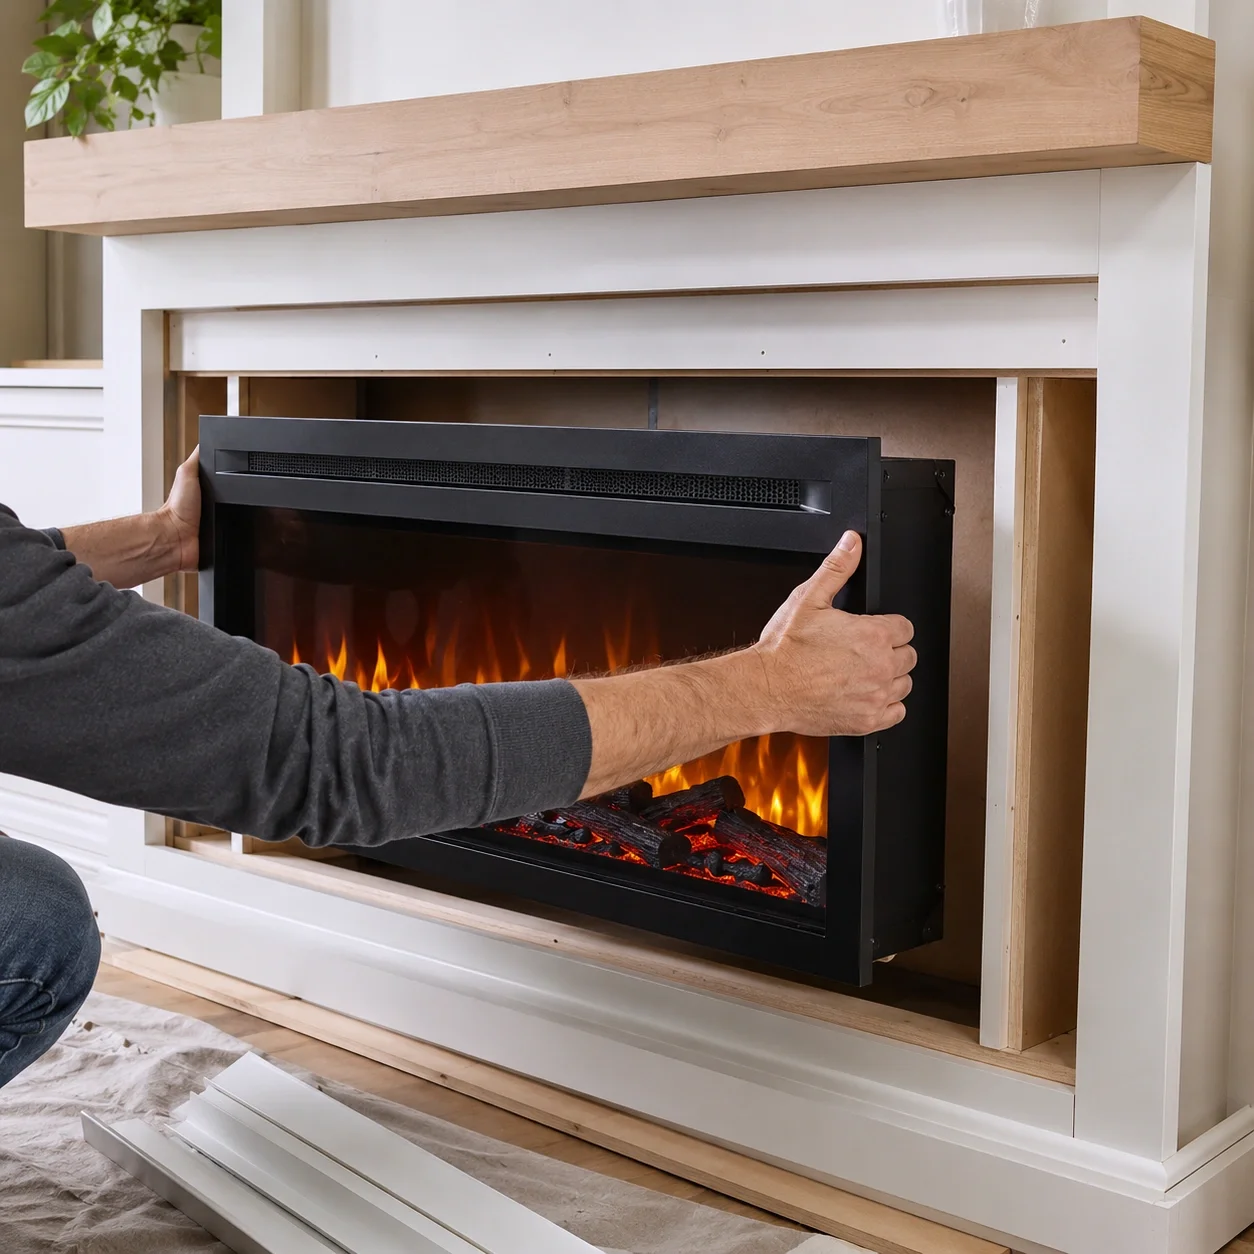
The simplest option for most homeowners, electric fireplaces require no venting and minimal installation. You can build a surround or mantel to house a purchased electric insert, creating a custom look without complex construction. Most models simply plug into a standard outlet, making them ideal for apartments and rooms without existing chimney infrastructure.
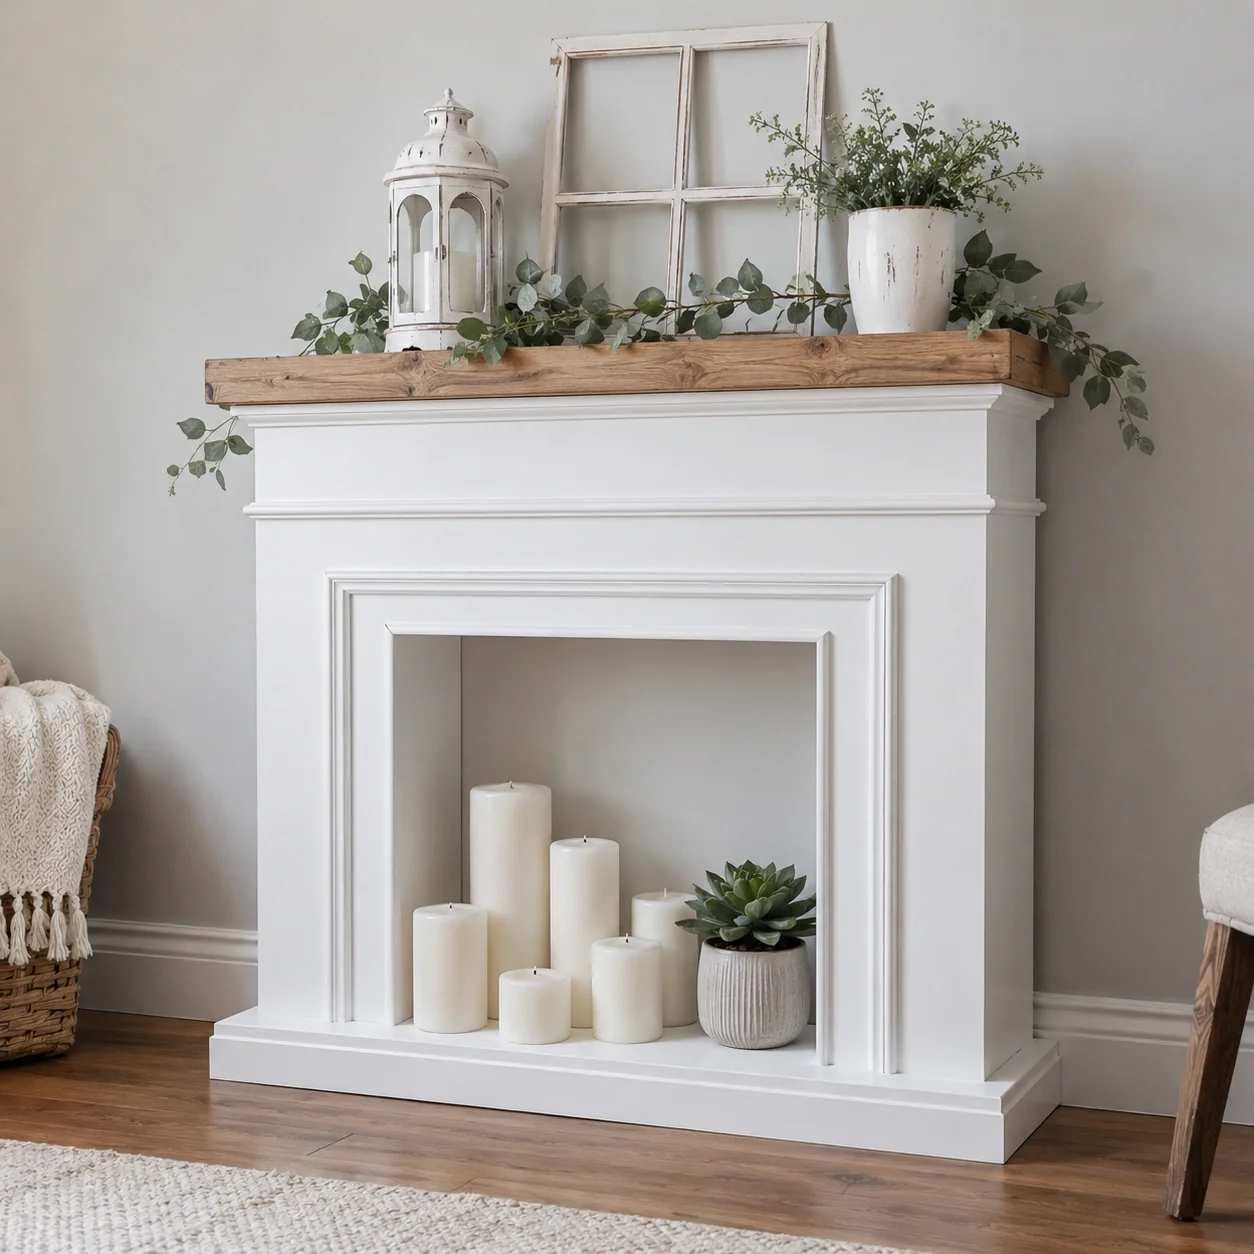
DIY Faux Fireplace
A decorative fireplace that mimics the appearance of a real fireplace without any heating function. Perfect for adding architectural interest to a room, these can be built from MDF, plywood, or even reclaimed wood. They're excellent for displaying decor, candles, or seasonal items, and can be completed in a weekend with basic tools.

DIY Outdoor Fireplace
Transform your patio or backyard with a custom outdoor fireplace. These projects typically involve masonry work and can range from simple fire pits with surrounding walls to elaborate structures with chimneys. While more challenging than indoor options, outdoor fireplaces have fewer code restrictions and don't require the same precision as interior installations.
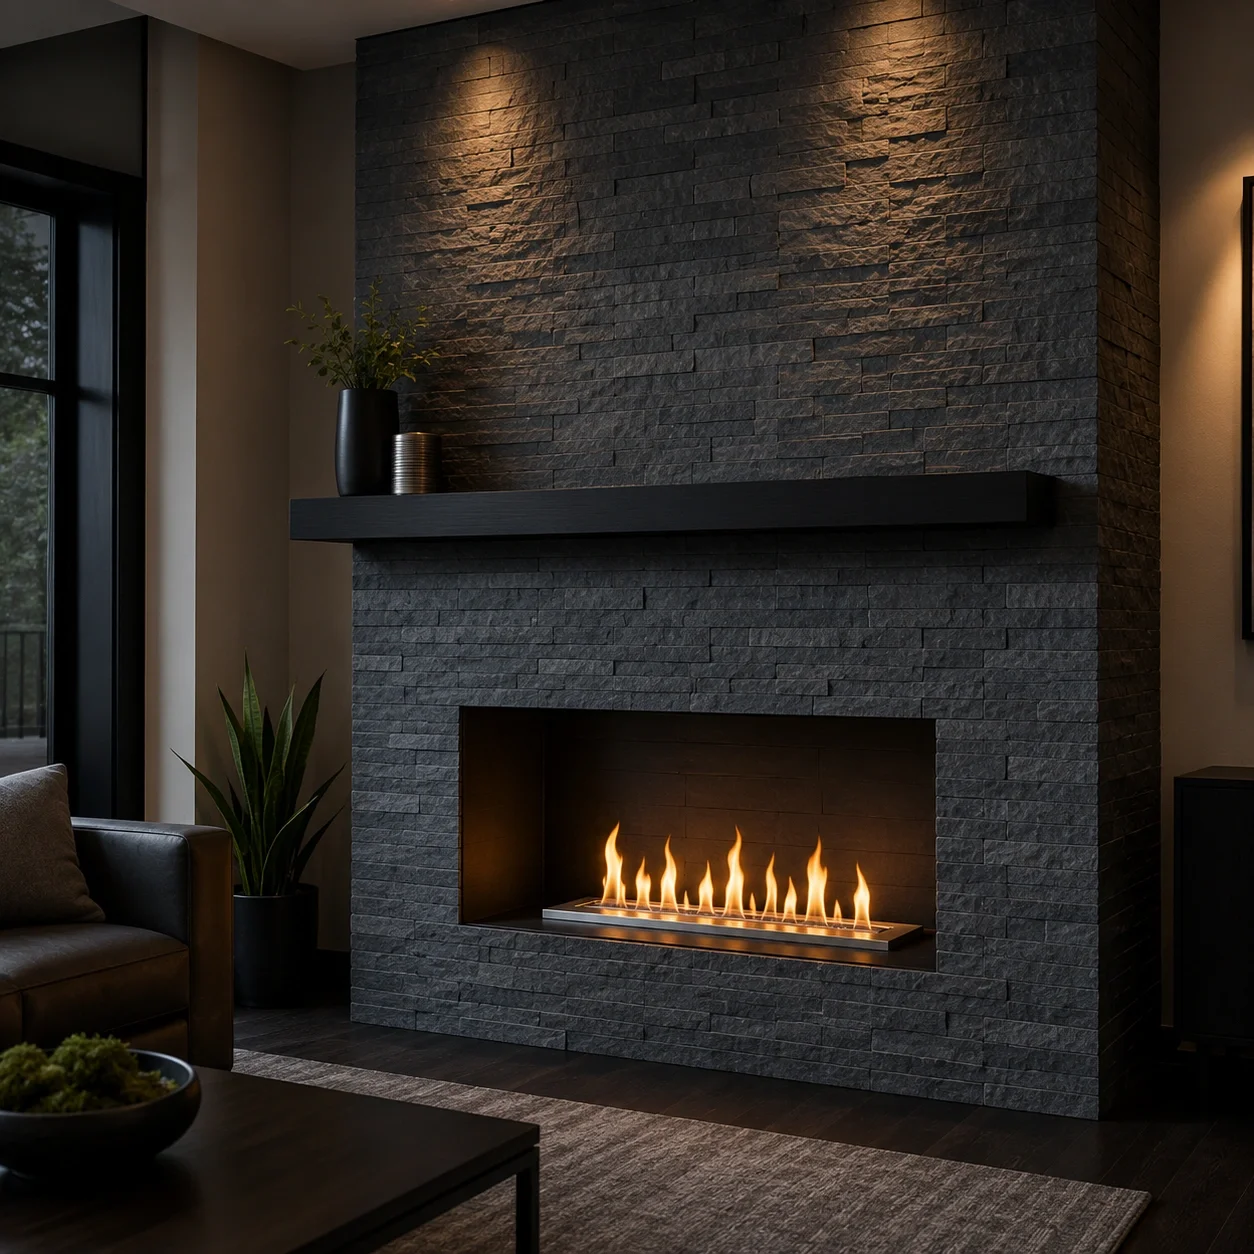
DIY Ventless Fireplace
Ventless fireplaces, whether gas or ethanol-based, offer real flames without the need for a chimney or venting system. While the installation of the unit itself is relatively straightforward, building a custom surround requires some construction knowledge. These are an excellent option when you want the ambiance of real flames but can't install traditional venting.
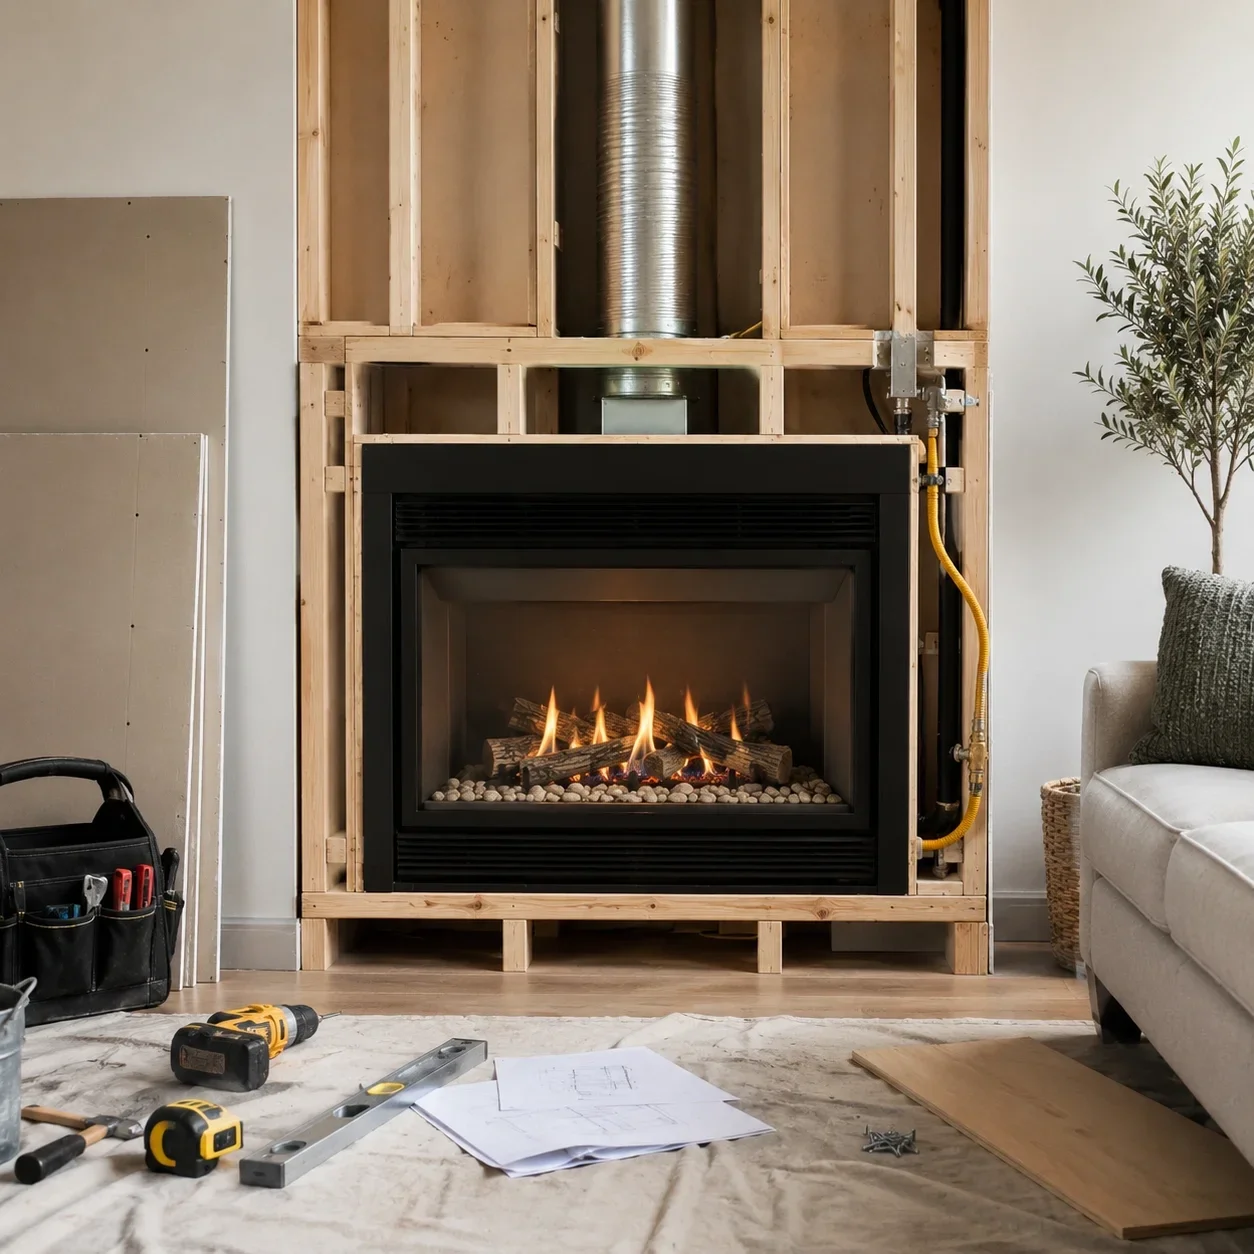
DIY Gas Fireplace
The most complex DIY fireplace option, gas fireplaces require proper venting, gas line installation, and often electrical work. While building the surround can be a DIY project, the gas connections and venting should typically be handled by professionals. However, you can significantly reduce costs by handling the construction portion yourself.
Essential Materials for DIY Fireplaces
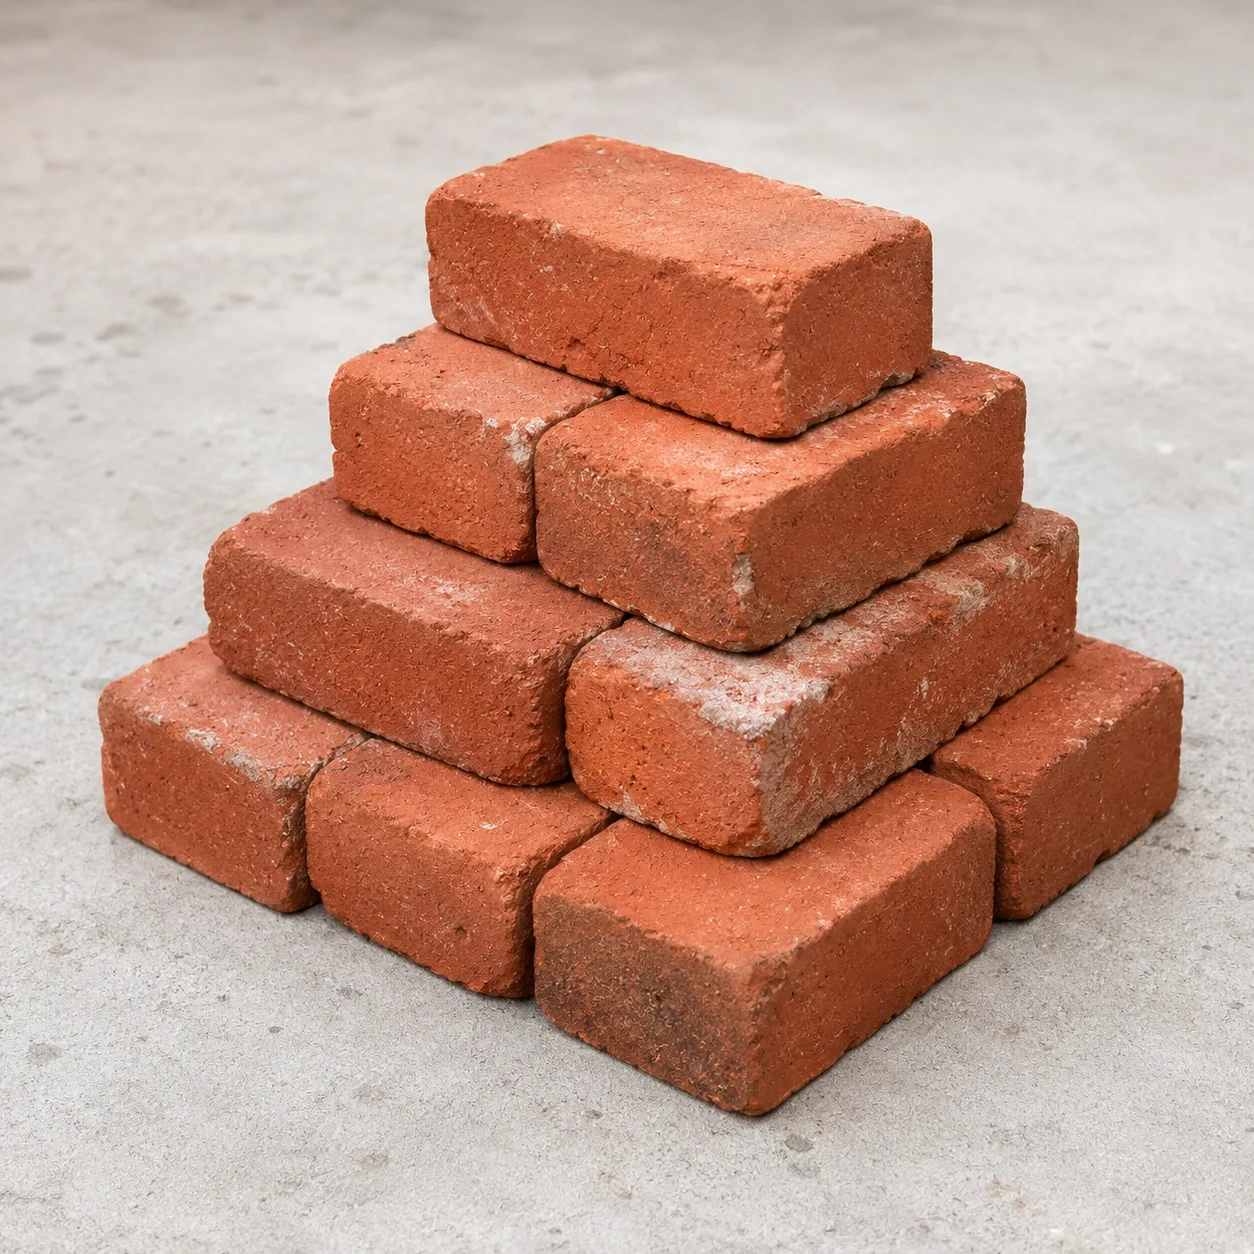
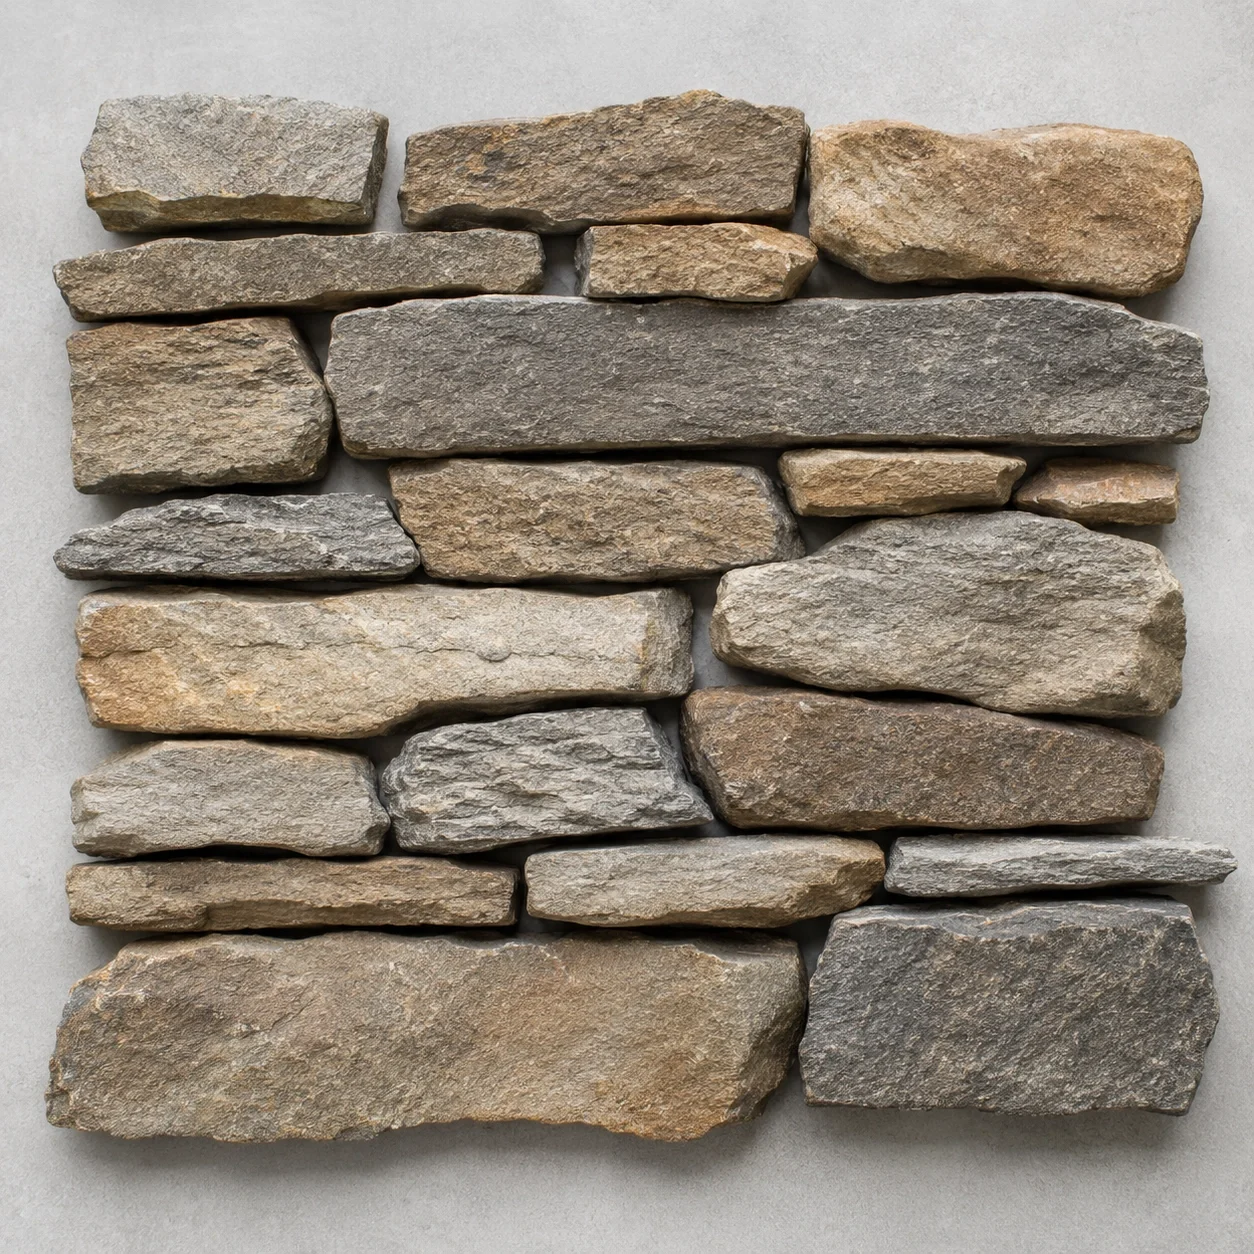
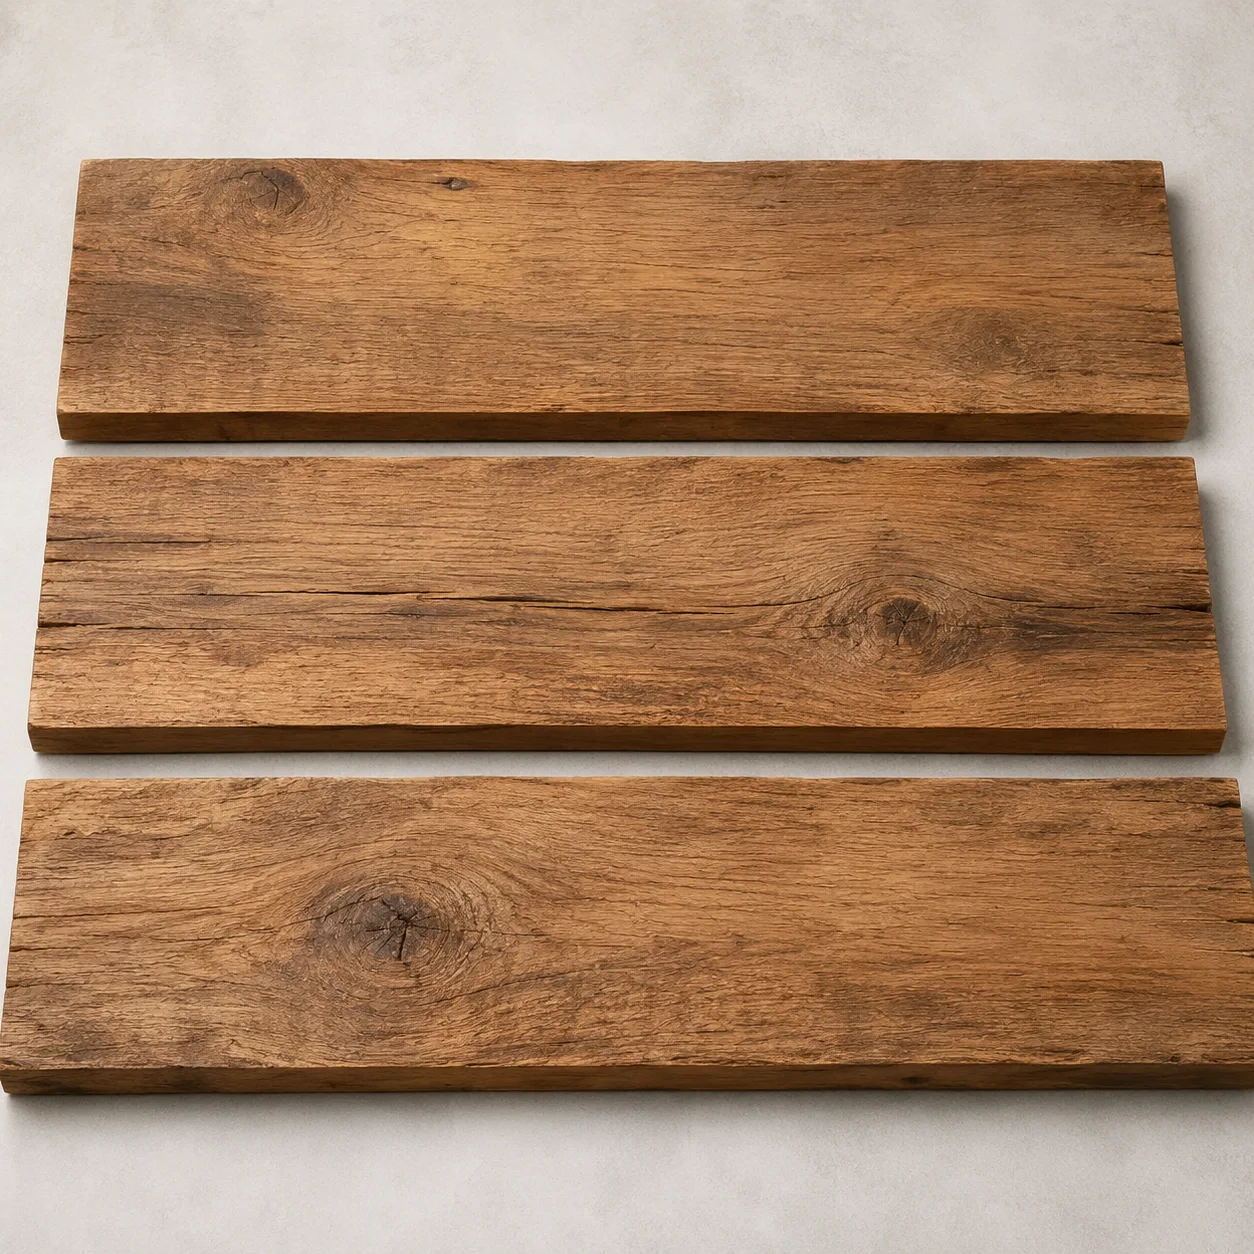
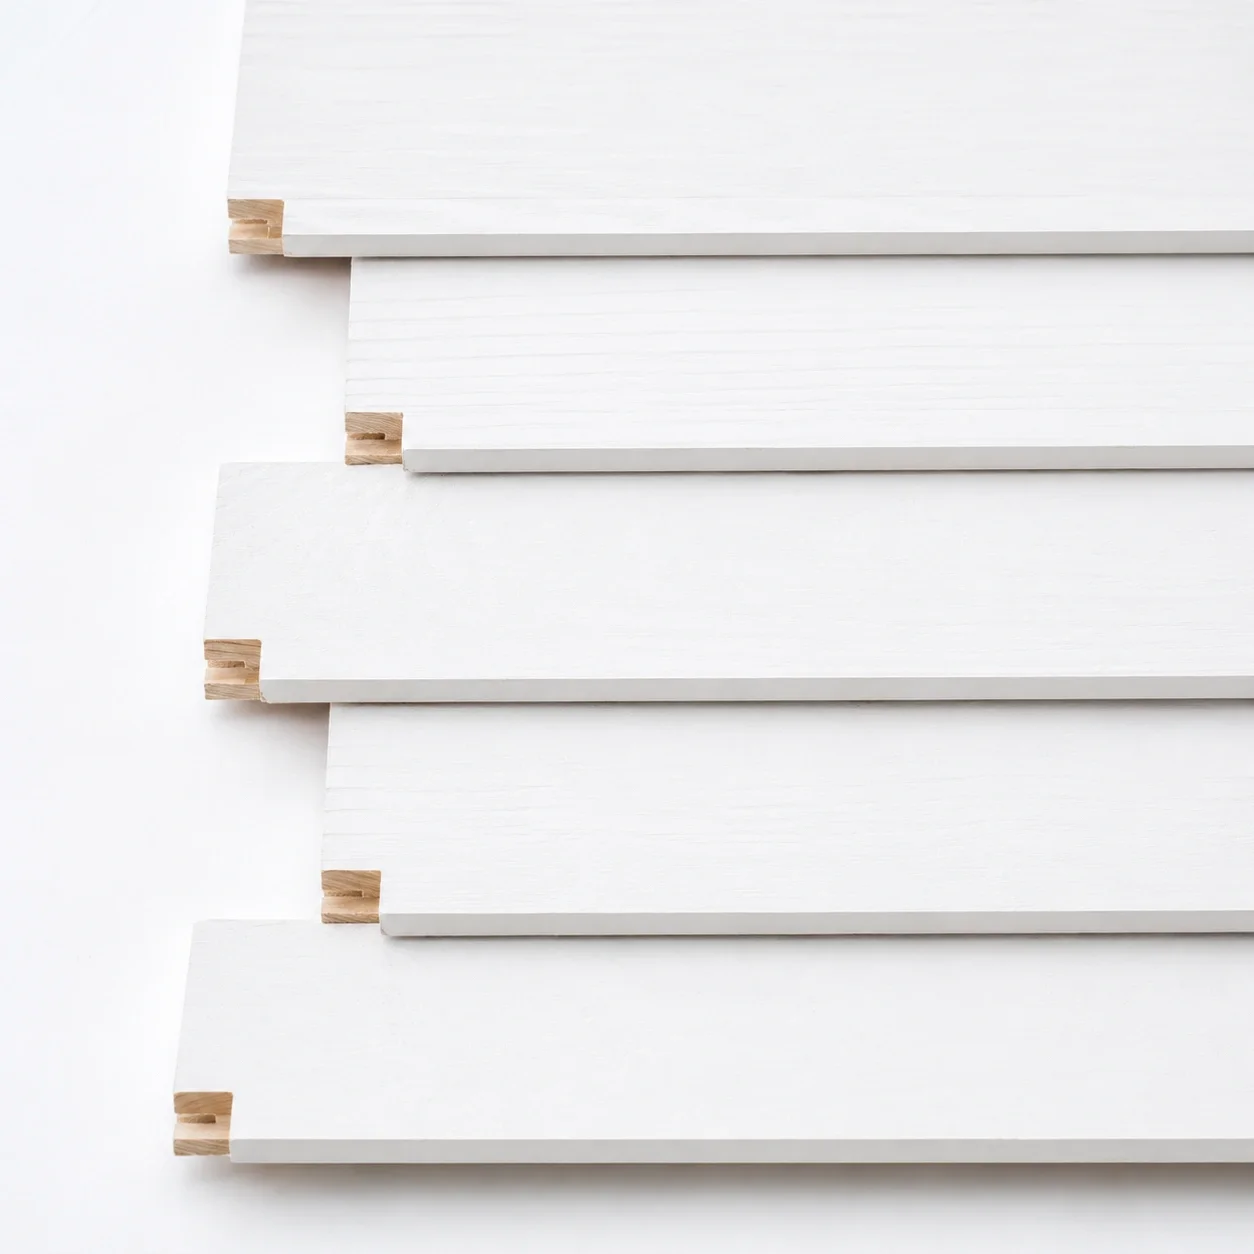
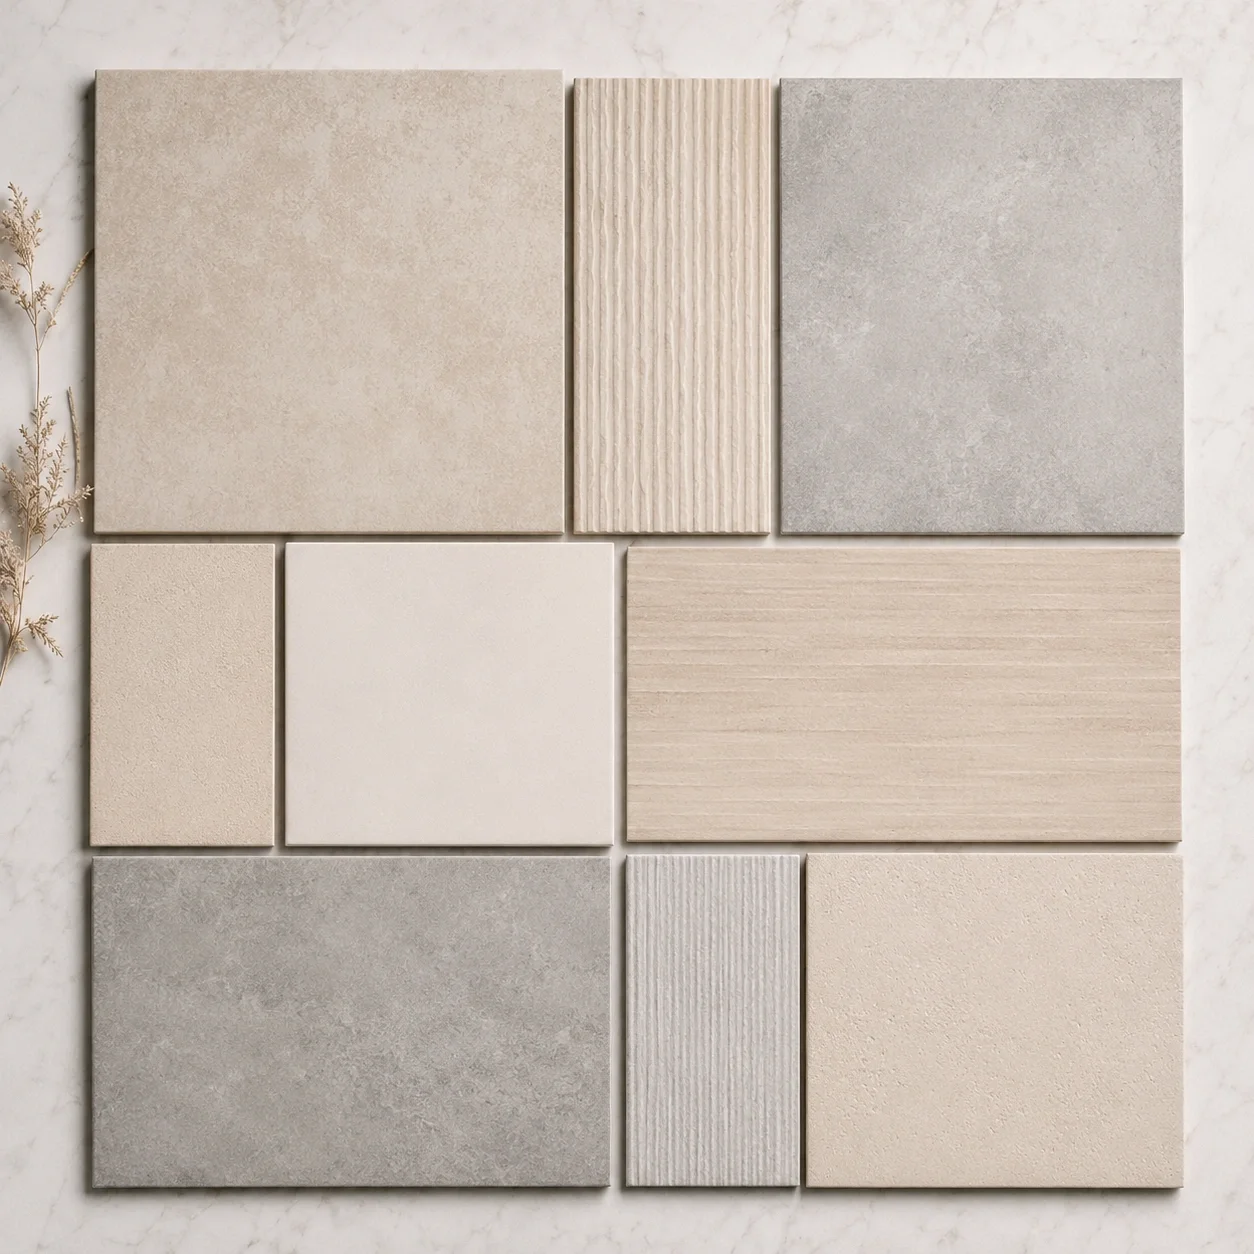
DIY Fireplace Cost Breakdown
| Fireplace Type | Materials Cost | Tools Needed | Total Estimated Cost |
|---|---|---|---|
| Faux Fireplace | $50-$200 | Basic hand tools | $100-$350 |
| Electric Fireplace Surround | $150-$500 | Power tools, level | $300-$900 (including insert) |
| Ventless Ethanol Fireplace | $200-$600 | Power tools, level | $400-$1,200 (including burner) |
| Outdoor Fireplace | $500-$2,000 | Masonry tools, mixer | $800-$3,000 |
| Gas Fireplace (DIY surround only) | $300-$1,500 | Power tools, level | $600-$2,500 (plus professional installation) |
Step-by-Step Guide: Building a Basic DIY Electric Fireplace
Planning and Design
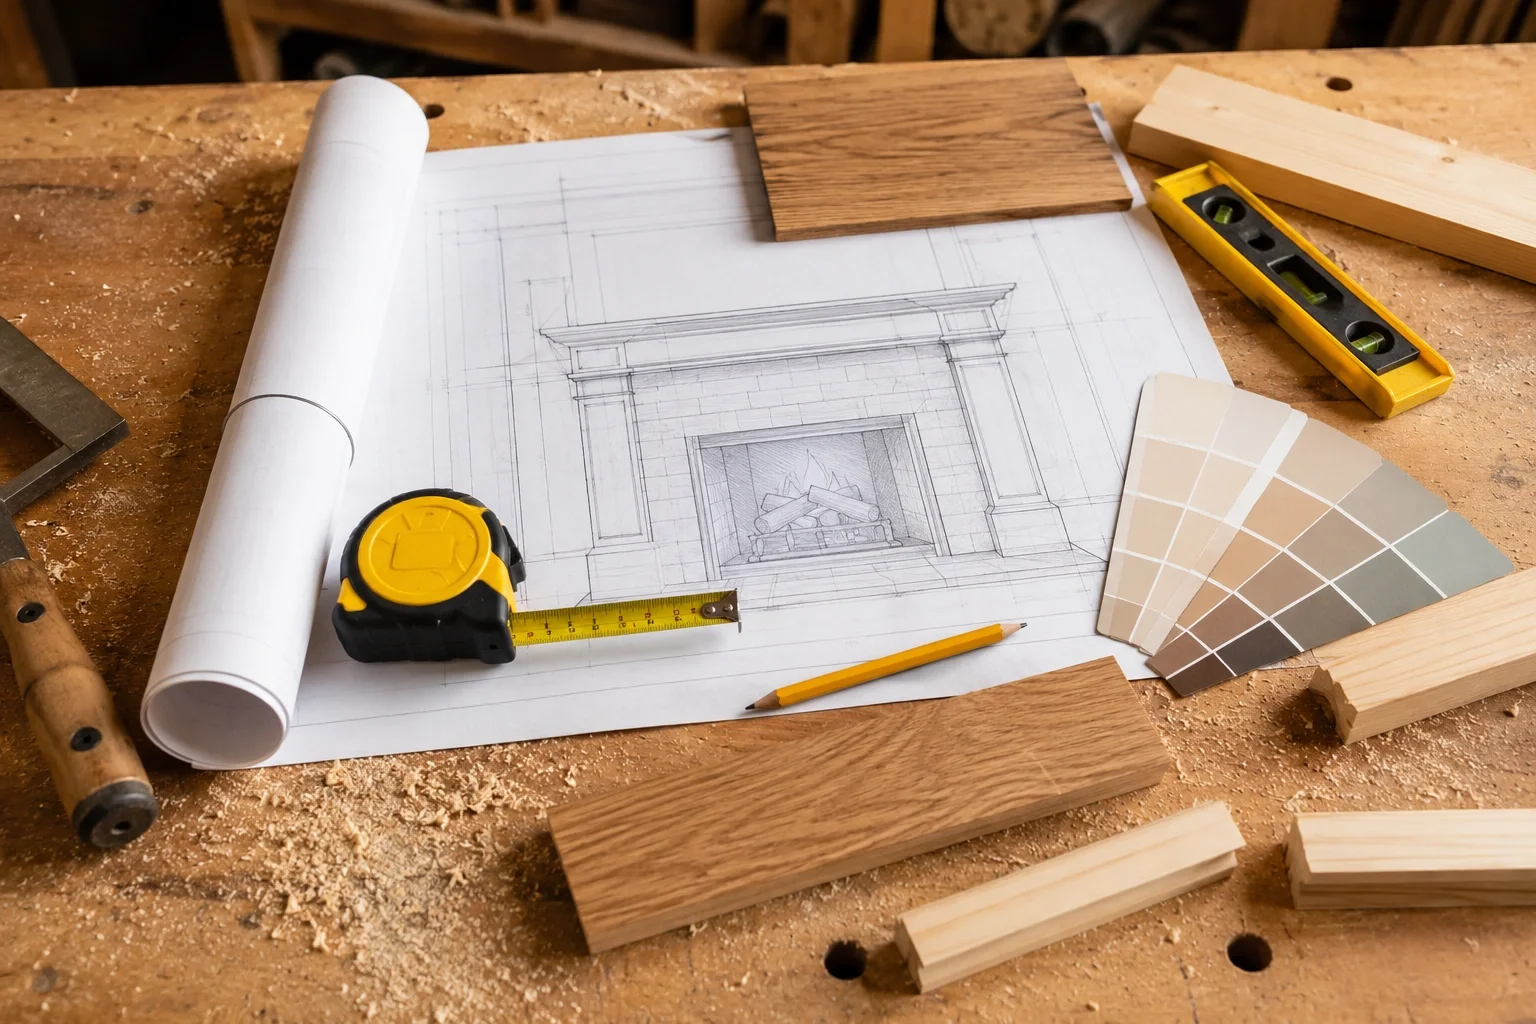
Measure your space carefully and determine the dimensions of your fireplace. Consider the size of the electric insert you'll be using and ensure you have adequate clearance from combustible materials. Sketch your design, including the surround, mantel, and any decorative elements.
Check local building codes for any requirements, even for electric fireplaces. Some jurisdictions may have specific regulations about electrical outlets near fireplaces or minimum clearances.
Gathering Materials and Tools
Based on your design, create a complete materials list. For a basic electric fireplace surround, you'll typically need:
- 2x4 lumber for framing
- MDF or plywood for the surround panels
- Trim and molding for decorative elements
- Paint or stain appropriate for high-temperature areas
- Electric fireplace insert
Essential tools include a circular saw, drill, level, stud finder, tape measure, and safety equipment.
Building the Frame
Construct a sturdy frame using 2x4 lumber. Use a stud finder to locate wall studs and attach the frame securely. Ensure the frame is perfectly level and plumb, as any misalignment will be visible in the finished product. Leave appropriate openings for the electric insert and any electrical access needed.
If you're building a freestanding unit rather than a wall-mounted one, construct a base that's stable and level, with adequate weight distribution for the finished fireplace.
Installing the Surround Panels
Cut your MDF or plywood panels to size and attach them to the frame. For a more finished look, consider adding recessed panels or other architectural details. If you're planning to add tile or stone to the surround, install cement board instead of wood products to provide a proper surface for adhesion.
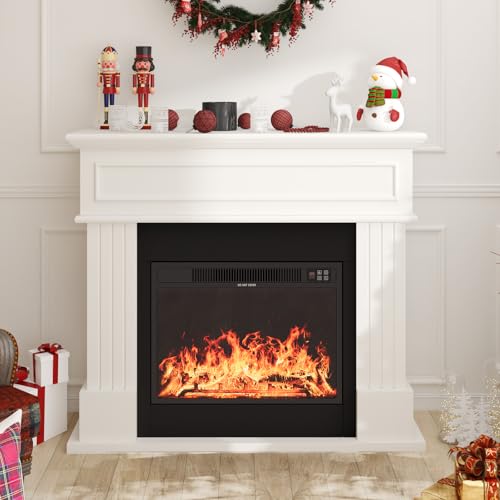
For a white fireplace look, use smooth MDF that can be painted. For a more rustic appearance, consider using reclaimed wood or shiplap.
Adding the Mantel and Trim
Install the mantel shelf, ensuring it's level and properly supported. Add decorative trim around the fireplace opening and any other architectural elements you've designed. For a DIY fireplace mantel, consider using a thick piece of solid wood or a decorative beam for a substantial look.
Caulk all joints and seams, then sand smooth for a professional finish.
Finishing and Painting
Apply primer to all exposed surfaces, then paint or stain according to your design. If using paint, choose a high-quality interior paint that can withstand moderate heat. For a more durable finish on the surround, consider using a heat-resistant paint, especially near the fireplace opening.
Apply at least two coats of paint, allowing proper drying time between coats. For stained surfaces, finish with a clear protective coat.
Installing the Electric Insert
Follow the manufacturer's instructions to install the electric fireplace insert. Most models simply slide into the opening and can be secured with brackets. Ensure there's adequate ventilation around the unit as specified in the manual.
Plug the unit into a properly grounded outlet. If no outlet exists in the desired location, you may need to hire an electrician to install one, as this work should meet local electrical codes.

Building a DIY Fireplace Surround
The surround is the decorative frame around your fireplace opening, and it's where you can really personalize your project. Whether you prefer a modern fireplace with clean lines or a more traditional look with ornate details, the surround is your opportunity to express your style.
For a DIY fireplace surround, consider using materials that complement your room's existing decor. If you have hardwood floors, a wood surround might be the perfect choice. In a bathroom or kitchen, tile could be more appropriate and practical.
Don't forget to consider the hearth—the floor area immediately in front of the fireplace. Even with an electric fireplace that doesn't produce sparks, a hearth can add a finished look and protect your flooring.
⚠️ Important Safety Considerations
- Always check local building codes before starting any fireplace project, even electric ones
- For gas fireplaces, always hire a licensed professional for gas line installation
- Maintain proper clearances from combustible materials as specified by the fireplace manufacturer
- Use appropriate fire-rated materials for any surfaces near the fireplace opening
- Install smoke and carbon monoxide detectors in rooms with any type of fireplace
- Never leave a functioning fireplace unattended, especially with children or pets present
- For wood-burning fireplaces, ensure proper chimney installation and regular cleaning to prevent creosote buildup
- Consider consulting with a professional even for DIY projects to review your plans for safety issues
Specialized DIY Fireplace Projects
DIY Corner Fireplace
A corner fireplace is an excellent space-saving solution that can transform an unused corner into a cozy focal point. These projects typically require custom framing to fit the angled space but follow similar construction principles as standard fireplaces.
For corner installations, consider using an electric or ventless fireplace insert specifically designed for corner placement. These units often have angled designs that fit perfectly into corner installations, maximizing the viewing area of the flames.

DIY Fireplace Makeover
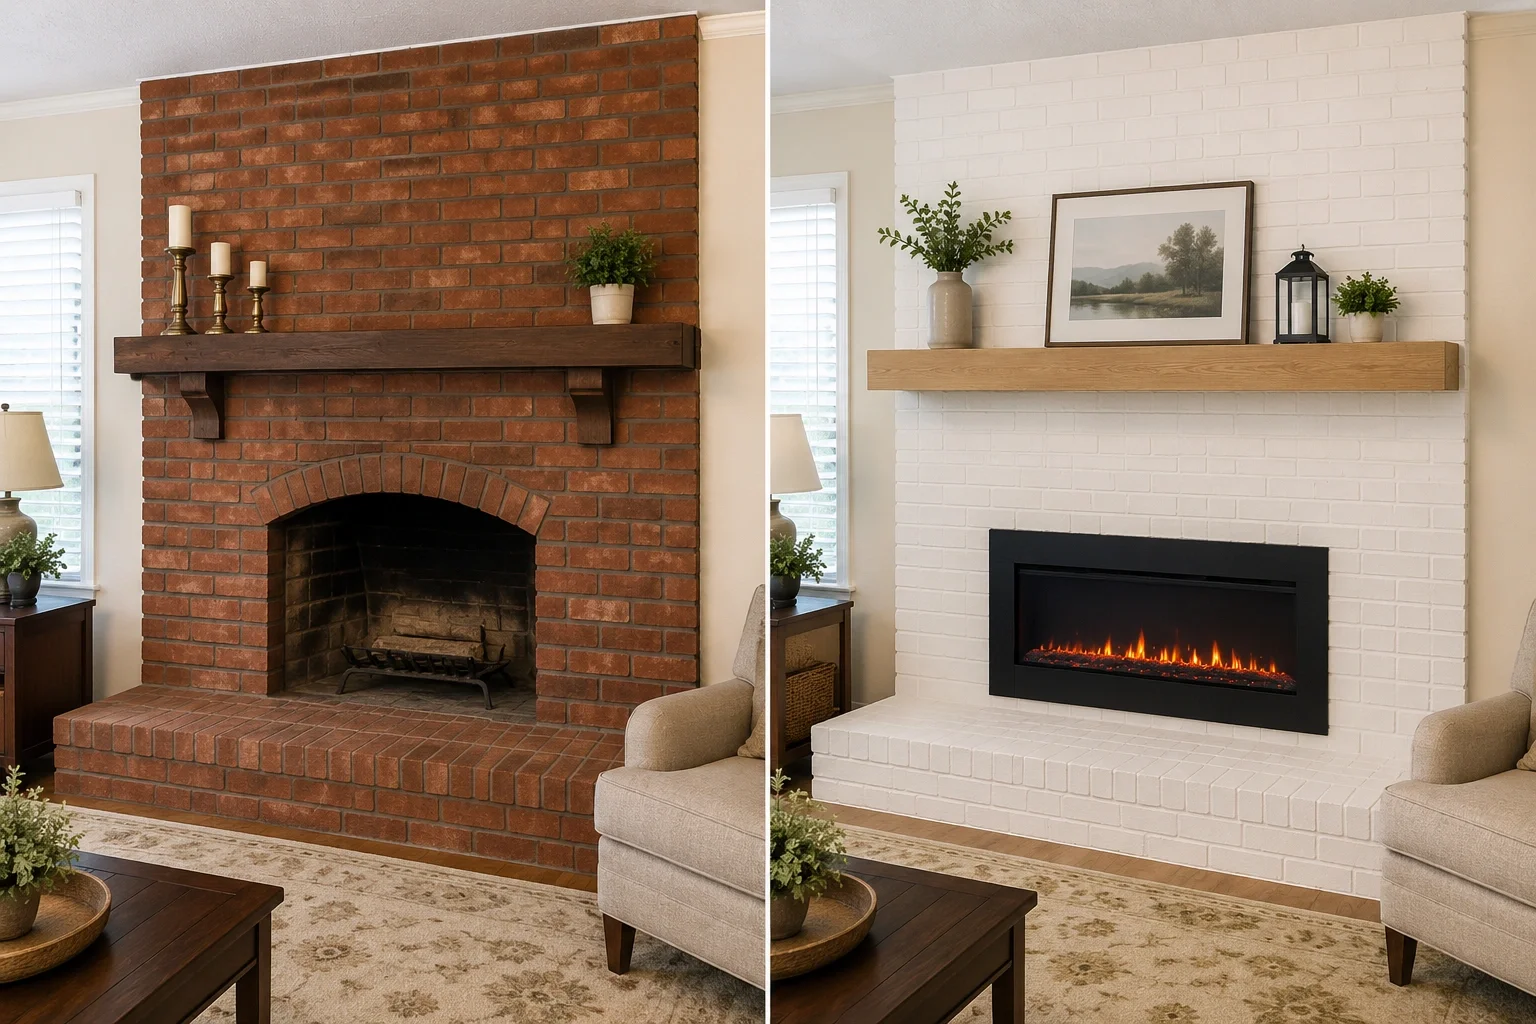
If you have an existing fireplace that's outdated or damaged, a DIY fireplace makeover can completely transform its appearance without the cost of a full replacement. Options include painting brick or stone, applying new tile over existing surfaces, or building a new surround around the existing opening.
For a painted fireplace, proper preparation is key. Clean the surface thoroughly, repair any damage, apply a suitable primer, and use heat-resistant paint for areas near the firebox. This simple project can completely change the look of your room for just $50-$100 in materials.
DIY Fireplace Frame
A DIY fireplace frame is essentially a decorative structure that surrounds an existing fireplace or creates the appearance of one. These frames can be as simple or elaborate as you like, from basic rectangular frames to ornate designs with mantels, shelves, and built-in storage.
For a minimalist look, consider a simple frame with clean lines and no mantel. For a more traditional appearance, add a substantial mantel shelf with decorative brackets and corbels. The frame can be made from wood, MDF, or even metal for an industrial look.

Frequently Asked Questions About DIY Fireplaces
Yes, you can build certain types of fireplaces yourself, particularly electric and faux fireplaces, which are the most DIY-friendly options. For gas or wood-burning fireplaces, you can typically handle the construction of the surround and mantel yourself, but should hire professionals for the gas lines, venting, and firebox installation. Always check local building codes and consider your skill level honestly before starting any project.
The savings can be substantial, typically ranging from 40-70% compared to professional installation. For example, a professionally installed electric fireplace might cost $1,500-$3,000, while a DIY version with similar quality materials might cost $400-$1,200. For more complex installations like outdoor fireplaces, the savings can be even greater, potentially saving thousands of dollars in labor costs.
Permit requirements vary significantly by location and fireplace type. Faux fireplaces typically don't require permits since they don't involve structural changes or utilities. Electric fireplaces may require permits if new electrical circuits are needed. Gas and wood-burning fireplaces almost always require permits and inspections. Check with your local building department before starting any project to ensure compliance with local permit requirements.
A DIY faux fireplace is the easiest project for beginners. These decorative structures don't involve any electrical work, venting, or fire safety concerns. You can build a simple frame from MDF or plywood, add some molding, paint it, and finish with a mantel shelf. Most beginners can complete this project in a single weekend with basic tools like a saw, drill, and level.
Yes, converting a wood-burning fireplace to electric is a popular DIY fireplace insert project. The process typically involves cleaning the firebox, sealing the damper, and installing an electric insert that fits the existing opening. You may also need to build or modify the surround to properly frame the new electric unit. This conversion eliminates the need for chimney maintenance while maintaining the aesthetic appeal of a fireplace.
The timeline depends on the complexity of the project. A simple faux fireplace can be completed in a weekend (1-2 days). An electric fireplace with a custom surround typically takes 3-5 days, accounting for drying time for paint or stain. More complex projects like outdoor fireplaces may take 1-2 weeks, especially if they involve masonry work that requires curing time. Always allow extra time for unexpected challenges or modifications.
Final Tips for DIY Fireplace Success: Start with a detailed plan and complete materials list before beginning construction. Take accurate measurements multiple times to avoid costly mistakes. Don't rush the drying times for adhesives, paints, and mortars. Finally, know your limitations—while DIY can save money, some aspects of fireplace installation require professional expertise for safety reasons.