Painted Fireplace Ideas: Complete Transformation Guide
Breathe new life into your outdated fireplace with expert painting techniques, trending colors, and step-by-step instructions for a stunning makeover
EXPLORE MAKEOVER OPTIONSWhy Paint Your Fireplace? Painting is one of the most cost-effective ways to completely transform an outdated or dated fireplace. Whether you have dark red brick from the 1970s, yellowing stone, or worn wood, a fresh coat of paint can modernize your space in just a weekend without the expense and mess of complete replacement.
Trending Paint Colors for Fireplaces
Choosing the right color is crucial for achieving your desired look. The perfect paint color can make your fireplace feel contemporary, traditional, or anywhere in between. Consider your room's existing color palette, natural light, and overall design aesthetic when selecting your shade.
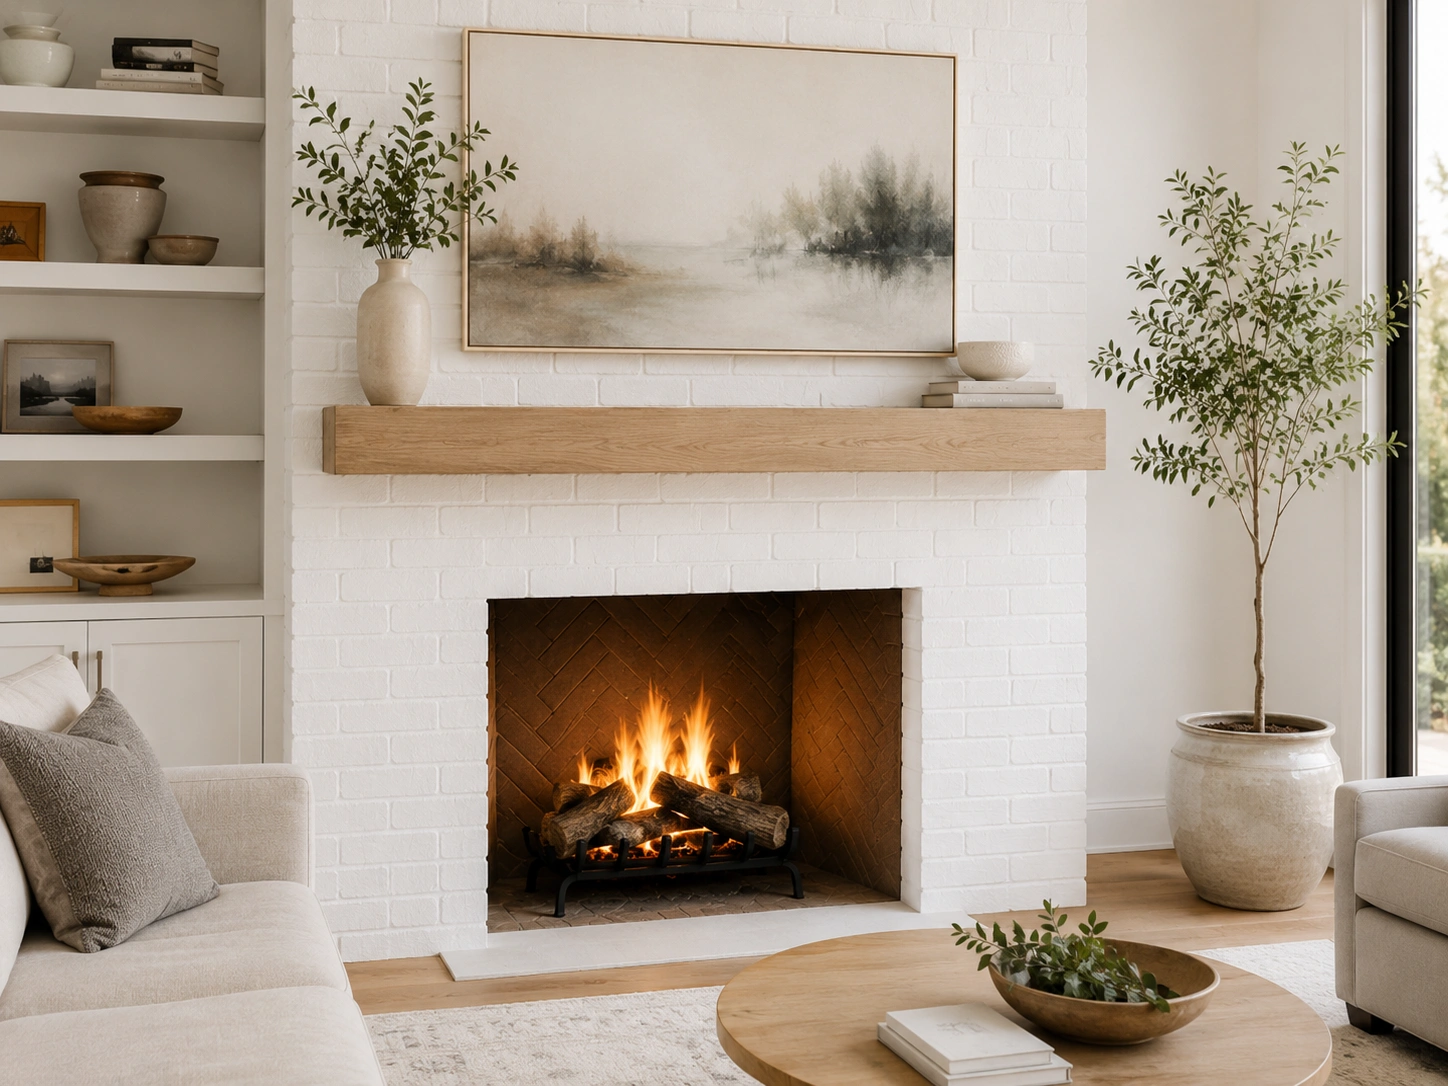
Crisp White
The most popular choice for modern fireplace designs. Pure white creates a clean, fresh look that brightens dark brick and makes rooms feel larger. Works beautifully in both contemporary and farmhouse-style homes. Consider using a matte or eggshell finish to hide imperfections.
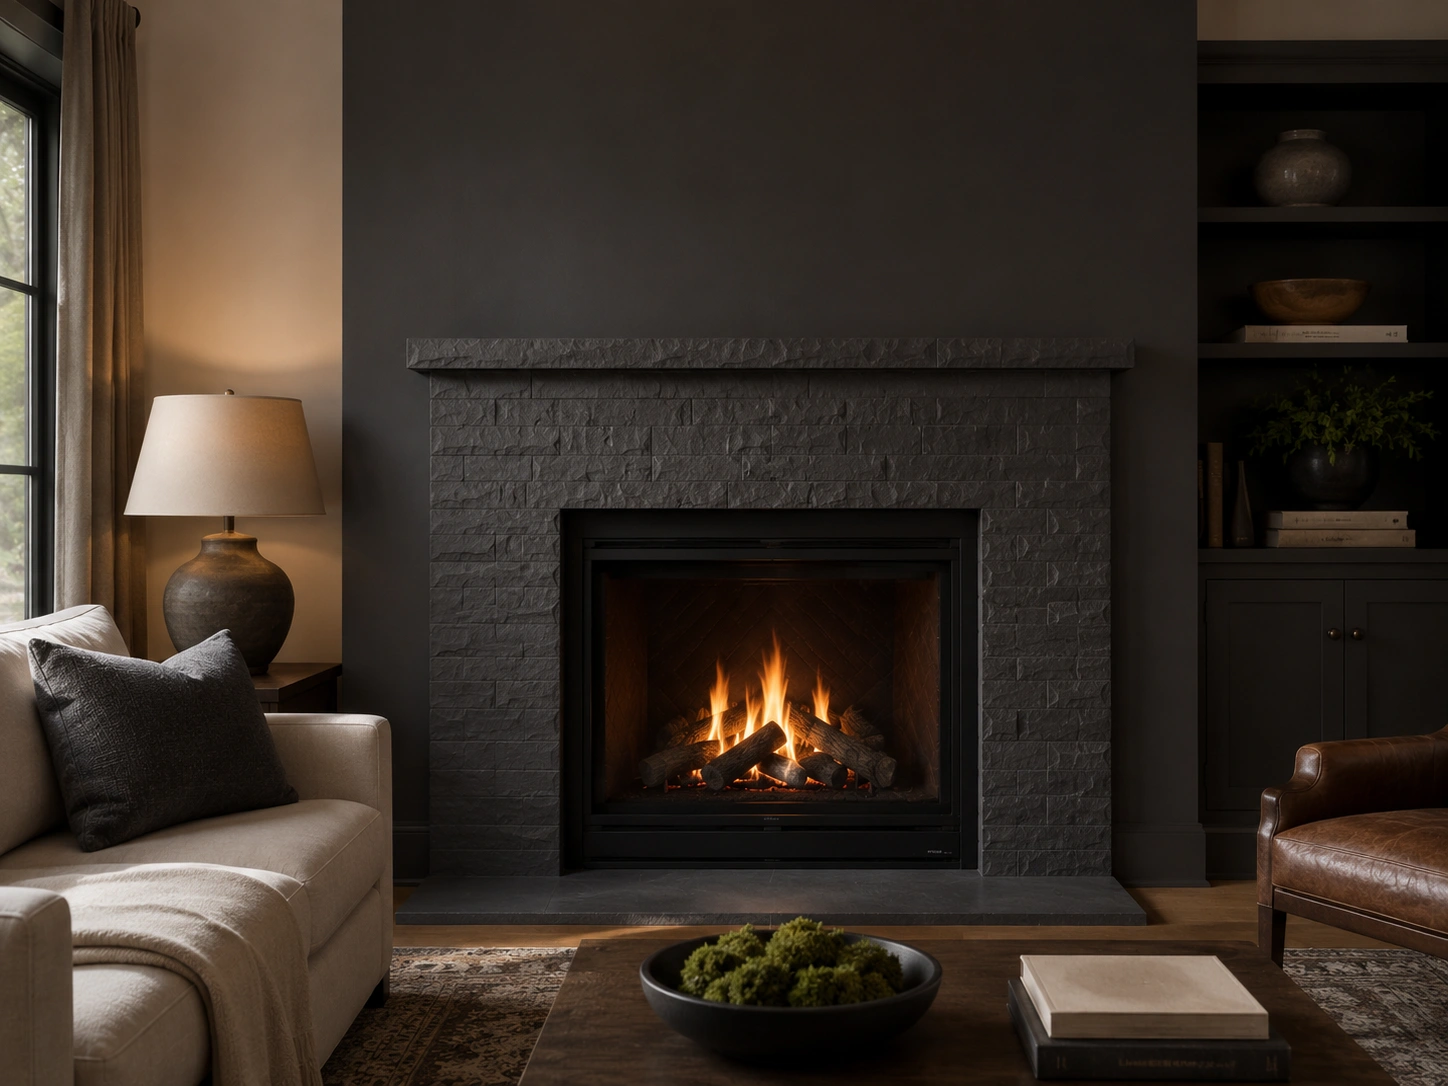
Charcoal Gray
For a dramatic, sophisticated look that maintains some visual weight. Charcoal adds depth and drama without the harshness of pure black. Perfect for creating a focal point in neutral-toned rooms. Pair with brass or gold accents for an elevated, luxurious feel.
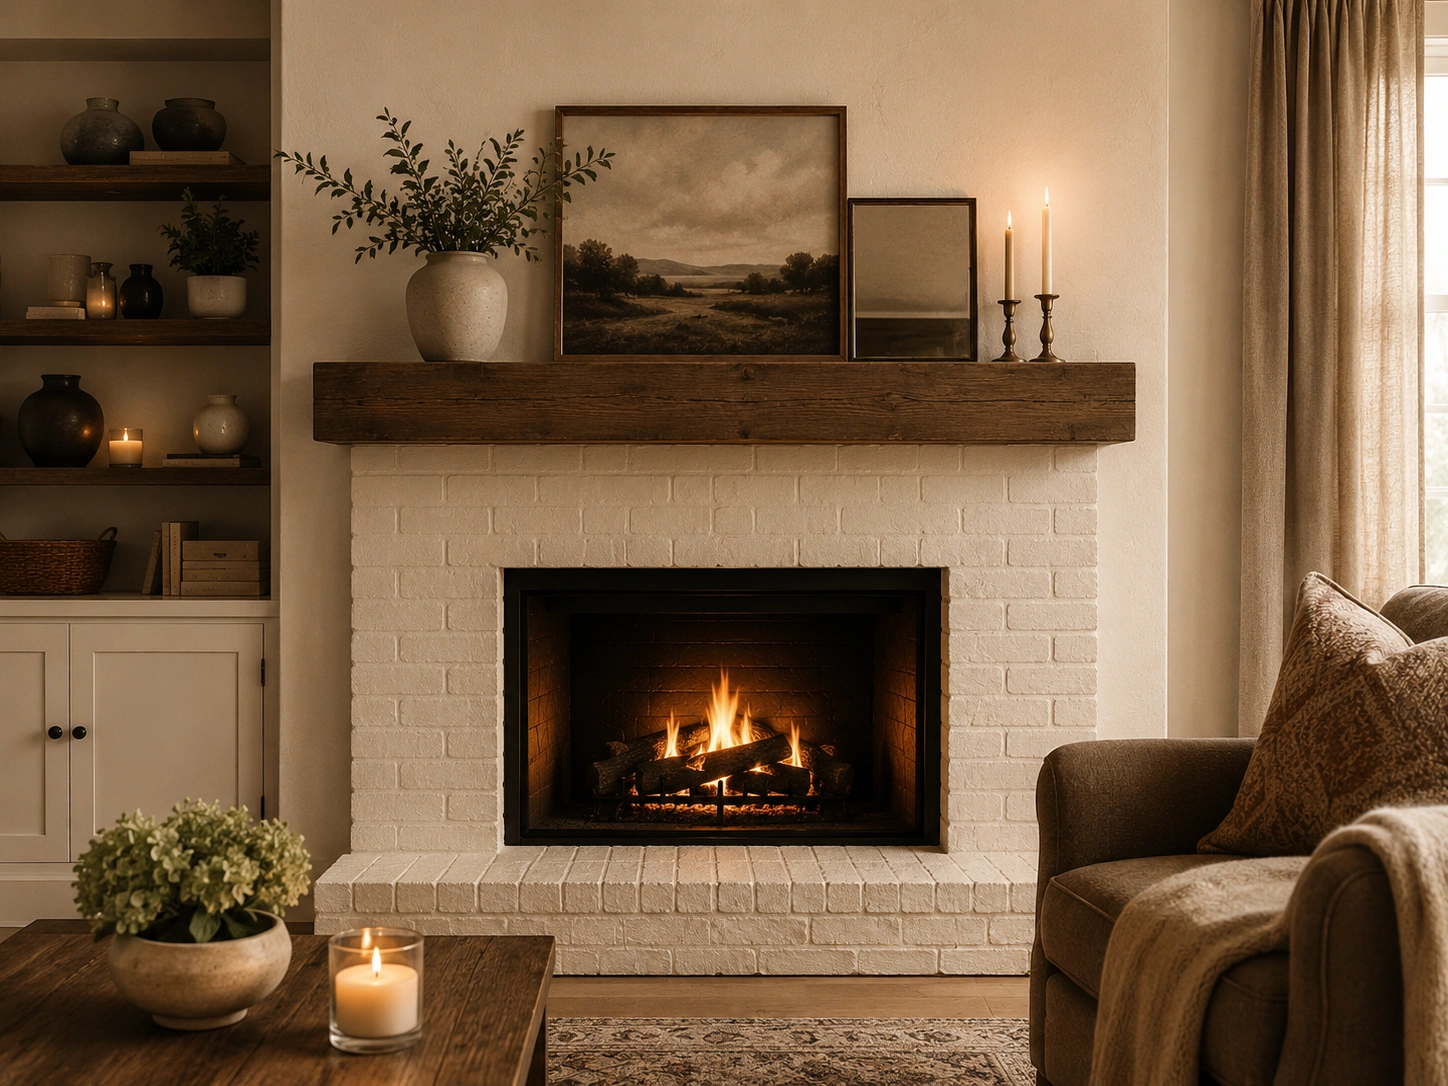
Warm Cream
Soft cream offers the brightness of white with added warmth, making it ideal for traditional and rustic-style fireplaces. This versatile shade complements wood tones beautifully and creates a cozy, inviting atmosphere without feeling stark or cold.
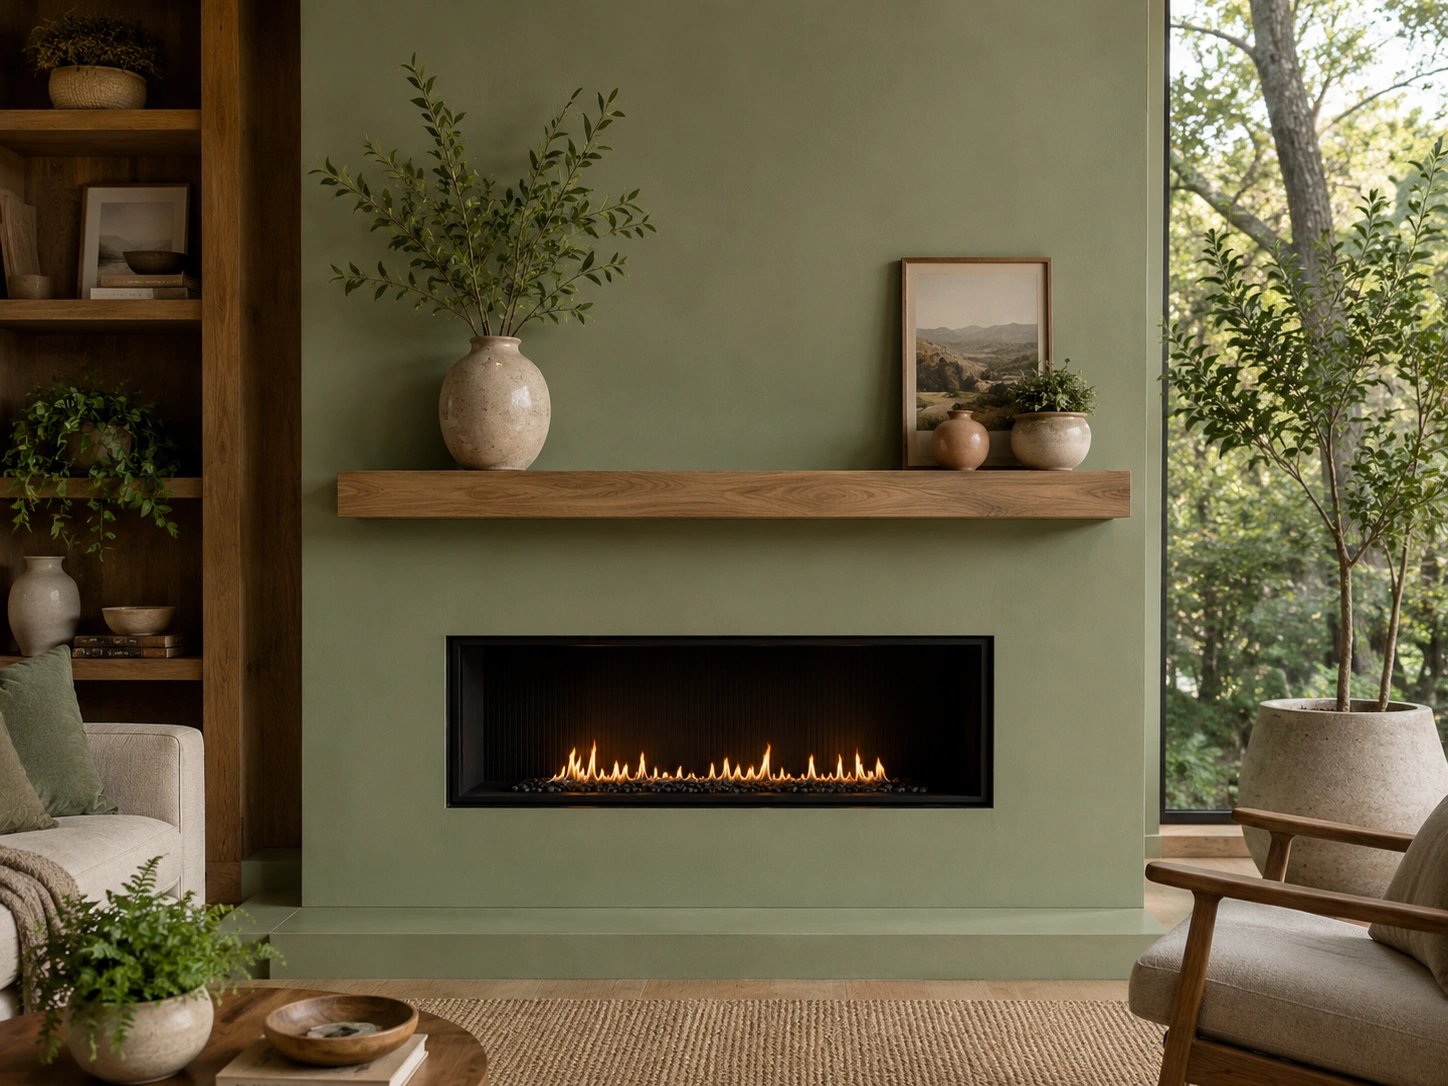
Sage Green
An emerging trend that brings nature indoors. Sage green fireplaces create a calming, organic feel that works particularly well in homes with natural materials like wood and stone. This unexpected choice adds personality while remaining timeless and sophisticated.
Dramatic Before & After Transformations
Nothing demonstrates the power of paint quite like seeing the actual transformation. These before and after examples showcase how a simple DIY fireplace makeover can completely change the feel of an entire room without any structural changes.


Painting Different Fireplace Surfaces
Different materials require different preparation techniques and paint types. Understanding the specific requirements for your fireplace surface ensures proper adhesion and long-lasting results, whether you're working with brick, stone, or wood.

Brick Fireplaces
Brick fireplaces are the most common candidates for painting. The porous nature of brick actually helps paint adhere well, but proper cleaning is essential. Use a wire brush to remove loose mortar and debris, then apply a masonry primer before painting. Expect to use 20-30% more paint on brick due to its textured surface.
Brick Cleaning Guide →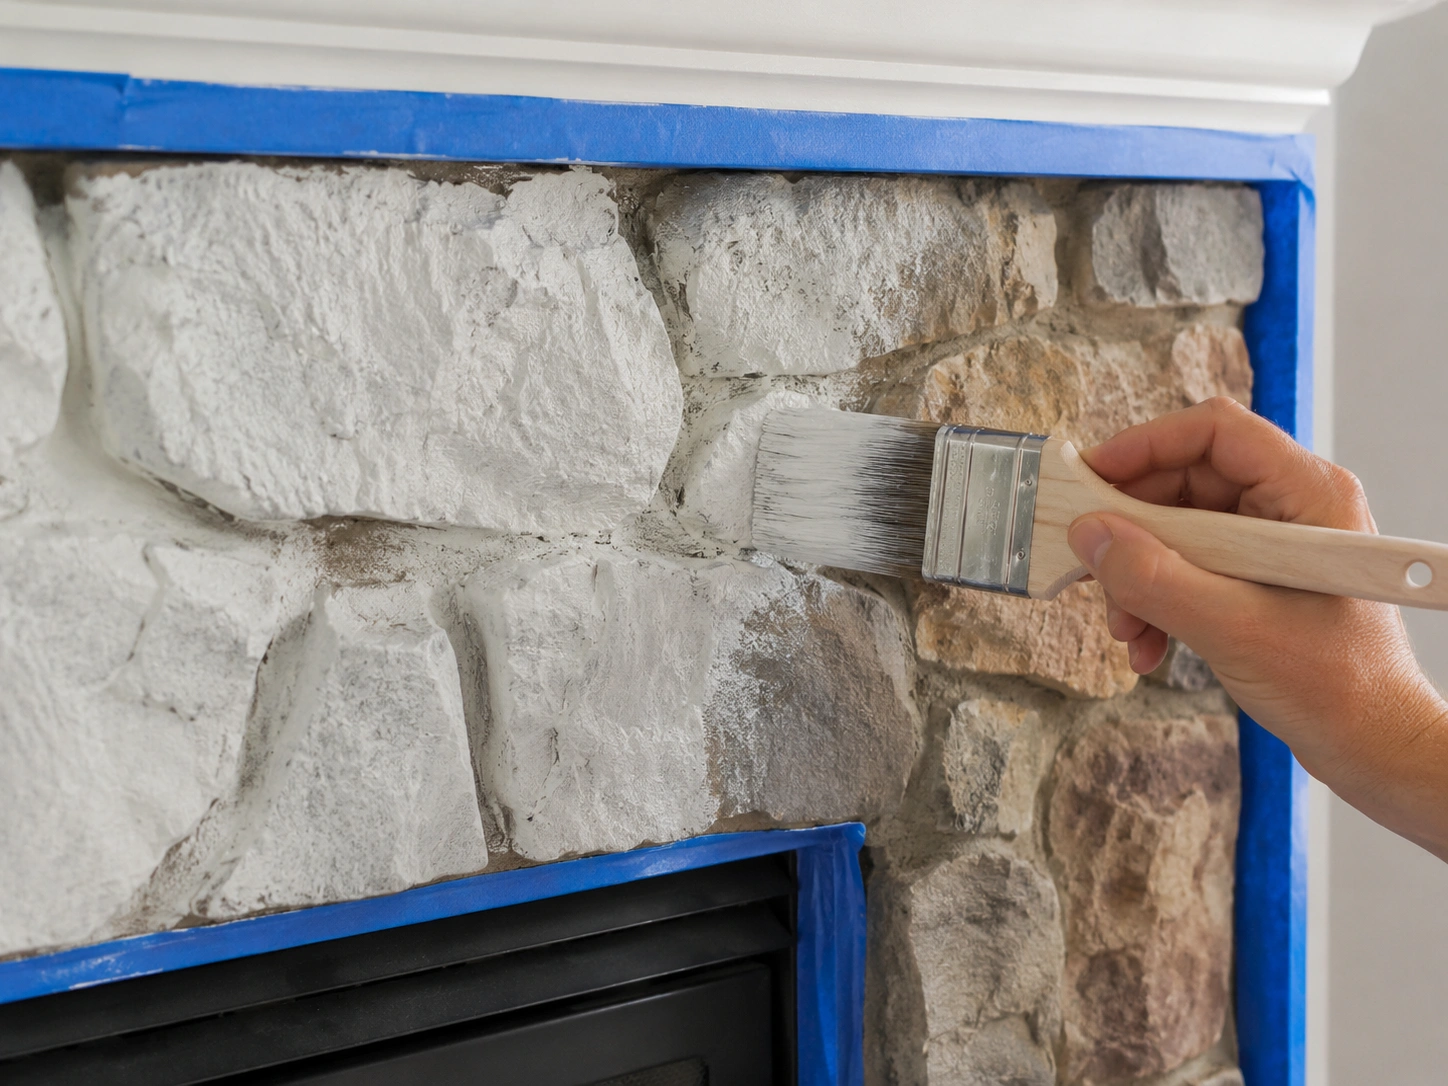
Natural Stone Fireplaces
Stone presents unique challenges due to its irregular surface and potential for efflorescence (white mineral deposits). Clean thoroughly with a stone-safe cleaner and allow to dry completely. Some stones may require a specialized primer designed for mineral surfaces. Test paint in an inconspicuous area first to ensure proper adhesion.
Stone Fireplace Ideas →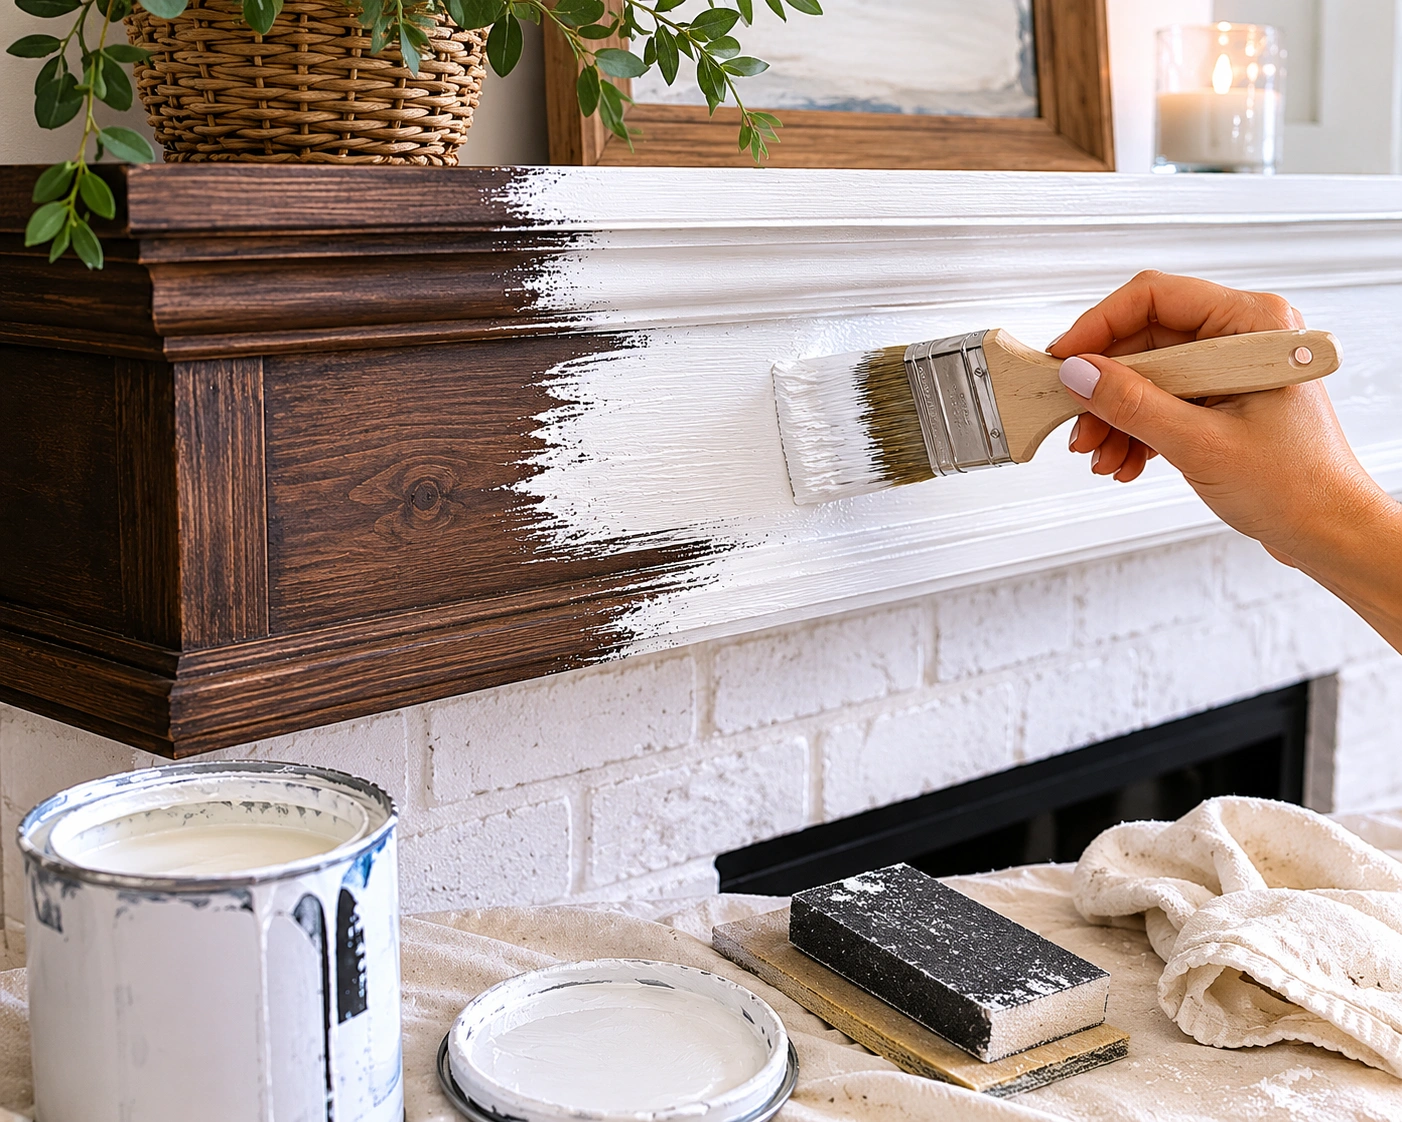
Wood Mantels & Surrounds
Wood mantels require sanding to create a proper surface for paint adhesion. Remove any existing finish completely, fill holes or cracks with wood filler, and sand smooth. Use a high-quality primer designed for wood, then apply your finish coat. Consider using chalk paint for a matte, velvety finish that requires minimal prep.
DIY Mantel Guide →Complete Painting Process Guide
Proper preparation and technique are the keys to a professional-looking finish. Rushing through prep work is the most common mistake homeowners make. Follow these detailed steps to ensure your painted fireplace looks amazing for years to come.
Thorough Cleaning and Preparation
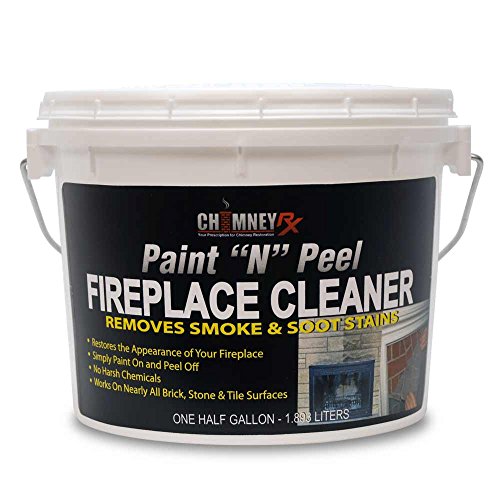
Begin by removing all loose debris with a wire brush or stiff broom. Clean the surface with a TSP (trisodium phosphate) solution or a dedicated masonry cleaner to remove soot, grease, and dirt. For stubborn stains, use a degreaser. Allow the surface to dry completely for 24-48 hours. Tape off surrounding walls, floors, and any areas you don't want painted using high-quality painter's tape.
Repair and Patch
Inspect the surface for any cracks, missing mortar, or damaged areas. Repair brick mortar using a masonry repair caulk or mortar mix. Fill holes in wood with wood filler and sand smooth once dry. For stone fireplaces, fill any gaps between stones with appropriate masonry filler. Allow all repairs to cure completely before priming.
Apply Quality Primer
Never skip primer when painting fireplaces. Use a high-adhesion masonry primer for brick and stone, or a bonding primer for glossy surfaces. Apply using a brush for edges and details, then use a roller for large areas. A mini roller (4-6 inch) works best for getting into brick crevices. Allow primer to dry according to manufacturer instructions, typically 2-4 hours.
Apply Paint in Thin Coats
Use a high-quality latex or acrylic paint rated for high-temperature applications if the fireplace is used. Apply paint in thin, even coats rather than one thick coat. Work in small sections, using a brush to cut in around edges and a roller for large areas. For brick, use a stippling motion to work paint into crevices. Typically, 2-3 coats are needed for full coverage.
Curing and Final Touches
Allow paint to cure fully before using the fireplace—typically 7-14 days depending on the product. Remove painter's tape while paint is still slightly tacky to prevent peeling. Once fully cured, inspect for any missed spots or thin areas and touch up as needed. Consider applying a clear protective coat for added durability in high-traffic areas.
Essential Painting Supplies
Having the right tools makes the job easier and produces better results. Invest in quality supplies—they'll save you time and frustration while ensuring a professional finish that lasts.
Mini Roller Set
A 4-6 inch mini roller with multiple nap options (3/8" for smooth surfaces, 1/2" for textured brick) is essential for getting paint into crevices while maintaining even coverage.
Masonry Primer
Specialized high-adhesion primer designed for porous surfaces like brick and stone. Creates a proper bond between the surface and topcoat while sealing in stains and odors.
Quality Brushes
Angled sash brushes (2-3 inch) for cutting in edges and details. Synthetic bristles work best with latex paint. Avoid cheap brushes that shed bristles and leave streaks.
High-Temperature Paint
If your fireplace is actively used, choose paint specifically rated for high temperatures (typically up to 1200°F). Standard paint will bubble and peel when exposed to heat.
Painter's Tape
High-quality blue or green painter's tape that won't leave residue. Apply firmly to create clean lines and remove at the right time to prevent paint peeling.
Cleaning Supplies
TSP cleaner, wire brush, stiff broom, bucket, and rags. Proper cleaning is the foundation of a long-lasting paint job—never skip this crucial step.
Painting Cost Breakdown
Painting a fireplace is significantly more affordable than replacing it entirely. Understanding the costs involved helps you budget appropriately and decide between DIY vs. professional installation.
| Item/Service | DIY Cost | Professional Cost | Notes |
|---|---|---|---|
| Masonry Primer (1 gallon) | $35–$50 | Included | High-adhesion formula required |
| Paint (2-3 gallons) | $80–$150 | Included | High-temperature rated if used |
| Tools & Supplies | $50–$100 | Included | Rollers, brushes, tape, drop cloths |
| Cleaning Materials | $20–$40 | Included | TSP, wire brush, rags |
| Labor (Professional) | — | $400–$1,200 | Varies by region and complexity |
| Total Estimated Cost | $185–$340 | $600–$1,500 | Significant savings with DIY |
Cost Comparison: When comparing new fireplace vs. makeover costs, painting offers dramatic transformation at a fraction of replacement cost. A complete fireplace replacement typically costs $3,000–$10,000+, while painting achieves a similar visual impact for under $350 when done as a DIY project.
Safety Considerations for Painted Fireplaces
Safety should always be your top priority when modifying any fireplace. Using the wrong materials or techniques can create serious hazards. Follow these guidelines to ensure your painted fireplace remains safe for years of use.
Use Heat-Resistant Paint
For active fireplaces, always use paint specifically rated for high temperatures. Standard paint will bubble, peel, and potentially release toxic fumes when exposed to heat. Look for products rated to at least 1200°F for wood-burning units.
Proper Ventilation During Painting
Ensure adequate ventilation during the painting process and curing period. Open windows and use fans to circulate air. Some paints and primers release VOCs (volatile organic compounds) that can be harmful in enclosed spaces.
Allow Full Curing Time
Never use your fireplace before paint has fully cured, typically 7-14 days. Using the fireplace too soon can cause paint to bubble, peel, or release toxic fumes. Check manufacturer's specific curing recommendations.
Don't Paint Inside the Firebox
Only paint the exterior surround and mantel. Never paint the interior firebox where flames directly contact surfaces. This area requires special high-temperature refractory coatings, not standard paint.
Maintaining Your Painted Fireplace
Proper maintenance ensures your newly painted fireplace stays looking fresh for years. While painted surfaces are generally low-maintenance, a few simple practices can prevent premature wear and extend the life of your finish.
Gentle Cleaning Only
Avoid abrasive cleaners or scrubbing that can damage the paint finish. Use a soft cloth dampened with mild soap and water for regular cleaning. For soot accumulation, use a dry cloth or soft brush to gently remove deposits.
Touch Up Promptly
Address chips or scratches immediately to prevent moisture penetration and further damage. Keep leftover paint stored properly for touch-ups. Lightly sand the damaged area, apply primer if bare surface is exposed, then touch up with paint.
Monitor for Peeling
Regularly inspect your painted fireplace for signs of peeling, bubbling, or discoloration. These may indicate moisture issues, heat damage, or improper adhesion. Address problems early to prevent larger repairs.
Common Mistakes to Avoid
Learning from others' mistakes can save you time, money, and frustration. These are the most common pitfalls that lead to disappointing results or premature paint failure. Understanding what not to do is just as important as knowing the right techniques.
Skipping Primer: Primer creates the essential bond between the surface and paint. Without it, paint will likely peel within months, especially on porous materials like brick. Always use a quality primer designed for your specific surface type.
Inadequate Cleaning: Soot, grease, and dirt prevent proper paint adhesion. Even if the surface looks clean, invisible contaminants can cause failure. Take the time to thoroughly clean and degrease the surface before painting.
Painting in Poor Conditions: Avoid painting in high humidity (above 85%), extreme temperatures (below 50°F or above 90°F), or direct sunlight. These conditions affect paint drying and adhesion, leading to poor results.
Using Wrong Paint Type: Standard interior paint is not suitable for fireplaces exposed to heat. Always use paint specifically formulated for high-temperature applications if your fireplace is actively used. The extra cost is worth the safety and longevity.