DIY Fireplace Tile: Complete Installation Guide
Transform your fireplace with beautiful tile - from selection to installation, everything you need to know
EXPLORE TILE OPTIONS
Tiling your fireplace is one of the most impactful ways to transform the look of your living space. Whether you're updating an outdated brick surround or creating a focal point in a new construction, DIY fireplace tile installation is a rewarding project that can significantly enhance your home's aesthetic appeal and value.
With the right materials, tools, and techniques, even novice DIYers can achieve professional-looking results. This comprehensive guide will walk you through everything from selecting the perfect tiles to the final installation steps, helping you create a stunning fireplace that becomes the centerpiece of your room.
Before diving into your project, it's important to understand that different fireplace types may require specific considerations for tiling. For instance, a gas fireplace might need heat-resistant tiles that can withstand higher temperatures compared to an electric fireplace that doesn't generate as much direct heat.
Benefits of Tiling Your Fireplace
Enhanced Aesthetics
Tiles offer endless design possibilities, from classic subway patterns to intricate mosaics, allowing you to create a unique look that complements your home's style and your personal taste.
Increased Home Value
A well-executed fireplace tile installation can significantly boost your home's resale value, making it an investment that pays off when it's time to sell.
Easy Maintenance
Unlike porous materials like brick or stone, most tiles are non-porous and easy to clean, requiring just a quick wipe down to maintain their appearance.
Heat Resistance
Properly selected tiles can withstand high temperatures, making them a safe and practical choice for fireplace surrounds and hearths.
Protection for Walls
Tiles act as a protective barrier against heat, sparks, and soot, preventing damage to the underlying wall structure and reducing maintenance needs.
Customization Options
With thousands of colors, sizes, shapes, and textures available, you can create a truly custom look that reflects your unique style and complements your fireplace decor.
Best Tile Types for Fireplaces
Choosing the right tile material is crucial for both aesthetics and functionality. Here are the most popular options for fireplace installations:
Ceramic Tiles
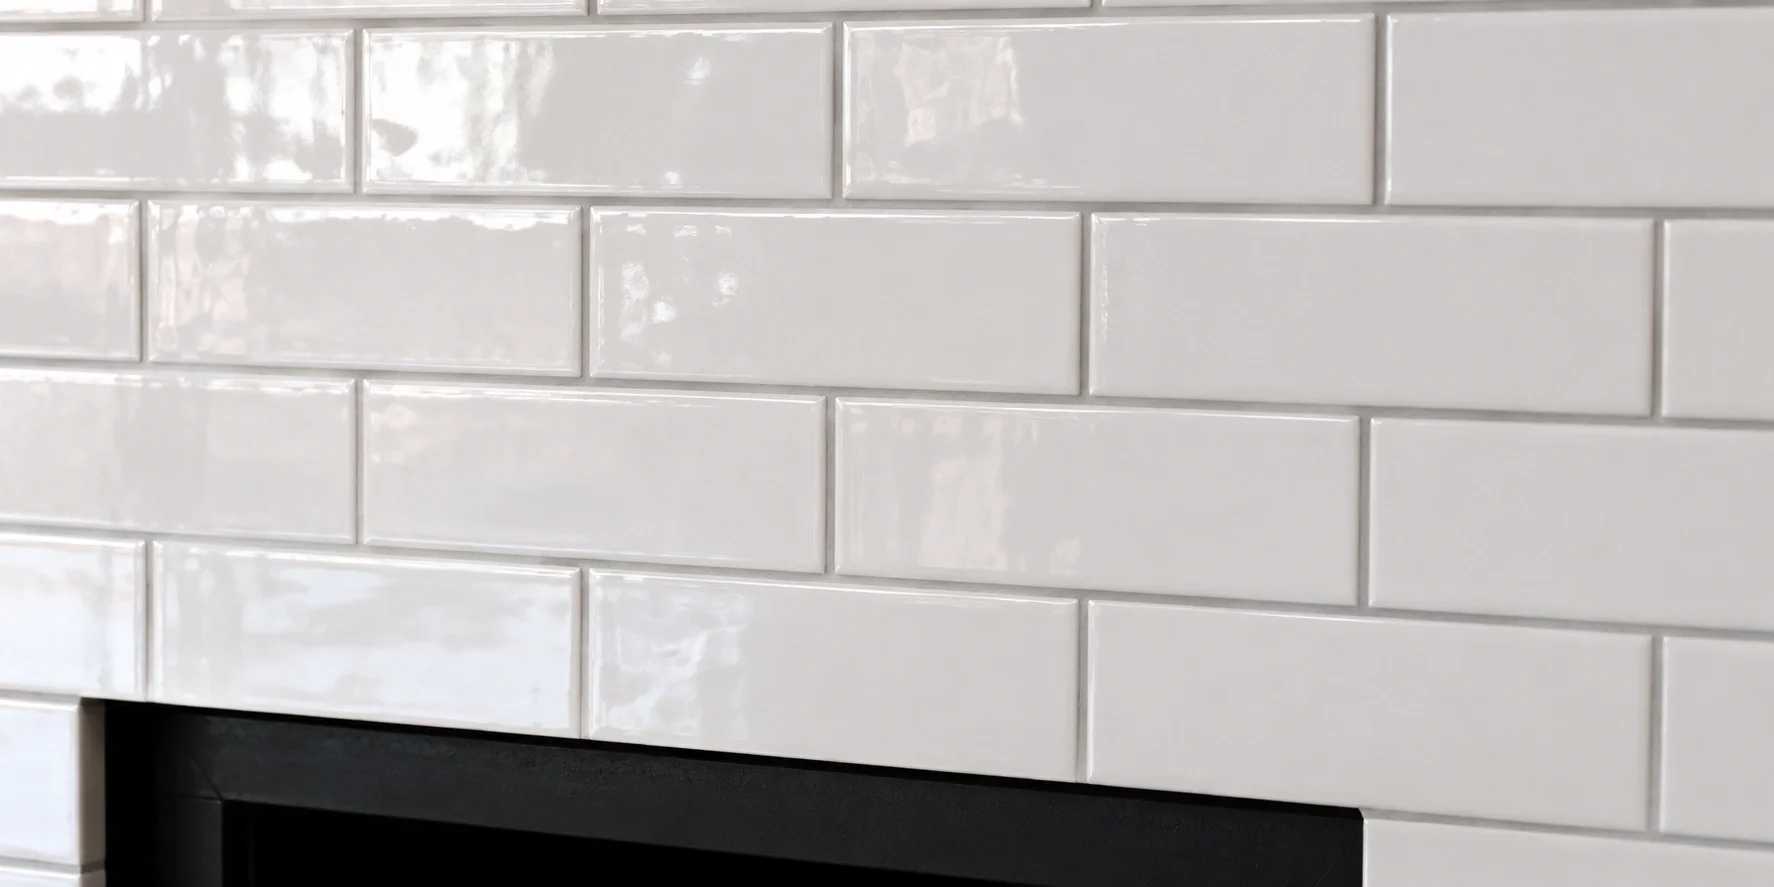
Ceramic tiles are an excellent choice for fireplaces due to their heat resistance, durability, and affordability. They come in a wide variety of colors and patterns, making them versatile for any design style. They offer great value for budget-conscious homeowners.
Porcelain Tiles
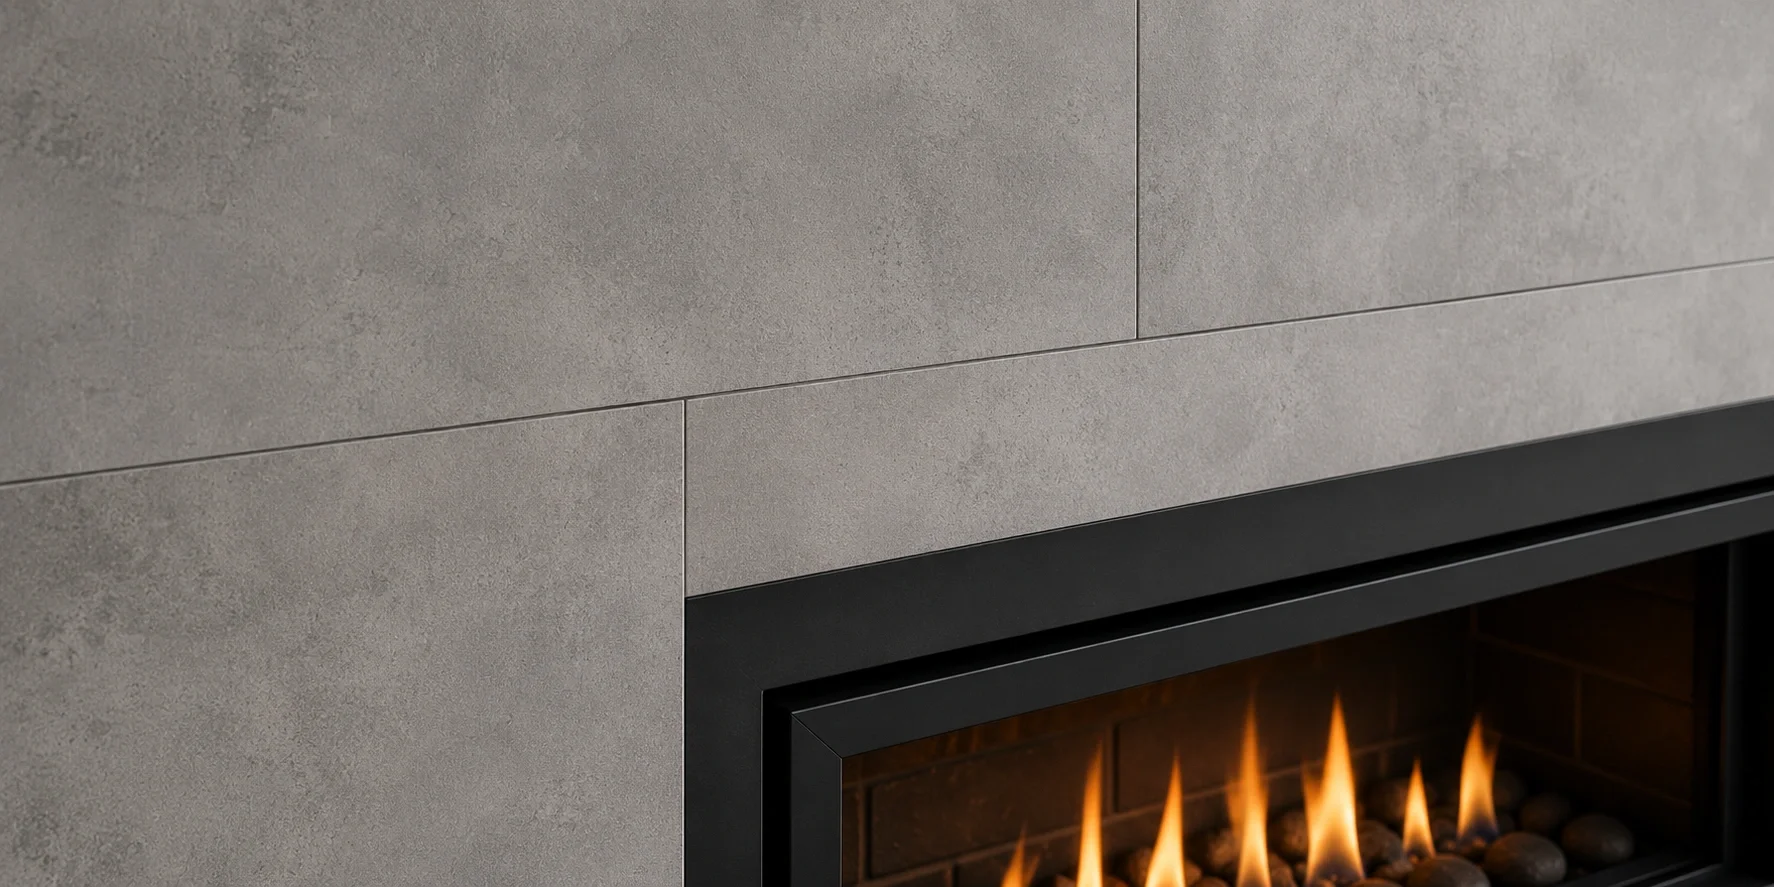
More durable and less porous than ceramic, porcelain tiles are ideal for high-traffic areas and fireplaces that see frequent use. They can mimic the look of natural stone or wood while offering superior performance.
Natural Stone Tiles
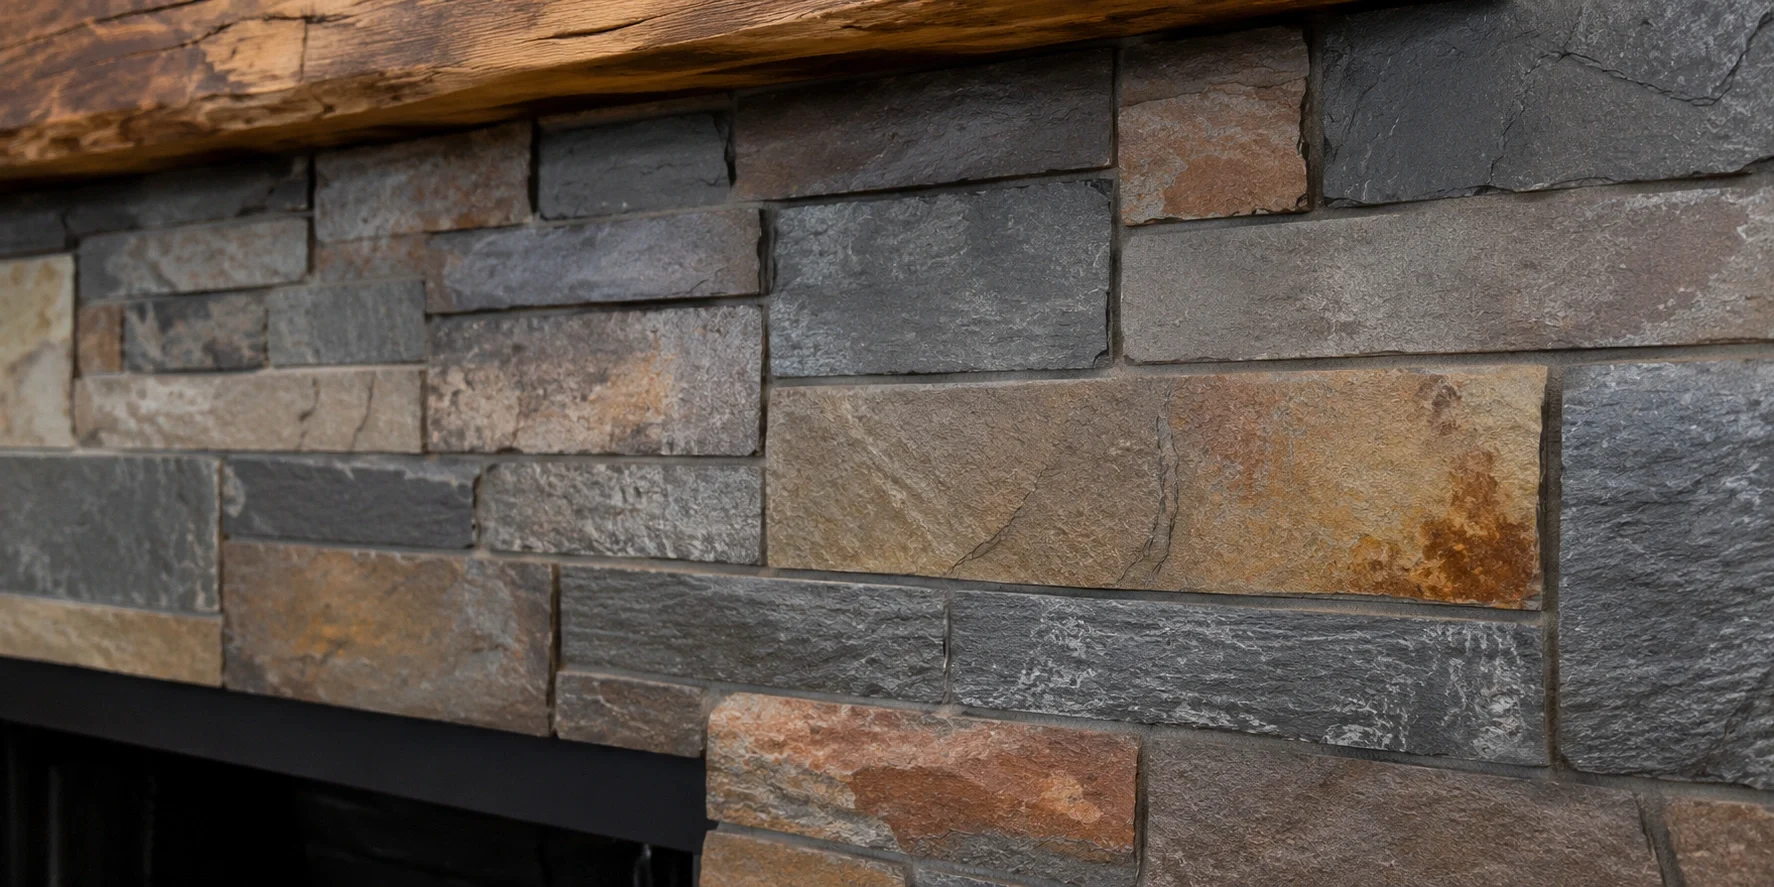
For a luxurious, organic look, natural stone tiles like marble, granite, or slate are unmatched. Each piece is unique, creating a one-of-a-kind fireplace surround. They require sealing and are a premium option, but offer exceptional beauty and durability.

Glass Tiles
Glass tiles add a modern, sophisticated touch to any fireplace. They reflect light beautifully, creating a luminous effect that makes small spaces appear larger. While more fragile during installation, they're heat-resistant and easy to clean.
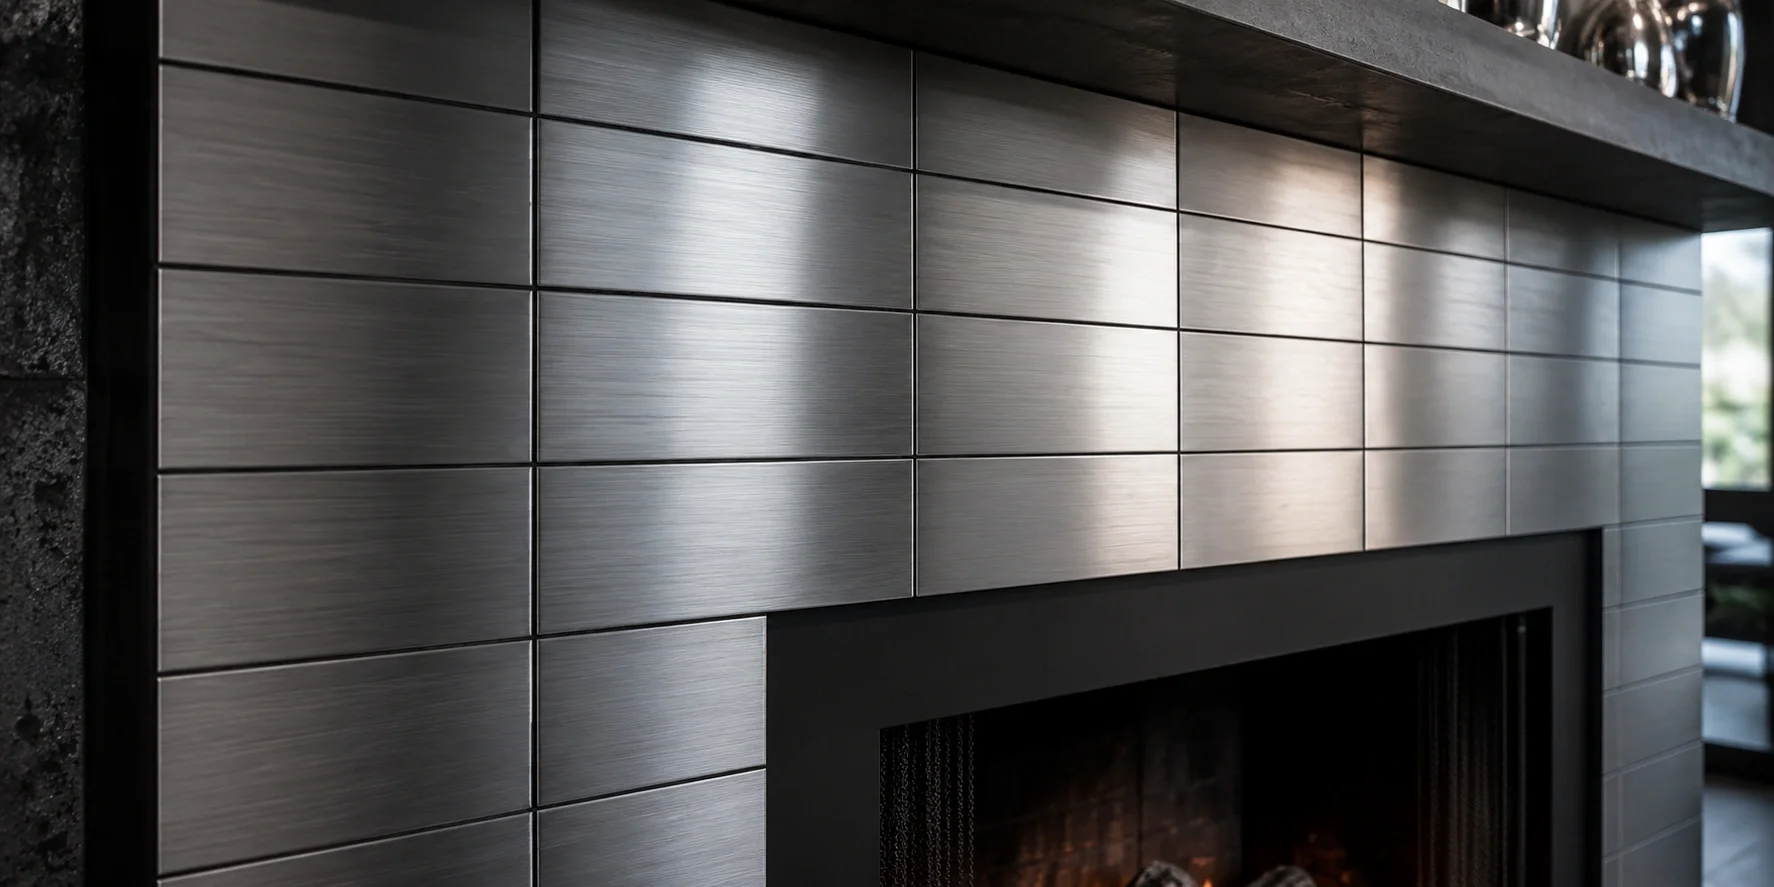
Metal Tiles
For an industrial or contemporary look, metal tiles made from stainless steel, copper, or pewter can create a striking fireplace surround. They conduct heat well and develop a beautiful patina over time.

Pebble Tiles
Pebble tiles bring a natural, organic element to your fireplace design. They're perfect for creating a spa-like atmosphere or complementing a rustic fireplace style. These interlocking pebble sheets are relatively easy to install.
Essential Tools and Materials
Before starting your DIY fireplace tile project, gather all the necessary tools and materials. Having everything on hand will make the installation process smoother and more efficient.
Tools You'll Need
Materials Required
Step-by-Step Installation Guide
Follow these detailed steps to ensure a successful DIY fireplace tile installation. Taking your time with each step will result in a professional-looking finish that will last for years.
Prepare the Surface
Start by removing any existing tile, brick, or other materials from the fireplace surround. If you're working with a brick surface, you may need to chip away loose mortar and create a smooth, even surface. For drywall, ensure it's in good condition and consider installing tile backer board for better adhesion and moisture resistance.
Clean the surface thoroughly, removing all dust, debris, and grease. Allow it to dry completely before proceeding. If the surface is very porous, apply a primer to improve adhesion.

Plan Your Layout
Before applying any mortar, dry-fit your tiles to determine the best layout. Start from the center of the fireplace and work outward, or begin at the bottom if you're creating a symmetrical pattern. Use tile spacers to ensure consistent gaps between tiles.
Mark your starting point and any cuts that will be needed. It's often best to place cut tiles in less visible areas, such as the bottom row or corners. For complex patterns, create a template with cardboard or paper first.

Apply Thin-Set Mortar
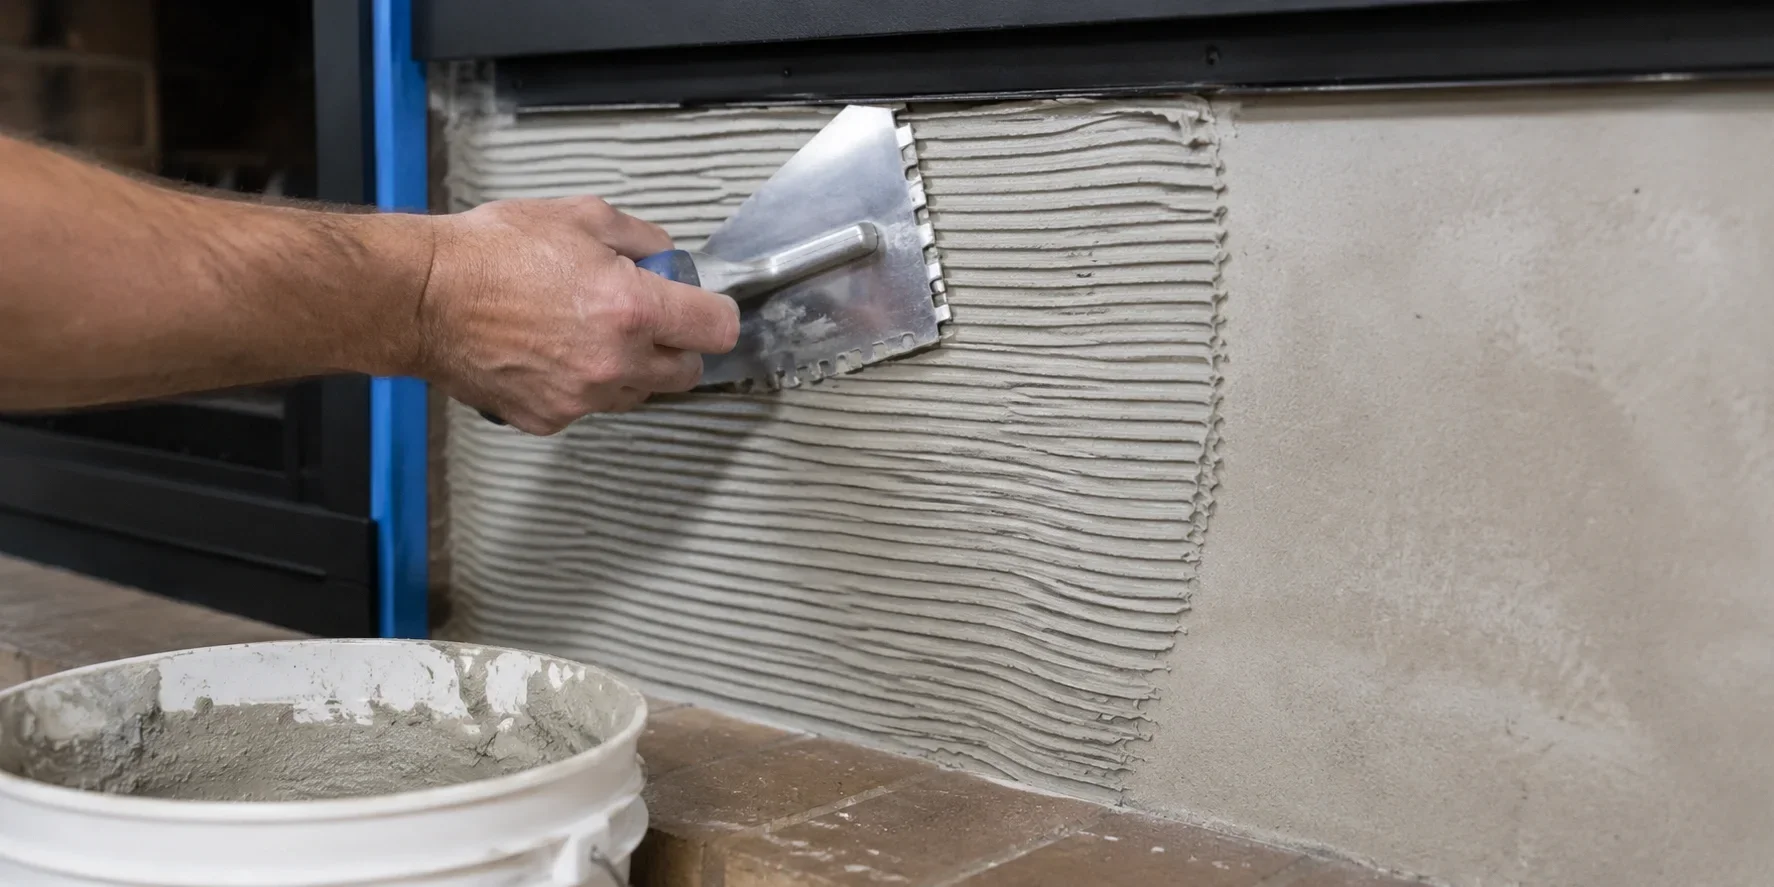
Mix the thin-set mortar according to the manufacturer's instructions. Using the notched trowel, apply a layer of mortar to a small section of the fireplace (about 3-4 square feet at a time). Hold the trowel at a 45-degree angle to create even ridges in the mortar.
For large tiles (12 inches or larger), you may also need to "back-butter" the tiles by applying a thin layer of mortar directly to the back of each tile before placing it.
Place the Tiles
Starting at your marked point, press each tile firmly into the mortar with a slight twisting motion to ensure good adhesion. Use tile spacers between tiles to maintain consistent gaps. Check frequently with a level to ensure tiles are straight and even.
Work in small sections, applying mortar and placing tiles before the mortar begins to set. Wipe away any excess mortar from the tile faces immediately with a damp sponge.

Cut Tiles as Needed
Use a wet saw for clean, precise cuts on ceramic, porcelain, and stone tiles. For glass tiles, use a glass cutter or a wet saw with a diamond blade designed for glass. Measure carefully and mark your cut lines clearly before cutting.
When cutting tiles for electrical outlets or other obstacles, make multiple small cuts and use tile nippers to remove small sections gradually. Always wear safety glasses when cutting tiles.
Let the Mortar Cure
Allow the thin-set mortar to cure according to the manufacturer's instructions, typically 24-48 hours. During this time, avoid disturbing the tiles or applying any pressure to them. Keep the area at a moderate temperature and protect it from moisture.
Once the mortar is fully cured, carefully remove the tile spacers using needle-nose pliers or your fingers.
Apply Grout
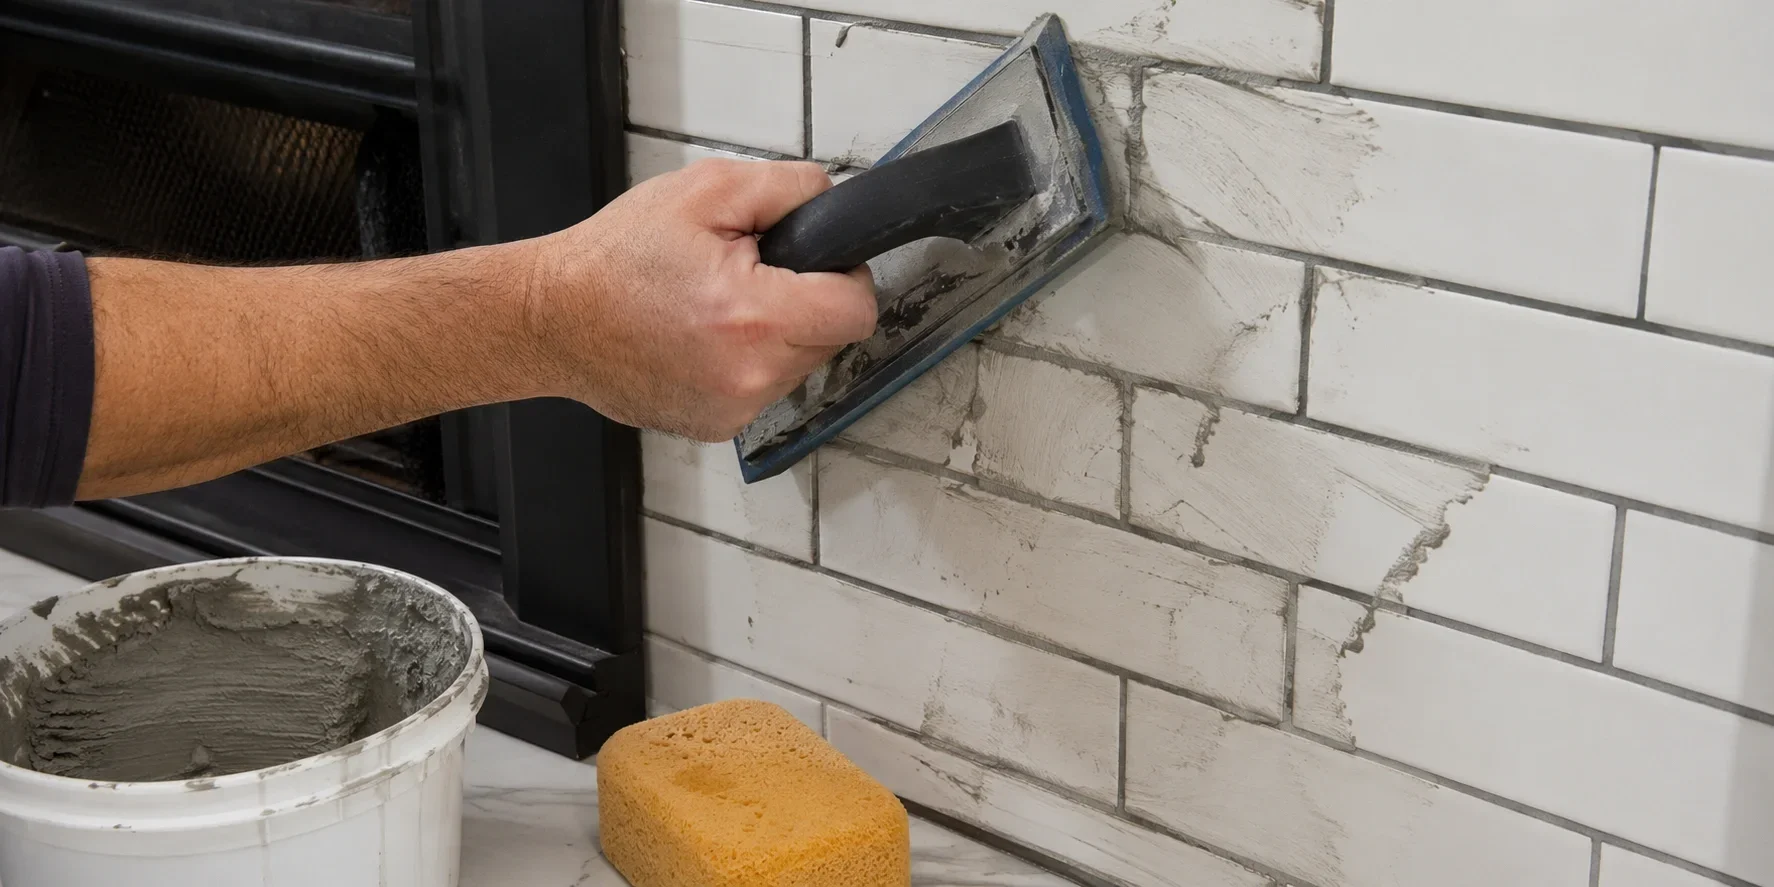
Mix the grout according to the manufacturer's directions. Using the grout float, apply grout to the tile surface at a 45-degree angle, working it into the gaps between tiles. Apply enough pressure to completely fill the joints.
After filling all the joints, wait 10-15 minutes for the grout to slightly set, then use a damp sponge to wipe away excess grout from the tile surfaces. Rinse the sponge frequently in clean water and avoid removing grout from the joints.
Clean and Seal
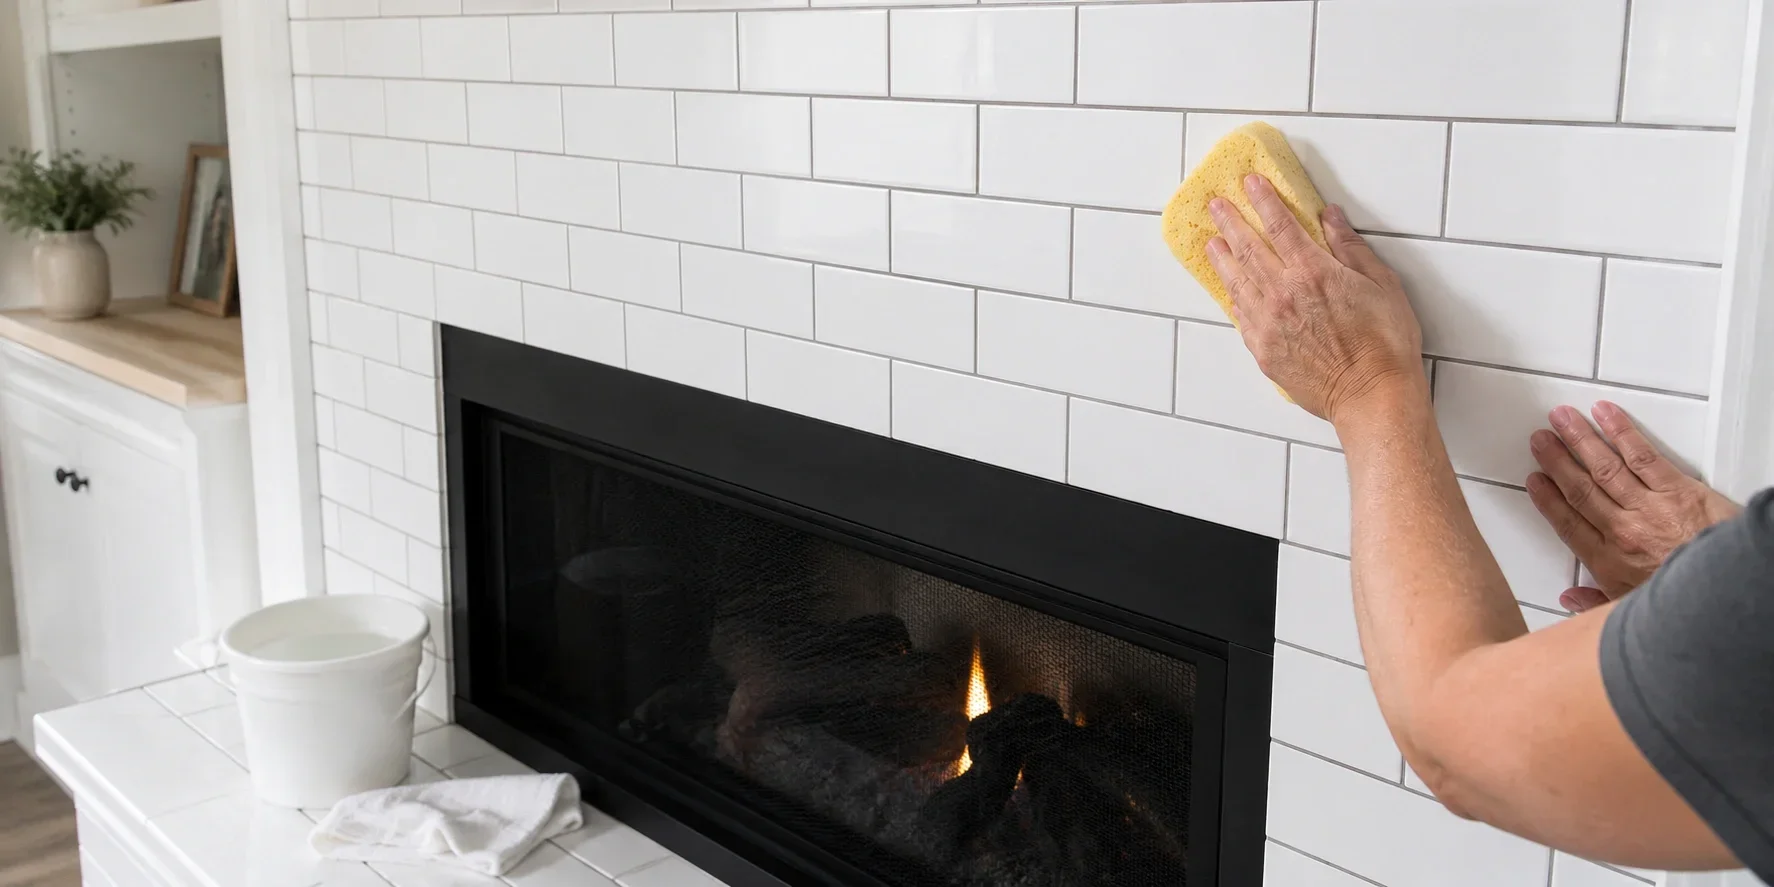
After the grout has cured (usually 24-72 hours), clean the tiles thoroughly to remove any remaining grout haze. Once clean, apply a grout sealer to protect the grout from stains and moisture. Follow the manufacturer's instructions for application and reapplication schedule.
For natural stone tiles, apply a stone sealer before grouting to prevent the grout from staining the stone. After grouting, apply another coat of sealer for complete protection.
Creative Tile Design Ideas
The design possibilities for fireplace tiles are virtually endless. Here are some popular patterns and styles to inspire your project:

Classic Subway Pattern
The timeless subway tile pattern works beautifully on fireplaces, offering a clean, traditional look that complements many design styles. Try offsetting the tiles for a traditional look or stacking them vertically for a more modern appearance.
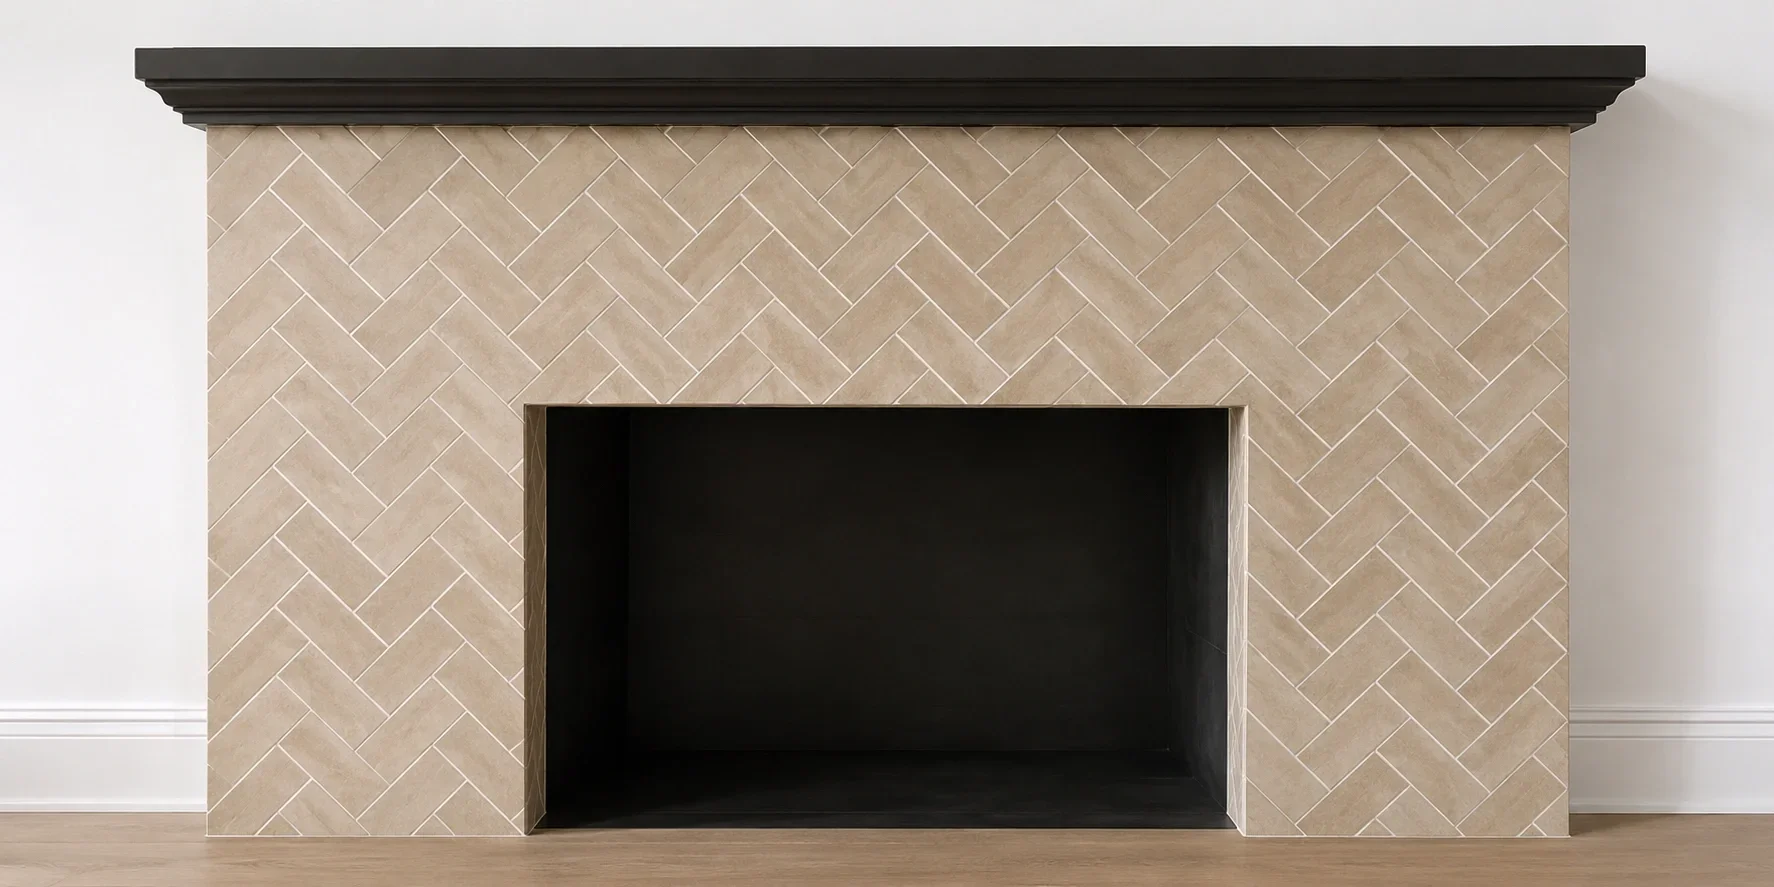
Herringbone Pattern
This elegant pattern creates visual interest and works particularly well with rectangular tiles. It adds texture and movement to the fireplace surround, making it a focal point in any room.
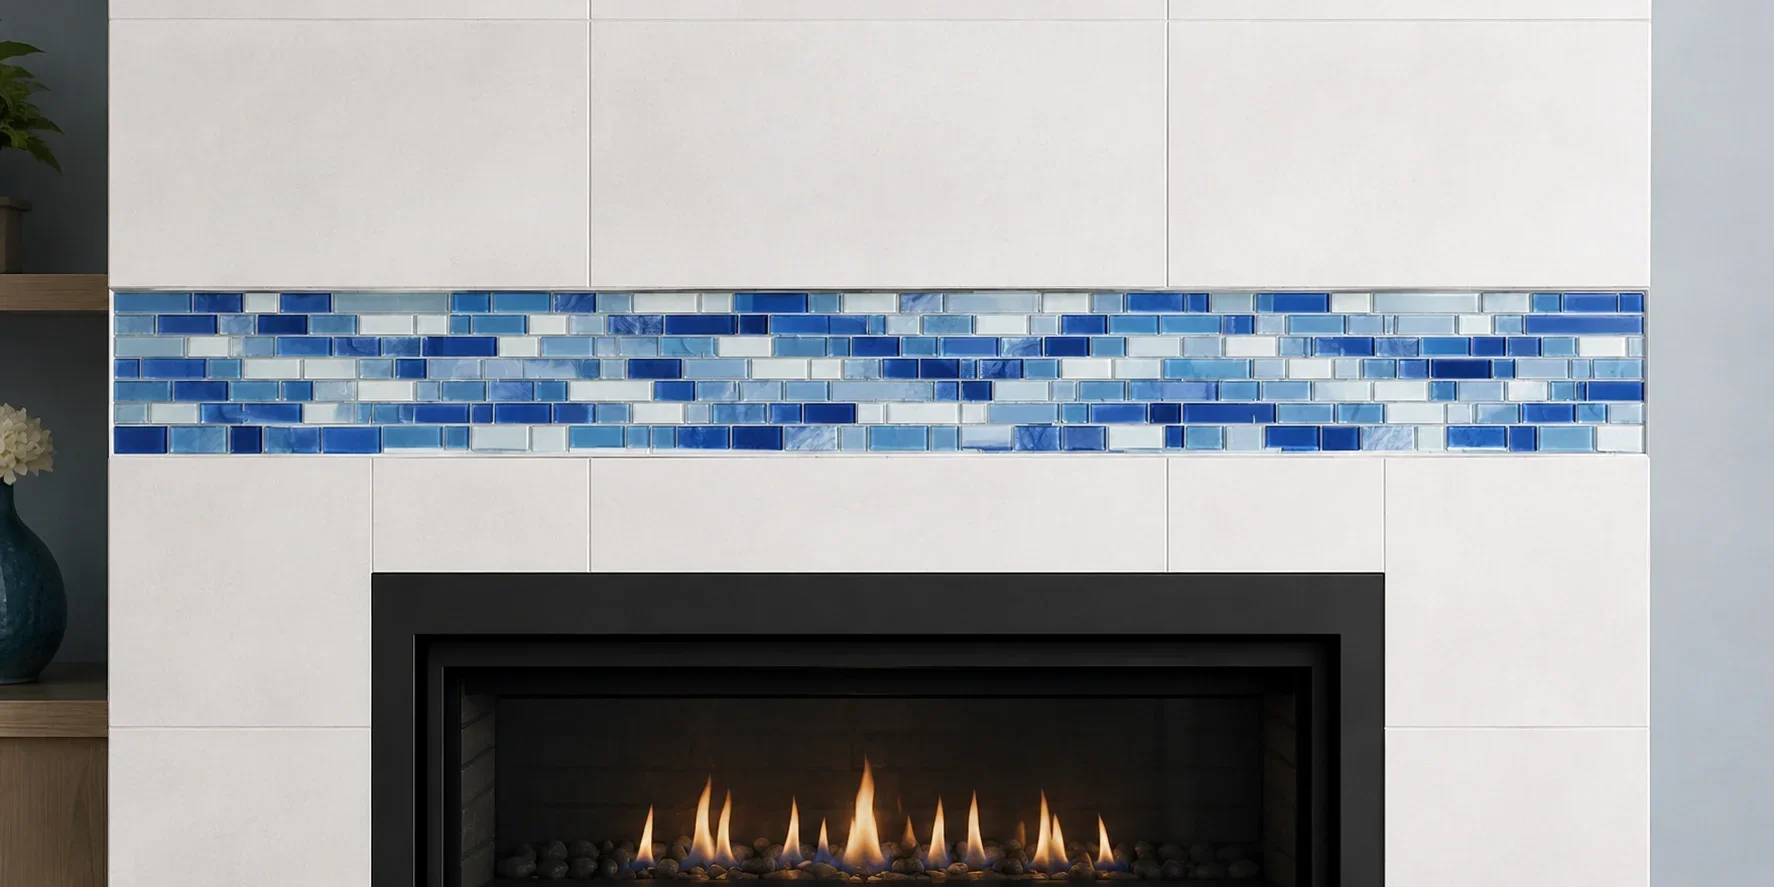
Mosaic Accents
Incorporate mosaic tiles as an accent band or border to add color and detail to your fireplace design. Mosaics work particularly well as a horizontal band across the middle of the surround or as a frame around the firebox opening.
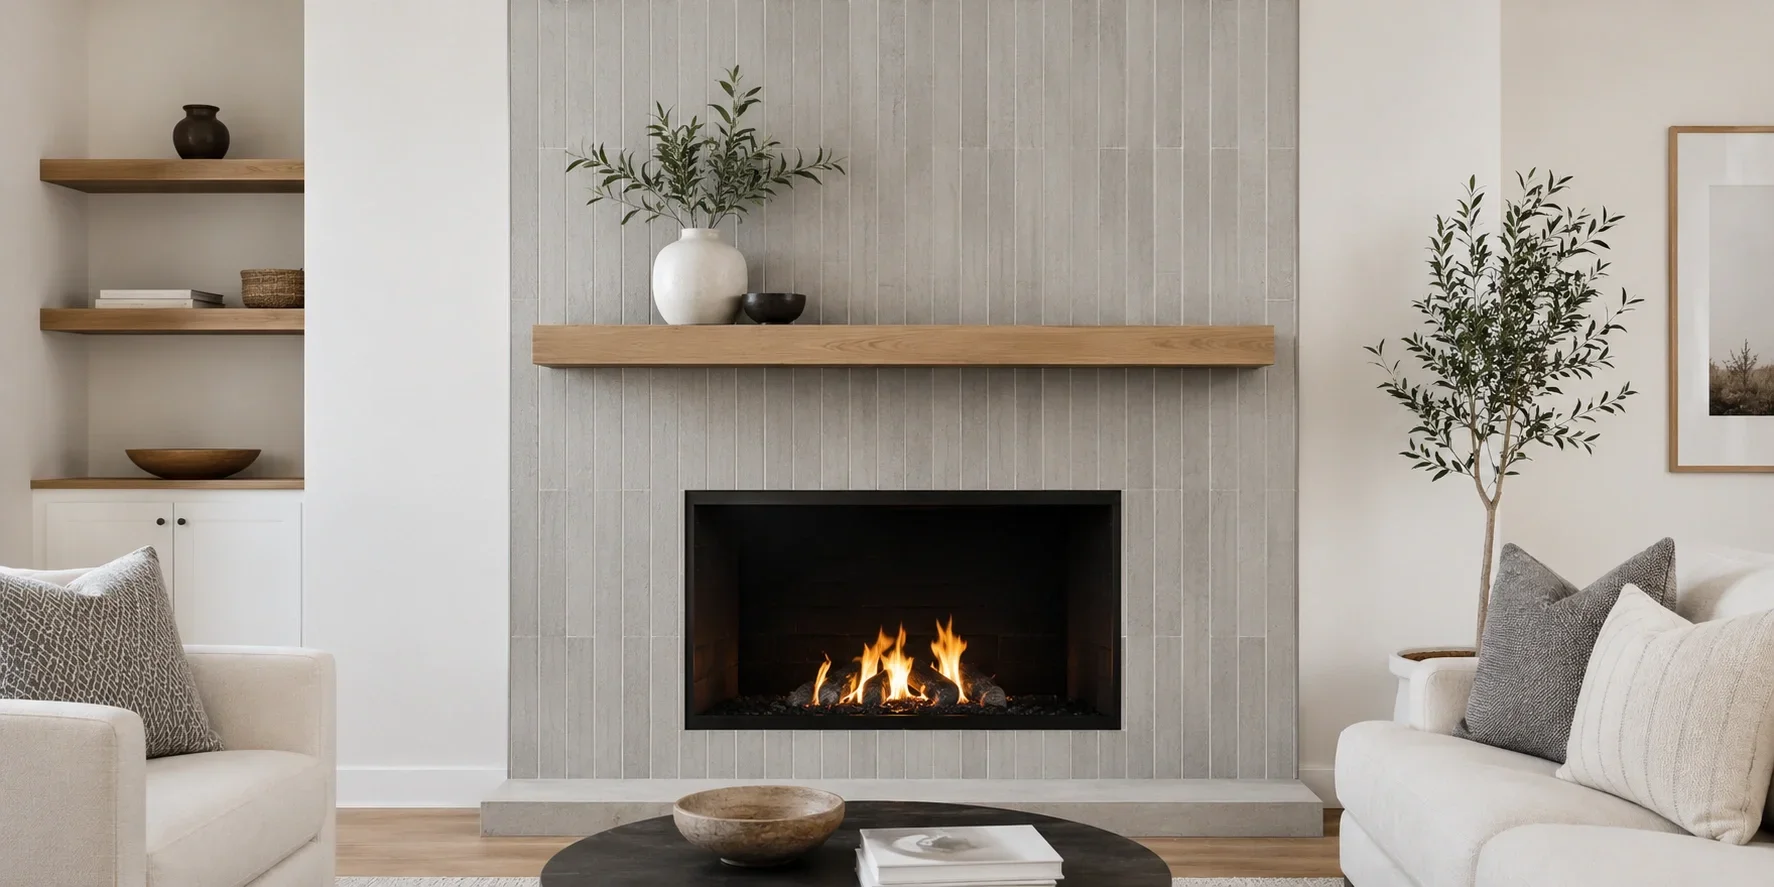
Vertical Stacking
For a contemporary look, stack tiles vertically instead of horizontally. This simple change creates a more modern aesthetic and can make ceilings appear higher, making it perfect for modern fireplace designs.
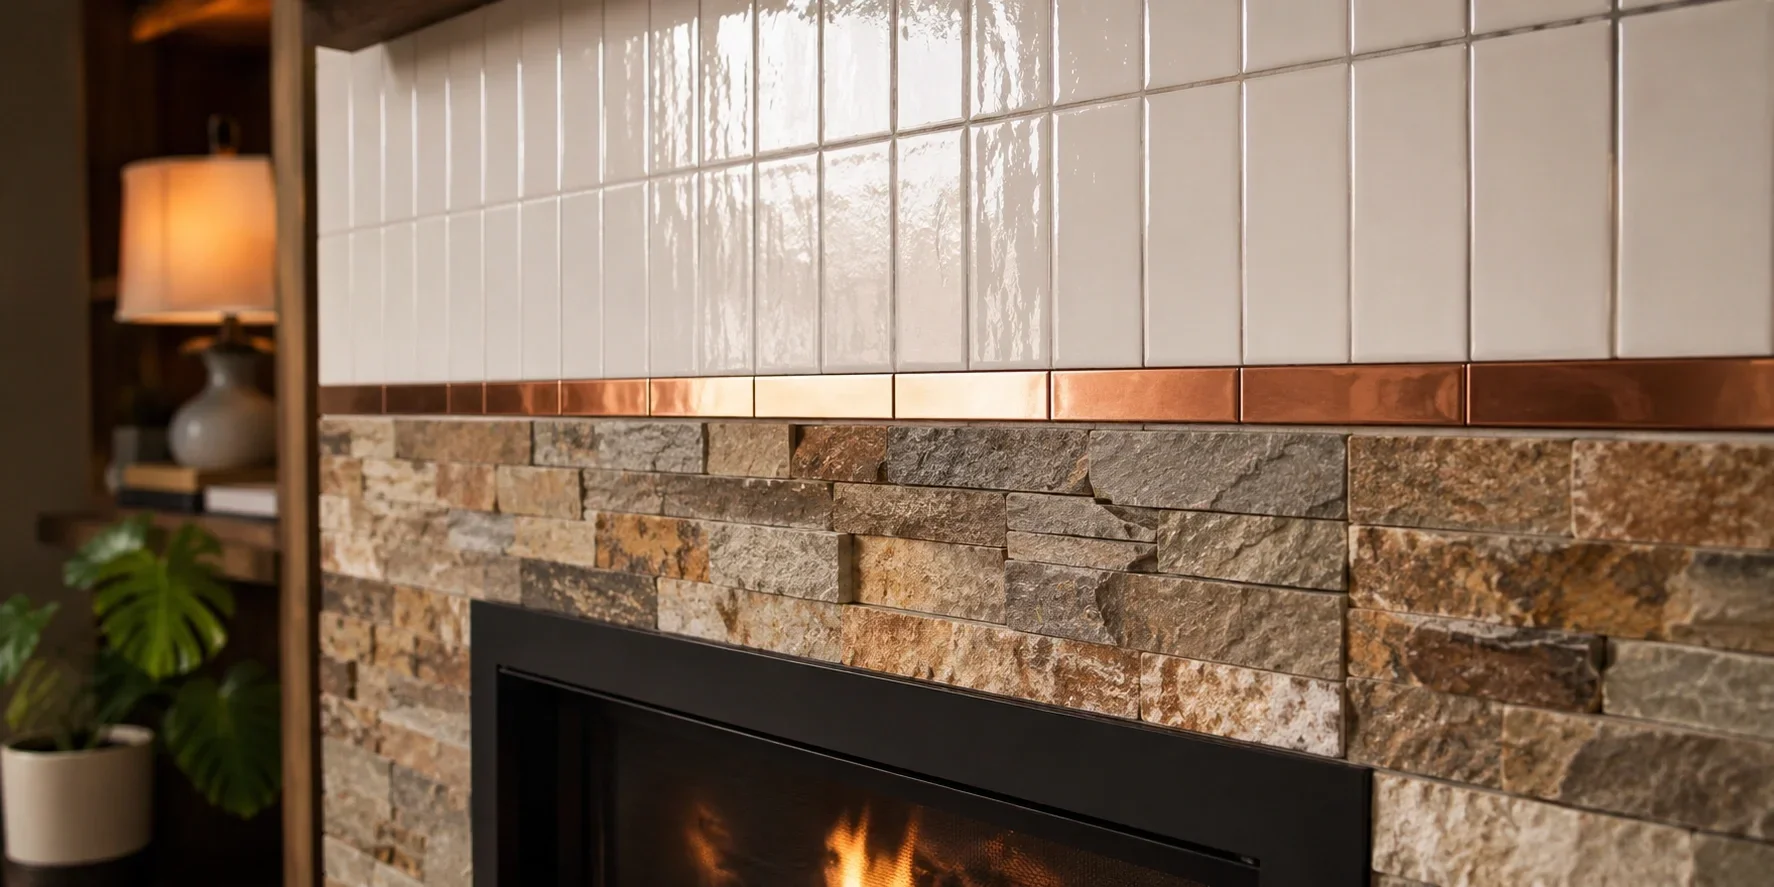
Mixed Materials
Combine different tile materials for a unique, eclectic look. Pair smooth ceramic tiles with textured stone or add metal accents for industrial flair. This approach works well in eclectic design schemes.
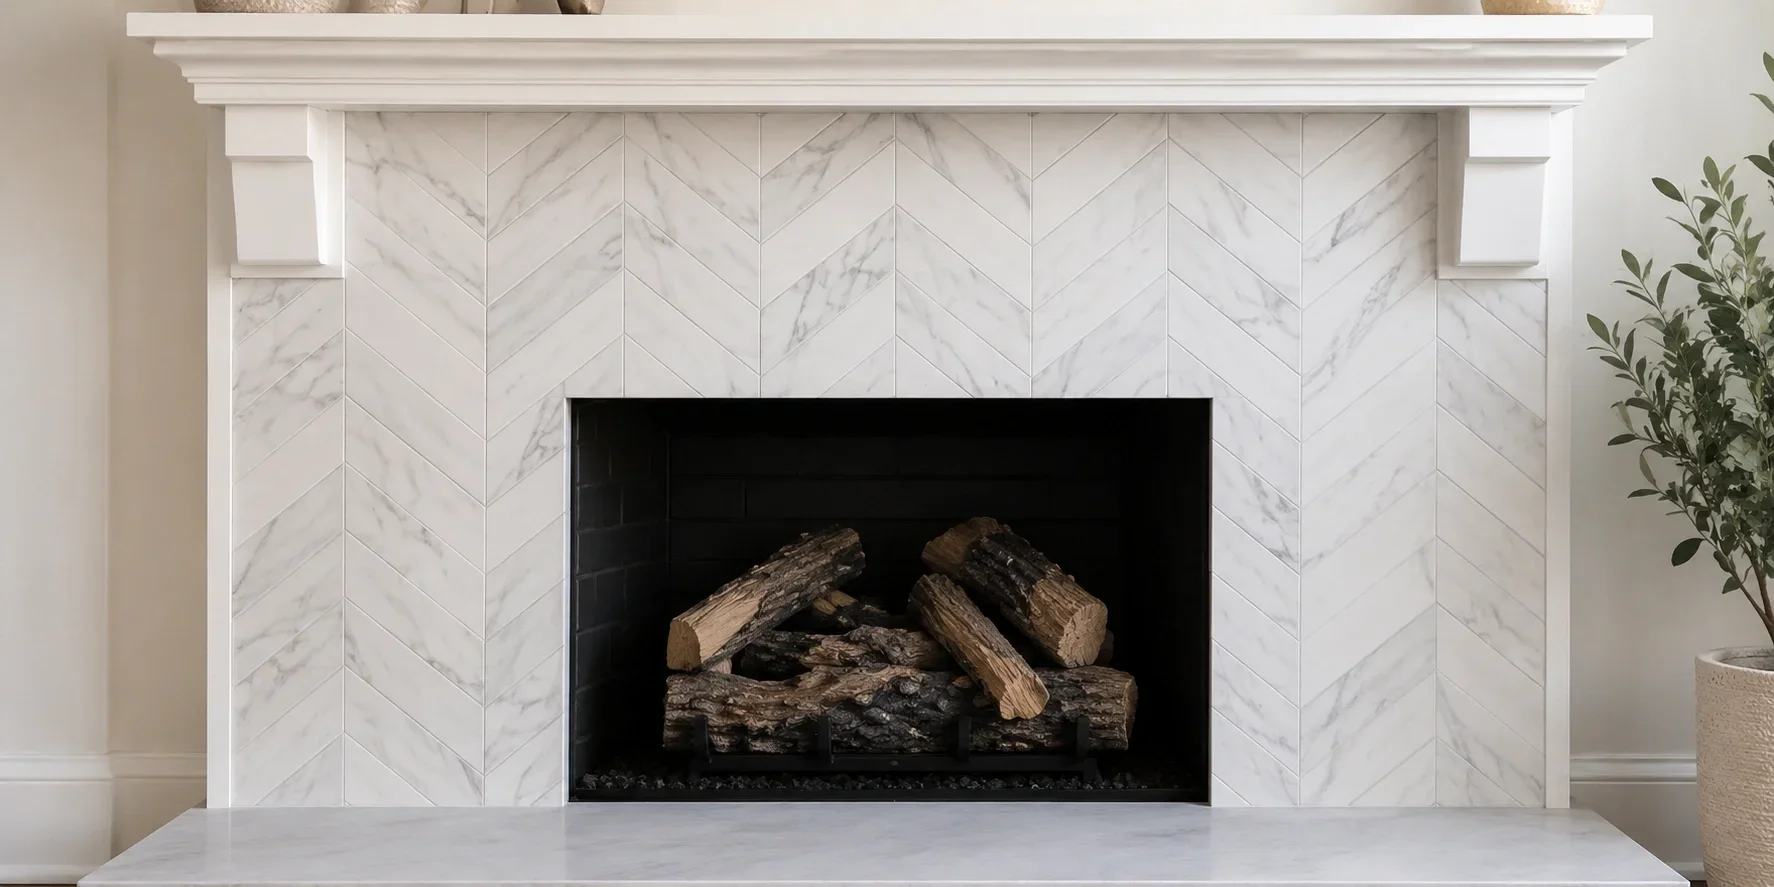
Chevron Pattern
Similar to herringbone but with tiles cut at an angle to create a continuous "V" pattern, chevron adds sophistication and elegance to any fireplace surround. It works particularly well with marble or high-gloss tiles.
Investment Tier Considerations
Understanding the investment tiers involved in a DIY fireplace tile project will help you plan appropriately and make informed decisions about materials and design choices.
| Item | Investment Tier | Notes |
|---|---|---|
| Ceramic Tiles | Entry-level | Most budget-friendly option |
| Porcelain Tiles | Entry-level to Mid-range | Better durability than ceramic |
| Natural Stone Tiles | Mid-range to Premium | Premium option, requires sealing |
| Glass Tiles | Mid-range | Modern look, can be fragile |
| Metal Tiles | Mid-range to Premium | Industrial style, develops patina |
| Thin-Set Mortar | Entry-level | Heat-resistant formula required |
| Grout | Entry-level | Heat-resistant formula recommended |
| Tools | Entry-level to Mid-range | One-time investment |
| Total Project Tier | Entry-level to Mid-range | Depending on tile choice and fireplace size |
These tiers are for DIY installation. Professional installation would typically increase the total project tier to a mid-range to premium level, depending on your location and the complexity of the design. If you're considering whether to tackle this project yourself or hire a professional, check out our guide on DIY vs professional fireplace installation.
Maintenance Tips for Tiled Fireplaces
Proper maintenance will keep your tiled fireplace looking beautiful for years to come. Here are essential care tips to follow:
Regular Maintenance Tasks
Weekly Cleaning
Wipe down tiles with a soft cloth or sponge and mild detergent. Avoid abrasive cleaners that can scratch the tile surface or damage the grout.
Grout Maintenance
Inspect grout lines regularly for cracks or deterioration. Reapply grout sealer annually or as recommended by the manufacturer to prevent staining and moisture penetration.
Addressing Stains Promptly
Clean soot, smoke stains, or spills immediately to prevent them from setting. For stubborn stains, use a specialized tile cleaner recommended for your specific tile material.
Seasonal Inspection
Before each heating season, inspect your tiled surround for any loose tiles, cracked grout, or other damage. Address any issues before using the fireplace to prevent further damage.
Natural Stone Care
If you have natural stone tiles, reapply stone sealer every 1-2 years to maintain protection against stains and moisture. Use pH-neutral cleaners specifically formulated for natural stone.
For more comprehensive maintenance information, check out our fireplace maintenance schedule which covers all aspects of fireplace care throughout the year.
Common Mistakes to Avoid
Learning from others' mistakes can save you time, effort, and frustration. Here are the most common pitfalls to avoid when tiling your fireplace:
Pitfalls to Watch For
Skipping Surface Preparation
Proper surface preparation is crucial for tile adhesion. Failing to clean, repair, or prime the surface can result in tiles that don't stick properly or fall off over time.
Using Wrong Adhesive
Standard wall tile adhesive may not withstand the heat generated by a fireplace. Always use a heat-resistant thin-set mortar specifically formulated for fireplace applications.
Ignoring Expansion Gaps
Tiles expand and contract with temperature changes. Failing to leave appropriate expansion gaps, especially around the firebox opening, can cause tiles to crack or pop off.
Inconsistent Spacing
Uneven tile spacing creates an unprofessional appearance. Use tile spacers consistently throughout the installation to ensure uniform gaps.
Not Planning the Layout
Starting without a clear plan can result in awkward tile cuts in visible areas or an unbalanced appearance. Always dry-fit your tiles first to determine the best layout.
Rushing the Curing Process
Allowing adequate curing time for both mortar and grout is essential for a durable installation. Rushing this process can weaken the bond and lead to premature failure.
Neglecting Sealing
Failing to seal grout and natural stone tiles leaves them vulnerable to staining and moisture damage. Regular sealing is essential for maintaining the appearance and integrity of your tiled fireplace.
Special Considerations for Different Fireplace Types
Different fireplace types may require specific approaches to tiling. Here are some important considerations based on your fireplace type:
For Gas Fireplaces: Ensure the tiles you select can withstand the direct heat output. Maintain proper clearance between the firebox and tiles as specified by the manufacturer. Consider using gas fireplace installation requirements as a guide for proper clearances and materials.
For Wood-Burning Fireplaces: Wood-burning units generate higher temperatures and more soot. Choose tiles with high heat resistance and consider a darker grout color to hide soot stains. Ensure proper ventilation and follow wood fireplace maintenance guidelines to protect your tile investment.
For Electric Fireplaces: While these generate less heat, you still need heat-resistant materials if tiles will be in direct contact with heating elements. The advantage is that you have more flexibility in tile choices since temperature concerns are reduced. Check out electric fireplace installation tips for specific guidance.
For Outdoor Fireplaces: Outdoor installations require tiles that can withstand temperature fluctuations and moisture exposure. Choose frost-resistant tiles and use waterproof membranes and adhesives designed for outdoor use. See our DIY outdoor fireplace guide for more specific information.