DIY Fireplace Insert Installation: Complete Step-by-Step Guide
Transform your existing fireplace into an efficient heating system with our comprehensive guide to selecting and installing fireplace inserts yourself.
A fireplace insert is a self-contained unit that fits into an existing fireplace opening, converting an inefficient traditional fireplace into a powerful heating system. Unlike freestanding stoves, inserts are designed to fit snugly within your existing fireplace structure, making them an ideal solution for homeowners who want to improve heating efficiency without major renovations.
Installing a fireplace insert yourself can save significant money on labor costs while giving you the satisfaction of completing a meaningful home improvement project. With the right tools, proper preparation, and careful attention to detail, most homeowners with moderate DIY skills can successfully install an insert over a weekend.

Benefits of Installing a Fireplace Insert
Fireplace inserts offer numerous advantages over traditional open fireplaces, making them a popular choice for homeowners looking to improve both comfort and efficiency.
Dramatically Improved Efficiency
Traditional fireplaces lose up to 90% of their heat up the chimney, while modern inserts capture and radiate 70-80% of the heat produced into your living space. This efficiency improvement can significantly reduce your heating bills, especially if you're replacing a drafty traditional fireplace. Electric inserts are particularly efficient, converting nearly all electricity to heat.
Better Heat Distribution
Many inserts come with built-in blower fans that actively circulate warm air throughout your room, eliminating the "hot spot" effect common with traditional fireplaces. This means more consistent temperatures and better comfort in larger spaces. Some models can even heat multiple rooms when properly positioned.
Reduced Environmental Impact
Modern inserts burn fuel more completely and cleanly than traditional fireplaces. EPA-certified wood inserts produce up to 90% fewer particulate emissions than older fireplaces, while gas inserts produce minimal emissions when properly adjusted. This makes inserts a more environmentally responsible heating choice.
Enhanced Safety
Inserts create a sealed combustion system that prevents sparks, embers, and gases from entering your living space. This enclosed design significantly reduces fire risk compared to open fireplaces. Many models also include safety features like automatic shutoffs and temperature sensors.
Aesthetic Transformation
Beyond functional benefits, inserts can completely transform the look of your living room fireplace. With options ranging from traditional to contemporary designs, you can update your home's aesthetic while improving functionality. Many inserts feature realistic flame effects that create the ambiance of a traditional fire without the drawbacks.

Types of Fireplace Inserts: Which Is Right for You?
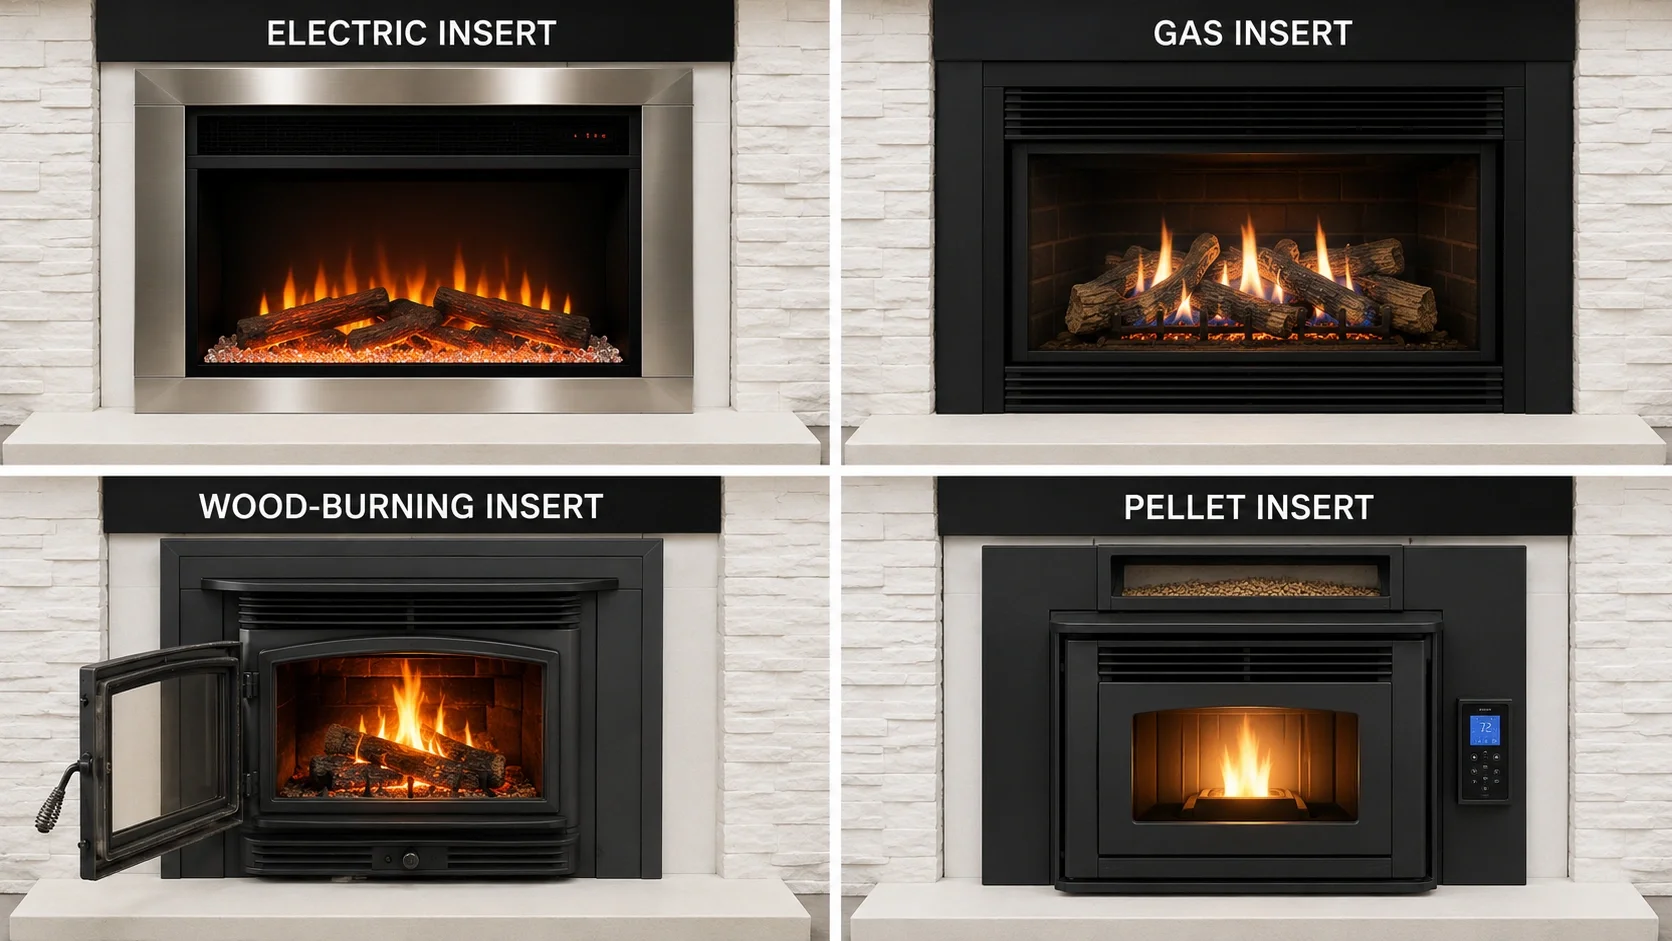
Choosing the right type of insert is crucial for a successful installation. Each fuel type has distinct advantages, installation requirements, and considerations. Understanding these differences will help you select the best option for your specific needs and circumstances.
Electric Inserts
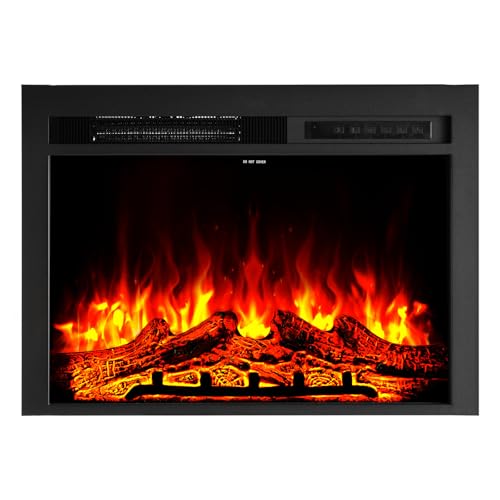
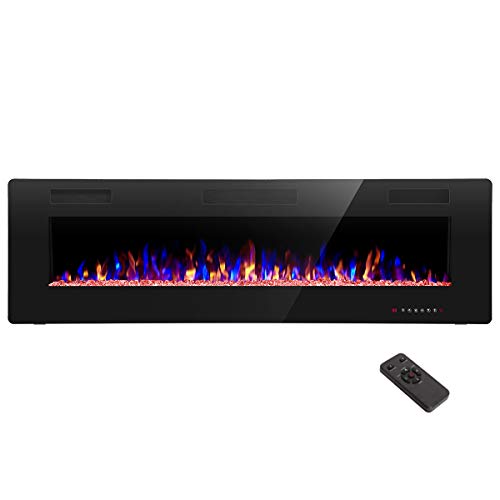
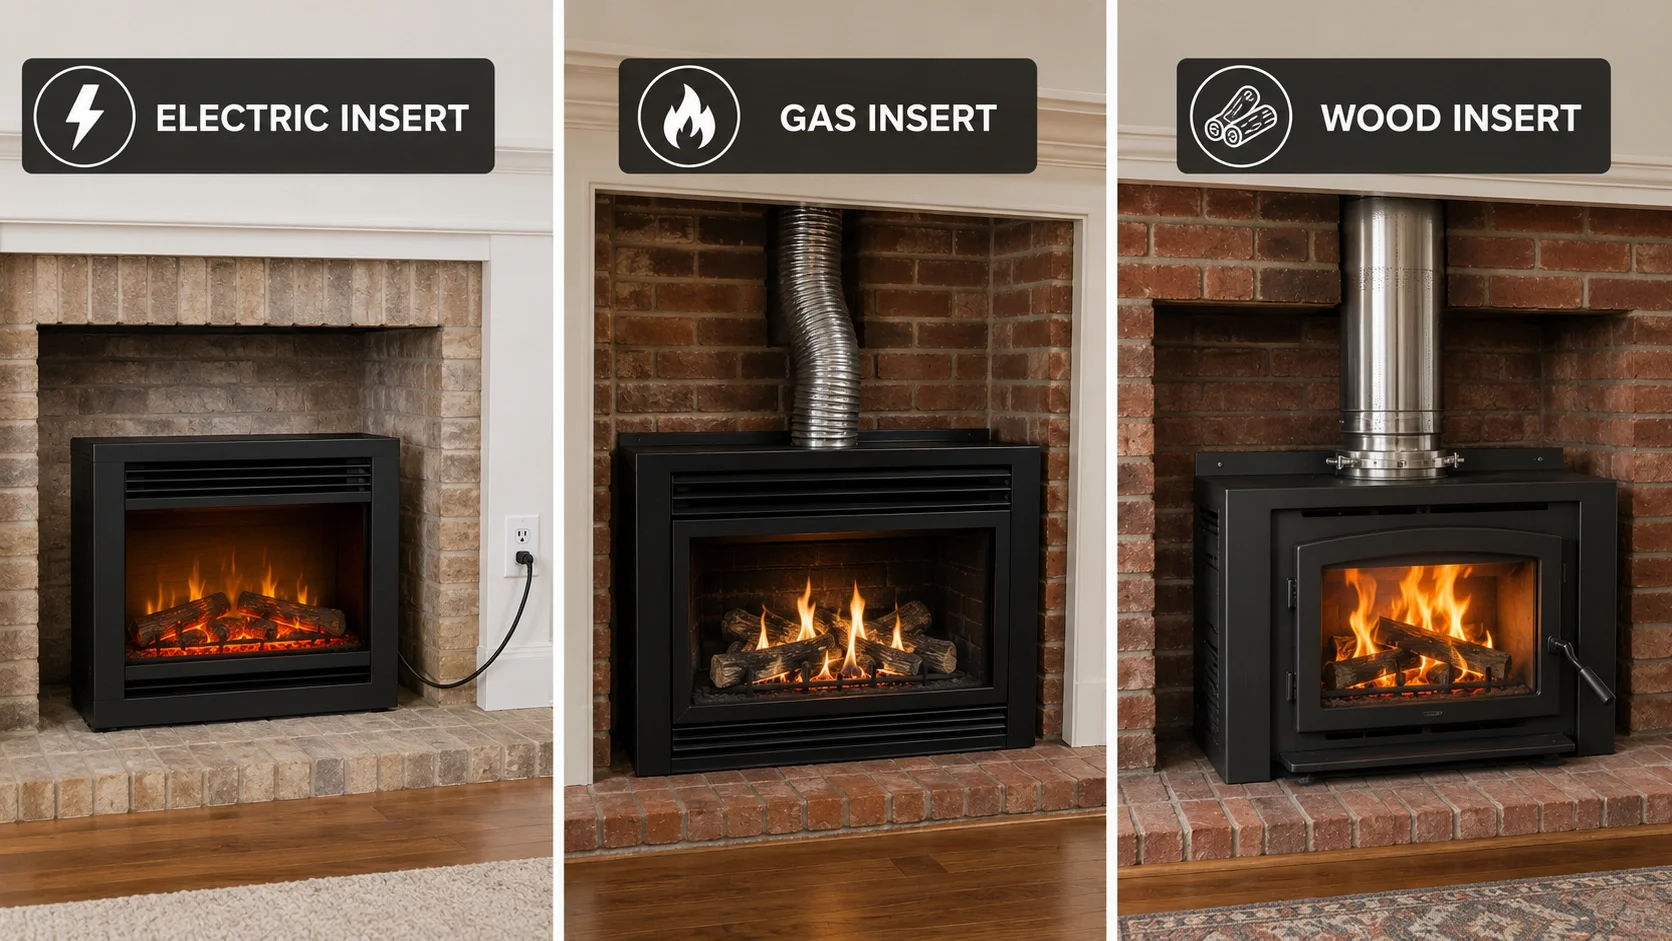
Easiest to install - simply plug into a standard outlet. No venting required, making them perfect for apartments or homes without chimneys. Offer realistic flame effects and supplemental heating. Ideal for smaller spaces or when you want ambiance without the complexity of other fuel types.
Best for: Simplicity, apartments, supplemental heating
Gas Inserts
Provide convenient, clean heat with realistic flames at the flip of a switch. Require a gas line and proper venting (either direct vent through the wall or natural vent up the chimney). Offer consistent heat output and can thermostat-control. Installation requirements are more complex than electric but simpler than wood.
Best for: Convenience, consistent heat, clean operation
Wood Inserts
Offer traditional wood-burning experience with modern efficiency. Require a suitable chimney for venting and proper clearances. Provide excellent heat output and independence from utilities. More complex installation involving chimney inspection and possibly relining. Ideal for those with access to affordable firewood.
Best for: Maximum heat, traditional experience, off-grid capability
Pellet Inserts
Use compressed wood pellets for efficient, clean burning with automated fuel delivery. Require electricity to operate the auger and fans, plus venting through a specialized exhaust system. Offer high efficiency with less manual loading than wood. More mechanical components mean more potential maintenance issues.
Best for: Eco-conscious users, consistent heat with less tending
Decision Factor: If you're unsure which type is right for your situation, consider reading our detailed comparison of gas vs electric fireplaces or electric vs wood fireplaces to help make your decision based on your specific needs and circumstances.
Pre-Installation Assessment: Is Your Fireplace Suitable?
Before purchasing an insert, thoroughly assess your existing fireplace to ensure compatibility. This critical step prevents costly mistakes and ensures your installation will be safe and effective.
Measure Your Fireplace Opening
Accurately measure the width, height, and depth of your fireplace opening at the narrowest points. Also measure the rear width and depth if your fireplace has a taper. These measurements determine which inserts will fit. Most manufacturers provide detailed dimension specifications—choose an insert that leaves 1-2 inches of clearance on all sides for proper installation and airflow.
Evaluate Your Chimney Condition
For gas and wood inserts, your chimney must be in good condition. Inspect for cracks, deteriorated mortar, or excessive creosote buildup. Wood inserts typically require a stainless steel chimney liner for proper drafting and safety, while direct-vent gas inserts may use their own specialized venting system. If your chimney needs repairs, factor this into your project timeline and budget.
Check for Gas Lines
If considering a gas insert, determine if there's an existing gas line near your fireplace. If not, you'll need to decide whether to run a new line—a job that typically requires a professional and may involve significant additional cost and complexity. Some homeowners opt for propane options when natural gas isn't available.
Assess Electrical Access
All inserts except basic wood-burning models require electricity for blowers, controls, or ignition systems. Check for nearby outlets or determine how you'll run power to the insert. For electric inserts, ensure you have an appropriately rated circuit that won't be overloaded by the unit's power requirements.
Verify Clearances
Check that your fireplace has adequate clearance to combustible materials according to the insert manufacturer's specifications. This includes side walls, mantels, and flooring. You may need to modify your fireplace surround or hearth to meet safety requirements.

Essential Tools and Materials for Installation
Gathering the right tools before starting your project will make the installation process smoother and help ensure professional results. While specific requirements vary by insert type, here are the essential tools most installations require:
Additional materials may include fireproof insulation, metal flashing, venting components specific to your insert type, and possibly a new decorative front or surround to finish the installation.
Cost Breakdown for DIY Fireplace Insert Installation
Understanding the complete cost picture helps with budgeting and ensures there are no surprises during your project. While DIY installation saves significantly on labor, material costs can still be substantial.
Electric Insert
Unit only, no venting required
Gas Insert
Plus venting and gas line if needed
Wood Insert
Plus chimney liner ($300–$800)
Additional Materials
Insulation, flashing, trim pieces
| Cost Component | DIY Cost | Professional Cost | Savings |
|---|---|---|---|
| Electric Insert (mid-range) | $800 | $1,500–$2,000 | $700–$1,200 |
| Gas Insert (mid-range) | $2,000 | $3,500–$4,500 | $1,500–$2,500 |
| Wood Insert (mid-range) | $2,500 | $4,000–$5,500 | $1,500–$3,000 |
Budget Tip: While the initial investment may seem significant, consider the long-term savings on heating costs. A properly installed insert can reduce your heating bills by 20-40%, potentially paying for itself within a few heating seasons. Also factor in the increased home value that an efficient fireplace adds.

Step-by-Step Installation Guide
While specific installation steps vary by insert type, this general process applies to most installations. Always follow your manufacturer's specific instructions, as they take precedence over general guidelines.
Prepare the Fireplace
Begin by thoroughly cleaning your existing fireplace, removing all ash, debris, and loose material. If installing a wood or gas insert, clean the chimney or have it professionally swept. Remove any existing gas log set or other components. For wood inserts, you may need to remove the existing damper or modify it to accommodate the chimney liner.
Install Chimney Liner (If Required)
For wood and some gas inserts, install a stainless steel chimney liner according to the manufacturer's specifications. This typically involves dropping the liner down from the top of the chimney, connecting it to the insert's exhaust outlet, and insulating around it. Proper liner installation is critical for safe operation and efficient drafting.

Test Fit the Insert
Carefully slide the insert into the fireplace opening to check the fit. Verify that you have the required clearances on all sides and that the unit sits level. If adjustments are needed, make them before proceeding. This test fit prevents discovering fit issues after you've made permanent connections.
Make Utility Connections
For electric inserts, run power to the unit using an appropriately rated cord or direct wiring. For gas inserts, connect the gas line according to local codes and manufacturer specifications—this step may require professional assistance depending on your skill level and local regulations. Always check for gas leaks using a soap solution after making connections.
Connect Venting System
For gas and wood inserts, connect the venting system according to the manufacturer's instructions. This includes connecting the insert to the chimney liner or direct vent piping. Ensure all connections are secure and properly sealed with high-temperature sealant as specified.
Insulate and Seal
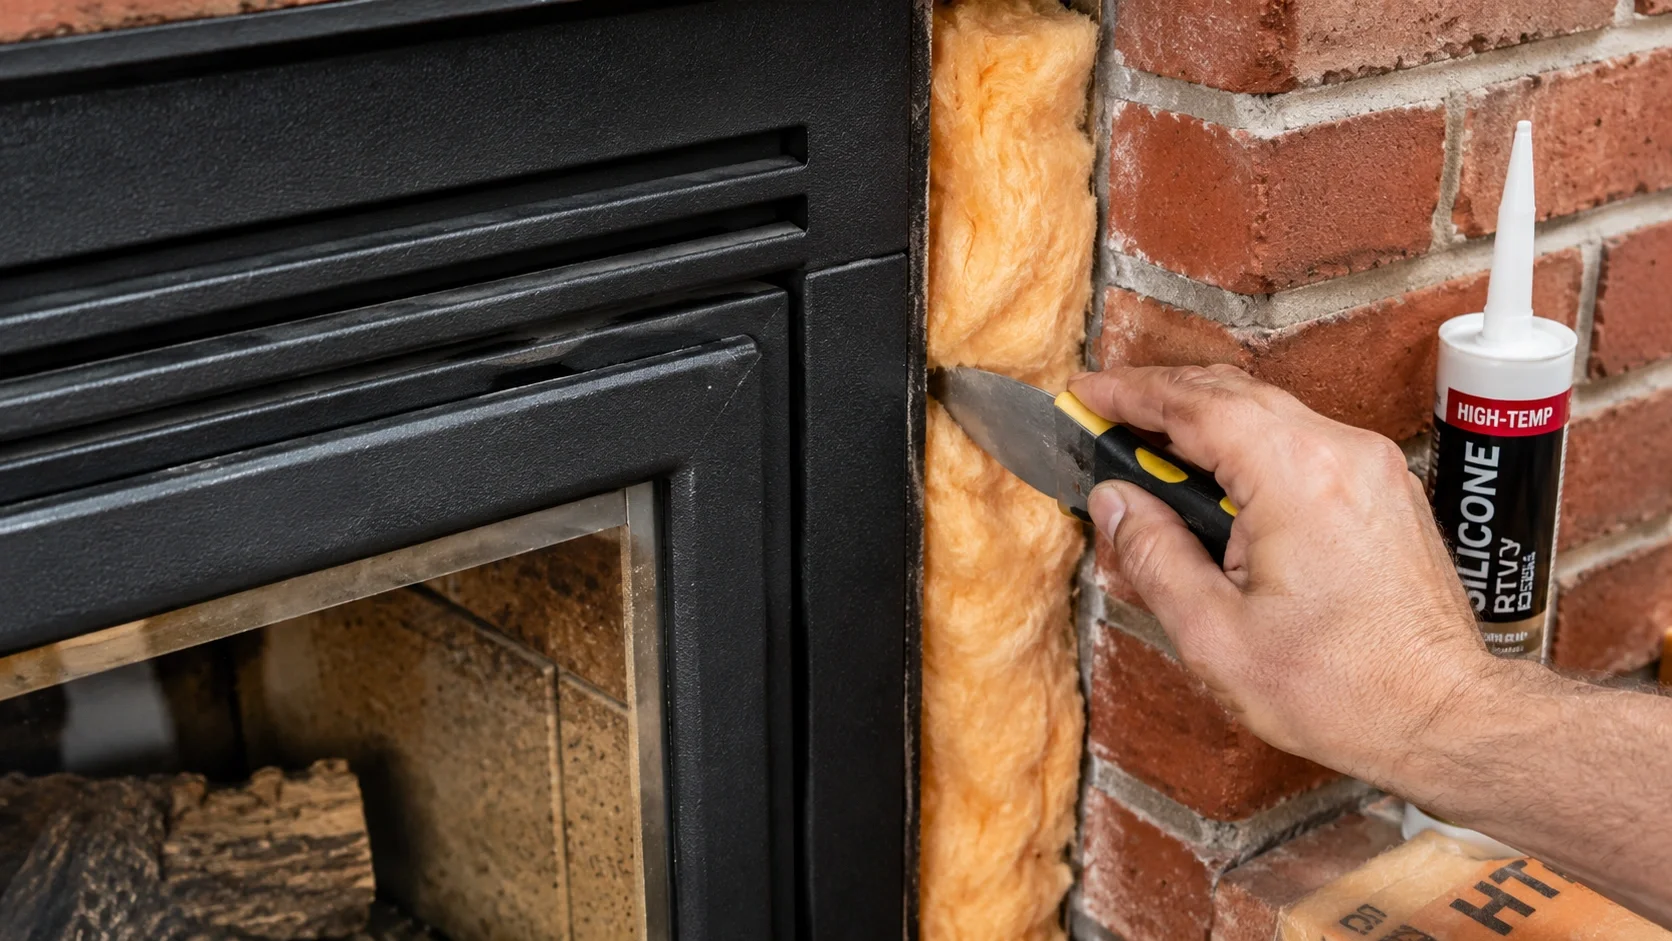
Fill the space between the insert and the fireplace opening with high-temperature insulation to prevent heat loss and improve efficiency. Seal all gaps with high-temperature silicone caulk to prevent air infiltration. This step is crucial for maximizing the efficiency benefits of your insert.
Install Surround or Trim
Install the decorative surround or trim panels provided with your insert to cover the gap between the unit and the fireplace opening. This gives your installation a finished, professional appearance. Many inserts come with customizable surround options to match your home's aesthetic.
Test the System
Before completing the installation, thoroughly test all functions of your insert. For gas inserts, check the ignition system, flame adjustment, and blower operation. For electric inserts, test all heat settings, flame effects, and remote controls. For wood inserts, perform a small test fire to verify proper drafting and operation. Address any issues before finishing the installation.
Complete Final Touches
Install any remaining trim pieces, clean the glass front, and add any optional accessories like decorative screens or mantel shelves. Take time to ensure everything looks professional and finished. Remove any construction debris and clean the surrounding area.
Critical Safety Note: Regardless of your DIY confidence, always have your completed installation inspected by a qualified professional before regular use. This is not just a safety precaution—it may be required by local building codes and your homeowner's insurance. An improperly installed insert can create serious safety hazards including carbon monoxide poisoning and fire risk.
Type-Specific Installation Considerations
Each insert type has unique installation requirements that affect the process and complexity. Understanding these differences helps ensure a successful installation.
Electric Insert Installation Tips
Electric inserts are the simplest to install, often requiring just 30-60 minutes for a basic setup. Key considerations include:
- Ensure the outlet can handle the unit's amperage draw without overloading the circuit
- Plan cord routing to avoid tripping hazards and visible cords if possible
- Consider hardwiring for a more permanent, professional appearance
- Position the insert so the flame effect is visible from your primary seating area
Gas Insert Installation Tips
Gas inserts require more complex installation involving gas lines and venting systems:
- Determine if you need vented or ventless configuration based on your home and local codes
- For direct-vent models, plan the horizontal or vertical venting route carefully
- Gas connections should be made by a qualified professional unless you have specific experience
- Install a shut-off valve in an accessible location as required by code
- Test all connections with a soap solution to detect even small gas leaks
Wood Insert Installation Tips
Wood inserts involve the most complex installation process:
- Proper chimney liner sizing is critical for safe, efficient operation
- Ensure the liner connects securely to the insert's flue collar with no gaps
- Block off the chimney above the liner to prevent debris from falling around it
- Verify that the hearth extension meets requirements for the insert's heat output
- Seasoned wood and proper burning techniques are essential for optimal performance
Common Installation Mistakes to Avoid
Learning from others' mistakes can save you time, money, and potential safety issues. Here are the most common pitfalls to avoid during your installation:
Incorrect Sizing
Choosing an insert that's too large or too small for your fireplace opening is perhaps the most common mistake. An oversized insert may not fit properly or meet clearance requirements, while an undersized one will look disproportionate and may not heat effectively. Always measure carefully and verify dimensions before purchasing.
Neglecting Chimney Preparation
Failing to properly clean and inspect the chimney before installation can lead to poor performance and safety hazards. For wood inserts, skipping the chimney liner installation can result in dangerous creosote buildup and poor drafting. Always follow the manufacturer's chimney preparation requirements.
Poor Insulation and Sealing
Inadequately insulating and sealing around the insert dramatically reduces efficiency—one of the primary benefits of installing an insert. Take the time to properly fill all gaps with appropriate insulation and seal with high-temperature caulk to maximize heat delivery to your room.
Improper Venting
Using incorrect venting materials or improper installation techniques can create serious safety hazards. Always use the venting components specified by the manufacturer and follow their installation instructions precisely. Never mix components from different systems or modify venting parts.
Skipping the Final Inspection
Many DIY installers skip the final professional inspection to save money or time. This is a false economy that can have serious consequences. A professional inspection verifies safe installation, ensures code compliance, and may be required for insurance coverage. Consider it an essential part of the installation process.
Pro Tip: Before beginning your installation, thoroughly read through the manufacturer's instructions at least twice. Understanding the complete process before starting helps prevent mistakes that could be difficult to correct later. Keep the instructions accessible throughout the installation for reference.

Maintaining Your Fireplace Insert
Proper maintenance ensures your insert operates safely and efficiently for years to come. While maintenance requirements vary by insert type, all inserts benefit from regular attention.
Electric Insert Maintenance
Electric inserts require minimal maintenance but benefit from regular care:
- Dust the unit regularly with a soft cloth to prevent buildup on fans and heating elements
- Clean the glass front with appropriate glass cleaner to maintain clear viewing
- Check cord and plug connections periodically for damage
- Test all functions seasonally before heavy use periods
Gas Insert Maintenance
Gas inserts require more involved maintenance routines:
- Annual professional inspection and cleaning of burners, pilots, and vents
- Regular cleaning of the glass front to remove white film caused by combustion byproducts
- Check and clean the blower fan if equipped
- Verify proper flame appearance and adjustment
- Test carbon monoxide detectors regularly
Wood Insert Maintenance
Wood inserts have the most demanding maintenance requirements:
- Regular ash removal (but leave a small bed of ashes to protect the firebox floor)
- Annual chimney cleaning to remove creosote buildup
- Inspect and replace gaskets around doors as needed to maintain proper sealing
- Clean the glass front regularly to maintain visibility and detect potential issues
- Check and clean the catalytic combustor (if equipped) according to manufacturer specifications
Maintenance Schedule: Create a seasonal maintenance calendar to ensure you don't miss important maintenance tasks. At minimum, schedule professional inspections before the heating season begins and perform basic maintenance tasks monthly during the burning season.

Troubleshooting Common Insert Issues
Even properly installed inserts can occasionally experience issues. Understanding common problems and their solutions helps you maintain optimal performance.
Insufficient Heat Output
If your insert isn't heating effectively, check these potential causes:
- Verify the BTU rating is appropriate for your room size
- Ensure the blower is functioning properly and not obstructed
- Check that insulation around the unit is adequate
- For gas units, verify proper gas pressure and flame adjustment
- For wood units, ensure you're using properly seasoned wood and correct burning techniques
Fan or Blower Problems
Blower issues are among the most common insert problems:
- Check that the blower is receiving power and the switch is functioning
- Clean dust buildup from the fan blades and housing
- Verify the thermostat or speed control is working properly
- Listen for unusual noises that might indicate bearing failure
Glass Door Issues
Problems with the glass front are common but usually easy to resolve:
- White film on gas insert glass is normal and can be removed with appropriate cleaners
- Black soot on wood insert glass indicates poor burning practices—adjust your technique
- Condensation between glass panels may indicate a broken seal that needs professional repair
Ignition Problems (Gas Inserts)
If your gas insert won't light:
- Check that the gas supply is turned on and the shutoff valve is open
- Verify the pilot light is lit (on pilot ignition models)
- Check the igniter for proper operation—clean or replace if necessary
- Ensure the thermocouple or flame sensor is properly positioned and clean

When to Call a Professional
While DIY installation can save money, certain situations warrant professional assistance. Knowing when to call for help ensures safety and prevents costly mistakes.
Gas Line Installation
Unless you have specific experience with gas line installation, this task should be left to professionals. Improper gas connections can create serious safety hazards including explosions and carbon monoxide poisoning. Most municipalities also require licensed professionals for gas work.
Complex Venting Situations
If your home has unusual chimney configurations, multiple bends in the venting path, or other complications, professional installation ensures proper drafting and safe operation. Incorrect venting can lead to dangerous exhaust gases entering your home.
Structural Modifications
If your installation requires modifying the fireplace structure, hearth, or surrounding walls, professional assessment ensures structural integrity isn't compromised. This is particularly important for fireplace remodels involving significant changes.
Persistent Problems
If you experience persistent issues like backdrafting, unusual odors, or poor performance that you can't resolve through troubleshooting, professional diagnosis can identify the root cause and prevent further problems.
Safety First: If you ever smell gas, notice excessive soot, experience headaches or nausea when the insert is operating, or observe any other signs of potential danger, immediately turn off the unit, ventilate the area, and contact a professional. These symptoms could indicate serious safety issues that require immediate attention.

Maximizing Your Insert's Efficiency
Proper installation is just the first step—how you operate your insert significantly impacts its efficiency and your heating costs. These tips help you get the most from your investment.
Use the Thermostat Effectively
For units with thermostatic controls, set them to maintain your desired temperature rather than running the insert at maximum output continuously. This prevents overheating and reduces fuel consumption while maintaining comfort. Programmable thermostats can further optimize operation by adjusting temperatures based on your schedule.
Maintain Proper Clearances
Keep furniture, curtains, and other combustibles at the required distance from your insert. Obstructed airflow around the unit reduces efficiency and creates safety hazards. Use safety gates if necessary to maintain appropriate distances in homes with children or pets.
Optimize Air Circulation
Use ceiling fans to help distribute warm air throughout your home. In winter, set fans to rotate clockwise at low speed to gently push warm air down from the ceiling without creating a cooling breeze. This can significantly improve comfort in rooms beyond where the insert is located.
Supplement with Zone Heating
Use your insert to heat the primary living areas while lowering the thermostat on your central heating system for unused rooms. This zone heating approach can reduce overall heating costs significantly, especially in larger homes.
Perform Regular Maintenance
A well-maintained insert operates more efficiently than one that's neglected. Keep up with all recommended maintenance tasks to ensure your insert continues to perform at its best. Clean components operate more effectively and use less fuel to produce the same amount of heat.

Final Tips for a Successful Installation
As you prepare for your DIY insert installation, keep these final tips in mind for the best possible outcome:
- Read everything twice: Thoroughly review all manufacturer instructions before beginning any work
- Take photos during disassembly: Document the existing setup before making changes—you may need to reference them later
- Work with a partner: Many steps are much easier and safer with two people, especially moving the heavy insert
- Don't rush: Allow plenty of time for the installation—rushing leads to mistakes
- Keep parts organized: Use bags or containers to keep hardware and small parts organized and labeled
- Test as you go: Verify each step before moving to the next—it's easier to correct issues immediately
- Plan for cleanup: Have appropriate cleaning supplies ready for when you finish the installation
- Save all documentation: Keep manuals, warranties, and installation records in an accessible place
Final Thought: A properly installed fireplace insert transforms an inefficient, drafty fireplace into a powerful heating system that can significantly reduce your heating costs while adding beauty and comfort to your home. By following proper installation procedures and maintaining your insert well, you'll enjoy these benefits for many years to come.