
DIY Fireplace Hearth: Complete Building Guide
Create a safe and stylish fireplace hearth with our comprehensive guide. Learn about materials, designs, and step-by-step installation.
Explore Hearth DesignsWhy Build a DIY Fireplace Hearth? A fireplace hearth serves both functional and aesthetic purposes. It protects your floor from heat and sparks while creating a defined space that enhances your fireplace's visual appeal. Building your own hearth allows for customization that perfectly matches your home's style while potentially saving hundreds of dollars compared to professional installation.
Recommended Hearth Materials & Tools
⚠️ AFFILIATE DISCLOSURE: This website contains affiliate links. As an Amazon Associate, we earn from qualifying purchases. If you make a purchase through these links, we may receive a small commission at no additional cost to you. Read our full affiliate policy.
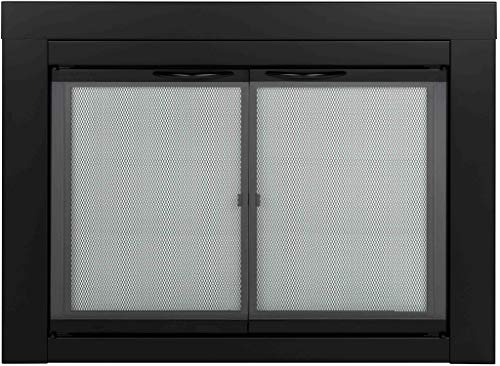
Pleasant Hearth AN-1010 Alpine Fireplace Glass Door, Black, Small
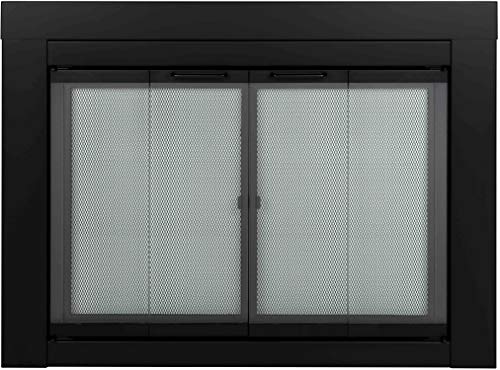
Pleasant Hearth Ascot Fireplace Glass Door - for Masonry Fireplaces, Small, Black, Model Number AT-1000
Pleasant Hearth AT-1002 Ascot Fireplace Glass Door, Black, Large
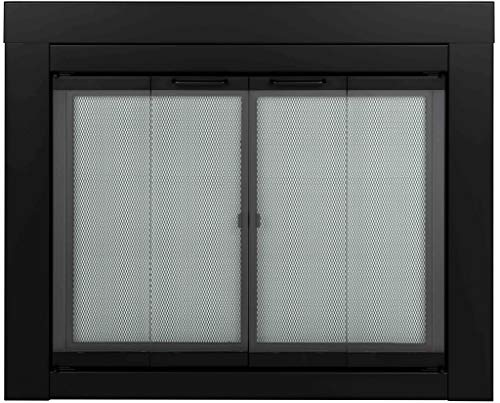
Pleasant Hearth AT-1001 1111 fireplace screen, Black Medium

Pleasant Hearth Carlisle Fireplace Glass Door, Medium (CL-3001), Black

Pleasant Hearth Carlisle Fireplace Glass Door, Large (CL-3002)

Midwest Hearth Rock Wool for Gas Fireplace Embers, Made in USA, 6 Oz

Fireplace Baby Proofing 80'', Corner Guard Hearth Cushion, Grey
Understanding Fireplace Hearths
A fireplace hearth is the floor area immediately in front of and around your fireplace. Traditionally made of non-combustible materials like stone, brick, or tile, hearths serve as a safety barrier between the fire and your flooring. Even if you have a modern electric fireplace that doesn't produce sparks, a hearth adds a finished look and protects your floor from heat damage.
The hearth extension—the part that projects into the room—must meet specific size requirements based on your fireplace type. For wood-burning fireplaces, building codes typically require a minimum extension of 16 inches in front and 8 inches on each side. Gas and electric fireplaces have more flexible requirements, but a properly sized hearth still enhances safety and aesthetics.
Beyond functionality, a well-designed hearth can transform your living room fireplace into a stunning focal point. The hearth provides an opportunity to incorporate complementary materials and design elements that tie your fireplace into the overall room design.

Essential Materials for DIY Hearth Construction
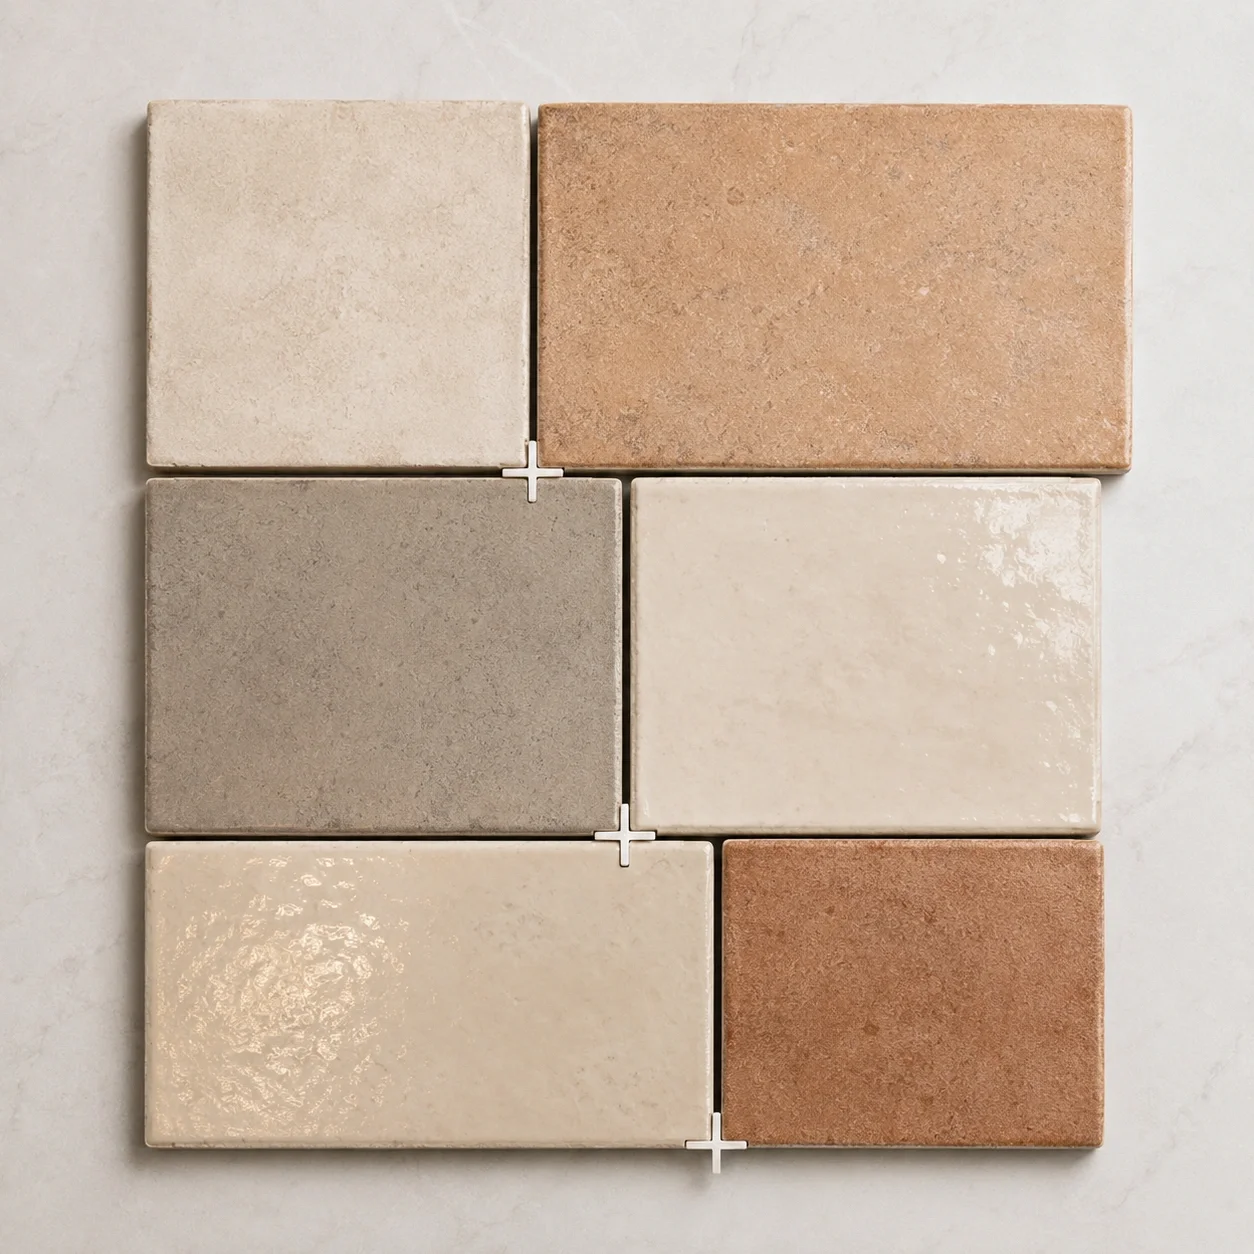
Ceramic Tile
Versatile and affordable option with endless design possibilities. Cost: $2-$15 per square foot.

Natural Stone
Durable and elegant choice for a stone fireplace hearth. Cost: $10-$30 per square foot.
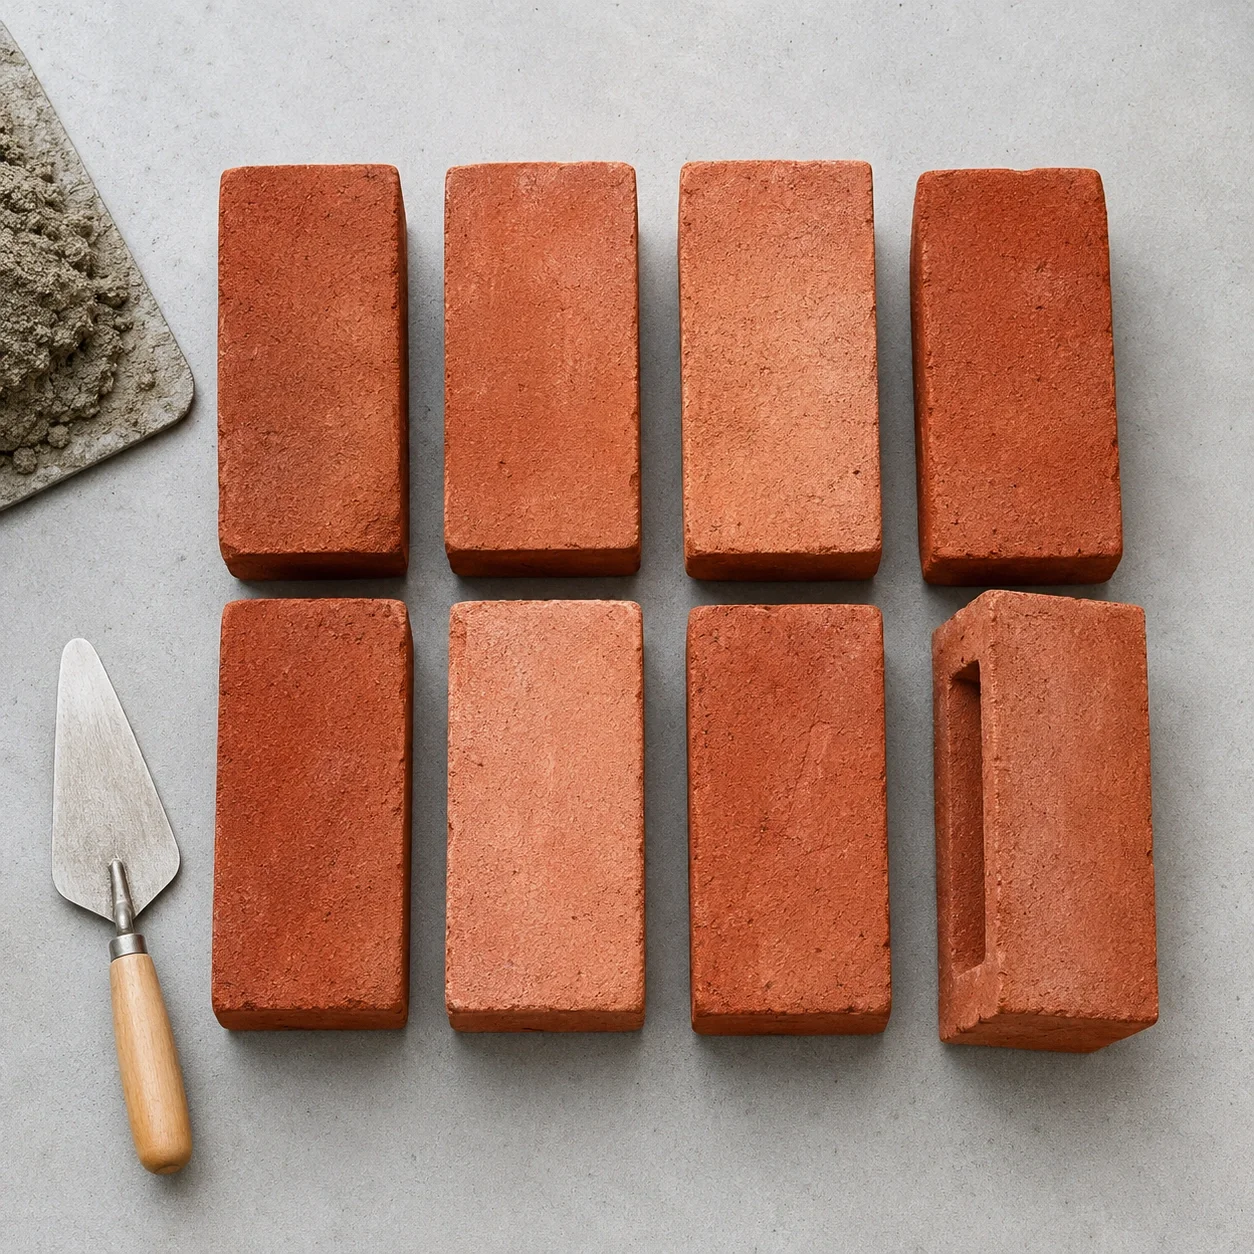
Brick
Classic choice for brick fireplace hearths with traditional charm. Cost: $3-$8 per square foot.

Concrete
Modern and customizable option that can be stamped or stained. Cost: $4-$12 per square foot.

Slate
Natural beauty with slip-resistant surface, ideal for high-traffic areas. Cost: $8-$20 per square foot.

Granite
Premium option with exceptional durability and heat resistance. Cost: $15-$40 per square foot.
Popular Hearth Design Options
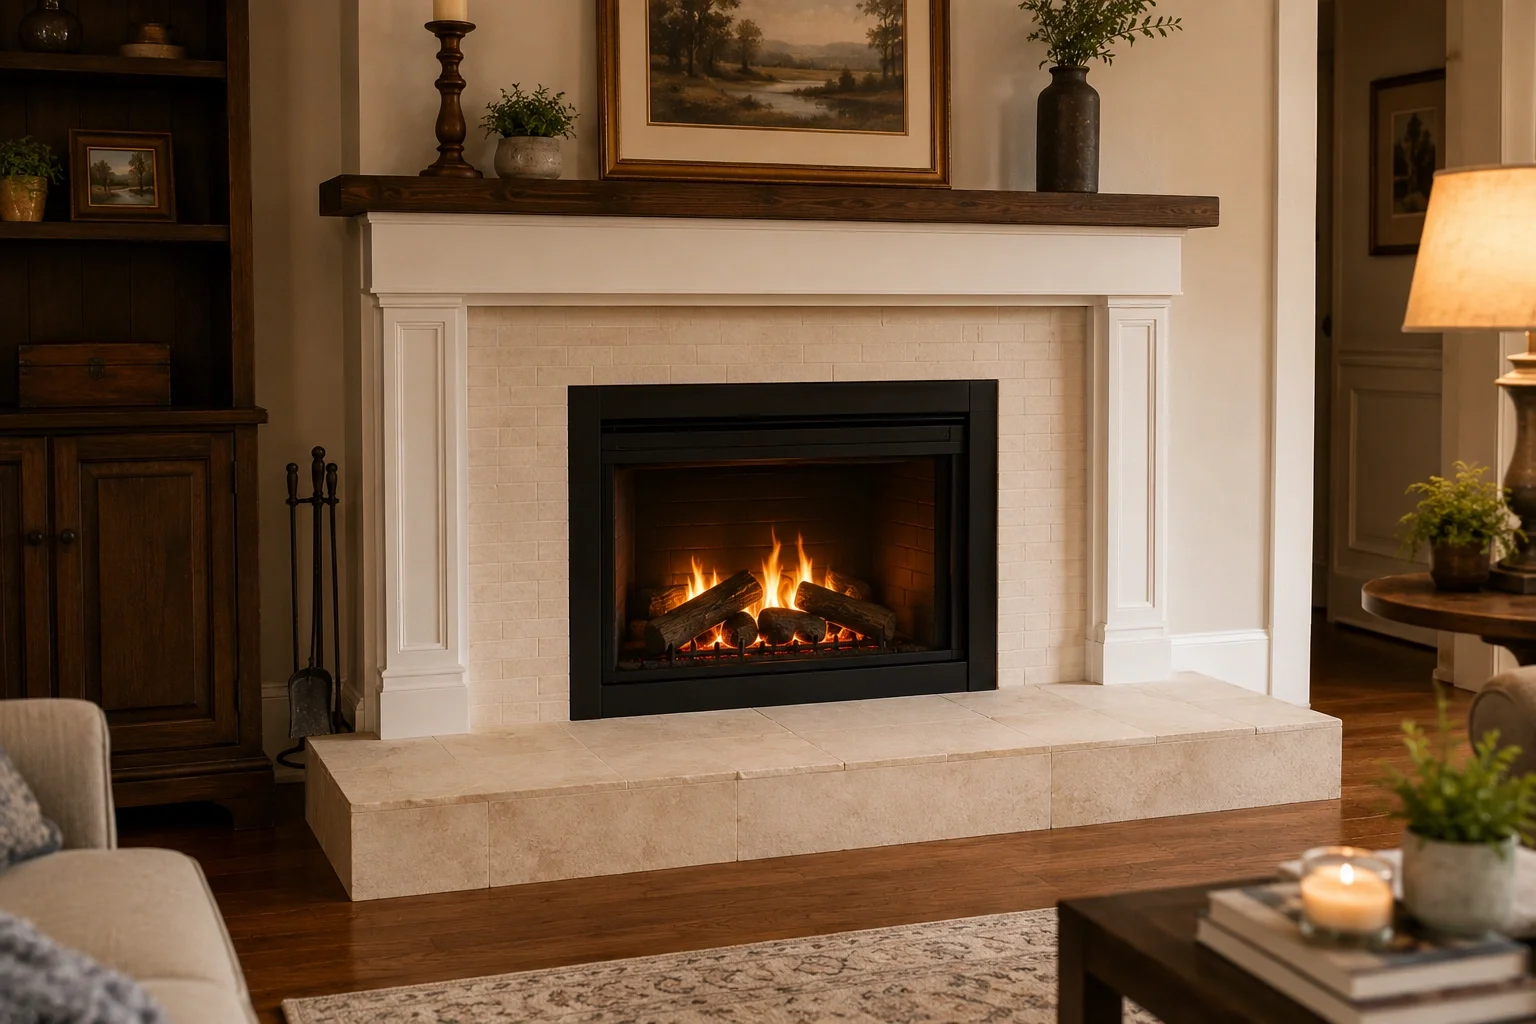
Raised Hearth
A raised hearth sits several inches above floor level, creating a defined platform for the fireplace. This design works well with traditional fireplace styles and can incorporate storage underneath. Raised hearths require careful framing and support but add architectural interest to your space.

Flush Hearth
A flush hearth sits level with your existing floor, creating a seamless transition. This minimalist approach works particularly well with modern fireplace designs and makes the room feel more spacious. Installation is simpler since it doesn't require building up a base.

Extended Hearth
An extended hearth projects further into the room, creating additional usable space for seating or displaying decorative items. This design works well in larger rooms and can incorporate built-in seating. Extended hearths are particularly effective with rustic fireplace designs.
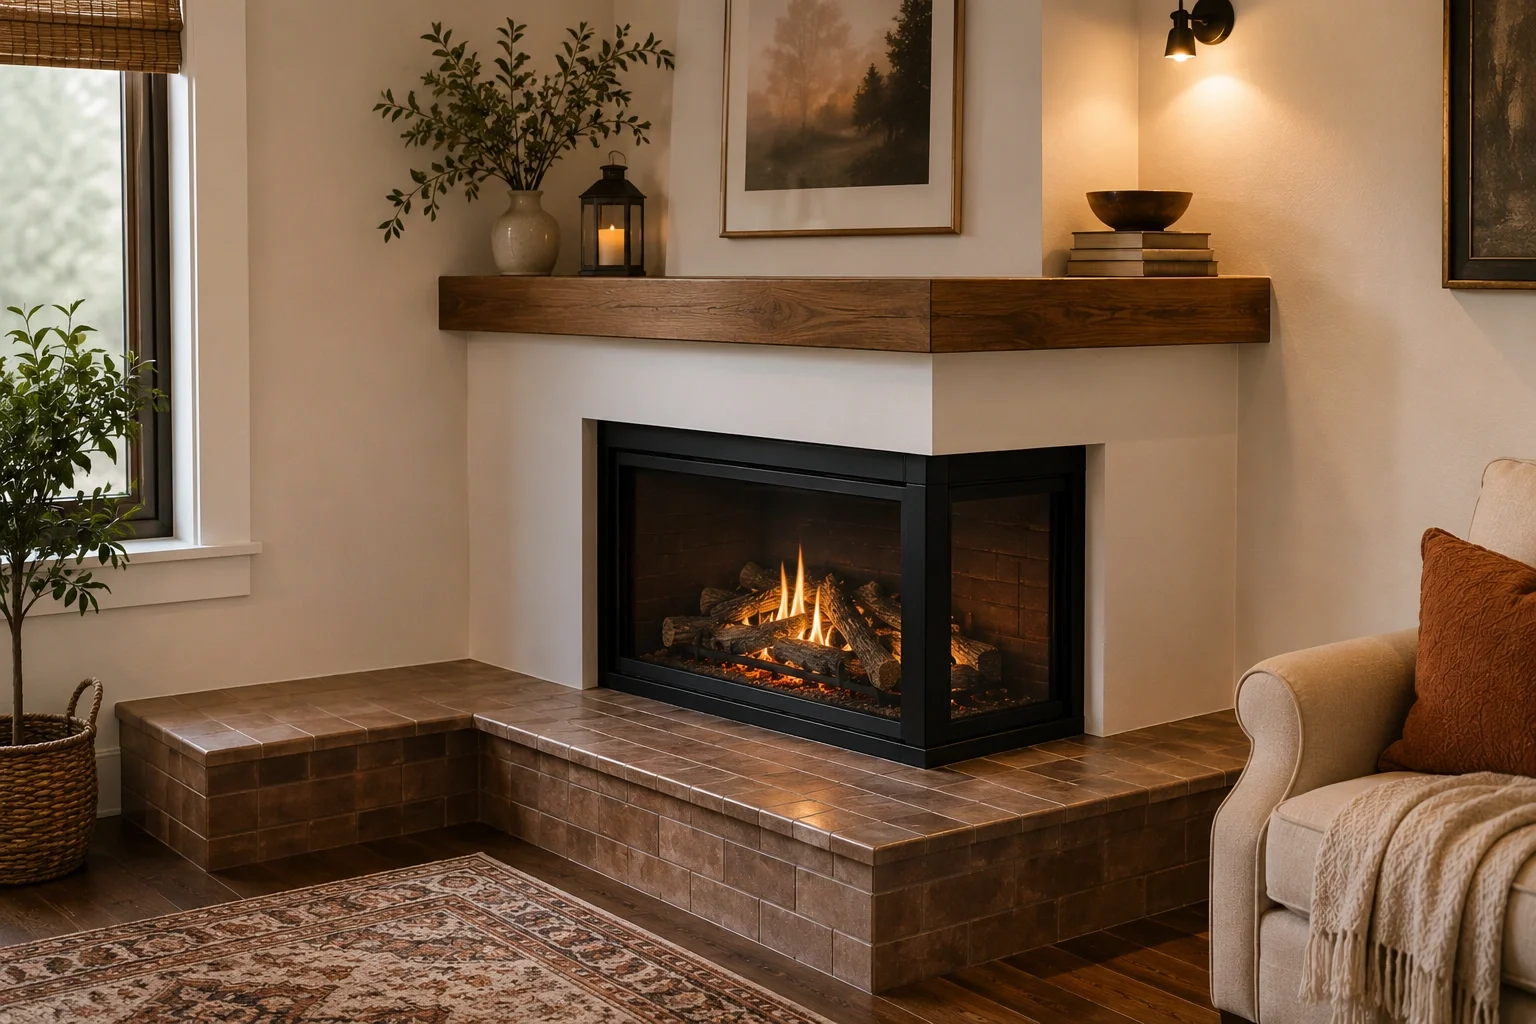
Corner Hearth
Designed specifically for corner fireplaces, these hearths maximize space efficiency while providing a safe surface. Corner hearths typically follow an L-shape or curved design that flows naturally with the room's layout while maintaining required clearances.
DIY Hearth Cost Breakdown
| Hearth Material | Material Cost | Additional Supplies | Total Estimated Cost |
|---|---|---|---|
| Ceramic Tile (20 sq ft) | $40-$300 | $30-$60 | $70-$360 |
| Natural Stone (20 sq ft) | $200-$600 | $40-$80 | $240-$680 |
| Brick (20 sq ft) | $60-$160 | $30-$50 | $90-$210 |
| Concrete (20 sq ft) | $80-$240 | $40-$70 | $120-$310 |
| Slate (20 sq ft) | $160-$400 | $40-$70 | $200-$470 |
| Granite (20 sq ft) | $300-$800 | $50-$100 | $350-$900 |
Step-by-Step Guide: Building a Tile Hearth
Planning and Measurements
Begin by measuring the area where your hearth will be installed. For wood-burning fireplaces, check local building codes for minimum hearth extension requirements (typically 16" in front, 8" on sides). Mark the hearth area on your floor using painter's tape to visualize the size and shape before proceeding.
Consider the thickness of your finished hearth when planning. Most tile hearths are 1-2 inches thick, but raised hearths may be 4-6 inches or more. If you're building a raised hearth, calculate the height needed to create a level transition from your existing floor.
Preparing the Subfloor
For a flush hearth, remove any existing flooring material within your marked area down to the subfloor. For a raised hearth, build a frame using 2x4 lumber, ensuring it's level and properly secured to the floor. Cover the frame with cement board, screwing it securely to the wooden frame.
Regardless of hearth type, ensure your subfloor is clean, dry, and level. Any unevenness will transfer to your finished hearth. Apply a liquid waterproofing membrane to the cement board if you're installing in a basement or on a concrete slab to prevent moisture issues.
Laying Out Your Tile Pattern
Before applying any adhesive, dry-lay your tiles in the desired pattern. This allows you to adjust the layout for the best visual appearance and minimize cuts. Start from the center of the fireplace and work outward, ensuring symmetrical placement on both sides.
For tile fireplace hearths, consider using spacers to maintain consistent grout lines. If you're using different sized tiles or creating a pattern, mark your layout with a pencil on the cement board to serve as a guide during installation.
Applying Thinset and Setting Tiles
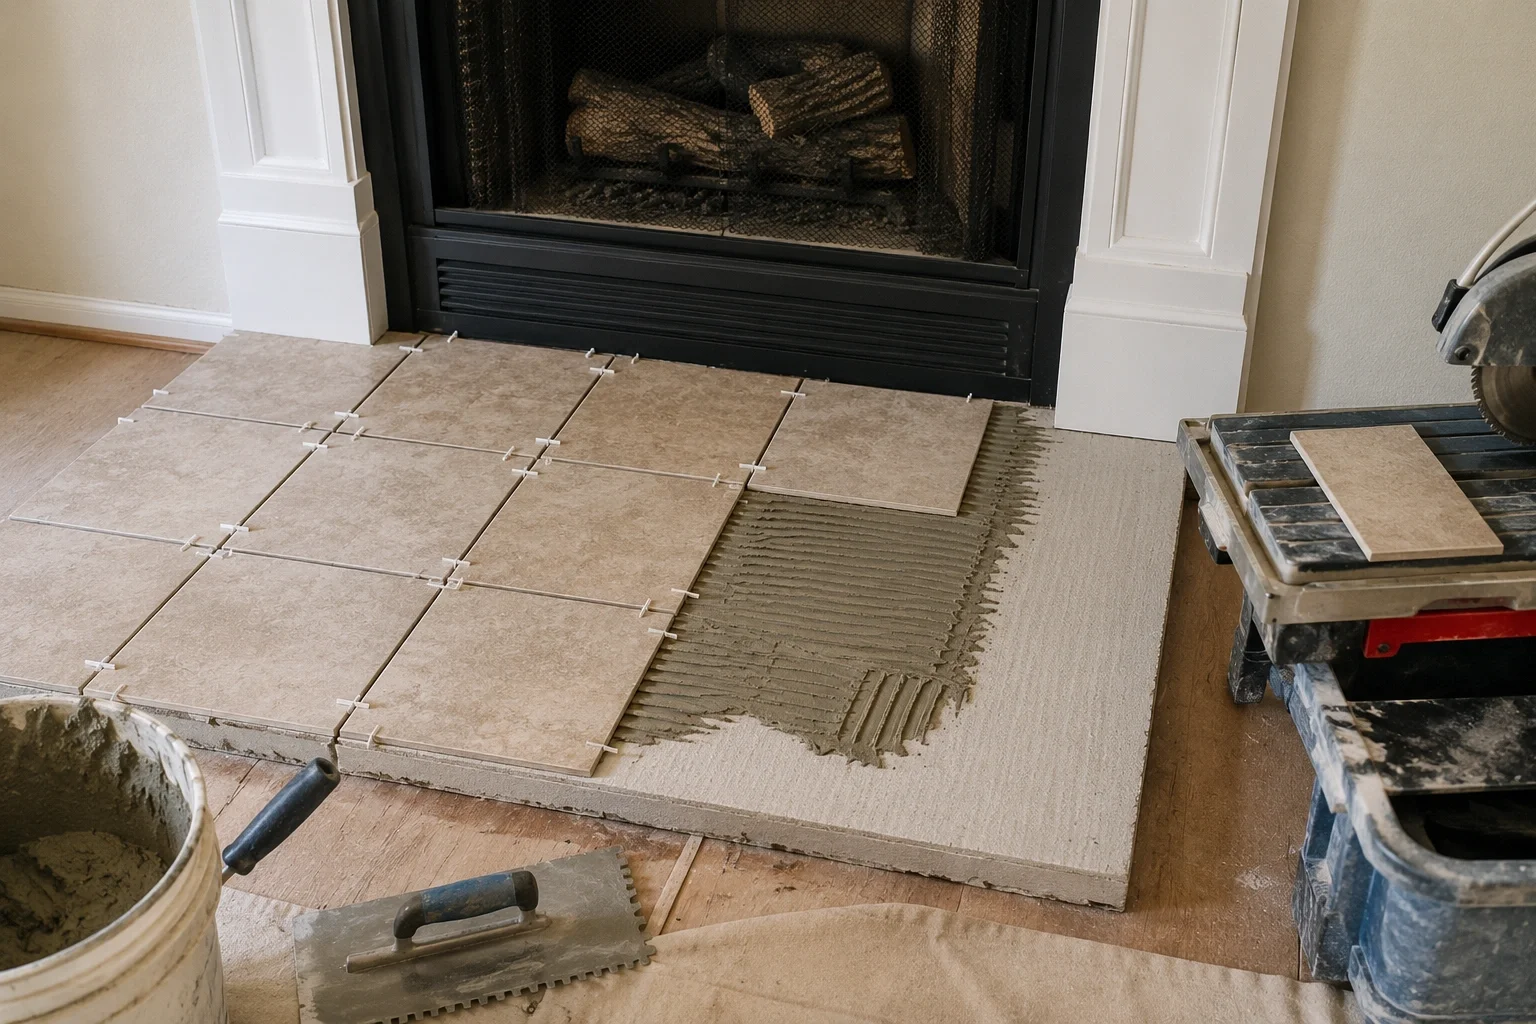
Mix thinset mortar according to the manufacturer's instructions. Using a notched trowel, apply a thin, even layer to a small section of the cement board. For most standard tiles, use a 1/4-inch notched trowel; for larger tiles, use a 3/8-inch trowel.
Press each tile firmly into the thinset, using a slight twisting motion to ensure good adhesion. Work in small sections, checking periodically with a level to ensure tiles are sitting flat. Use tile spacers between tiles to maintain consistent gaps for grout.
Cutting and Fitting Edge Tiles
Measure and cut tiles for the edges and corners using a tile wet saw or tile cutter. For curved cuts around the fireplace opening, use tile nippers or a rod saw with a carbide blade. Always wear safety glasses when cutting tiles.
If your hearth will have exposed edges, consider using bullnose tiles (with one rounded edge) or apply tile edge trim for a finished look. For a more custom appearance, you can also use wood, metal, or stone trim pieces to frame your hearth.
Grouting the Tiles
Allow the thinset to cure completely (usually 24-48 hours) before grouting. Remove tile spacers and clean any debris from the grout lines. Mix grout according to package directions, then apply using a rubber grout float, working it into the joints at a 45-degree angle.
For hearths, use a grout with some flexibility to accommodate slight movements due to temperature changes. Wait 15-20 minutes for the grout to slightly set, then wipe away excess with a damp sponge. Make several passes with clean water to remove all haze from the tile surface.
Sealing and Finishing
After the grout has fully cured (typically 72 hours), apply a grout sealer to protect against stains and moisture. If you're using natural stone tiles, also apply a stone sealer to protect the tile surface. Follow the manufacturer's recommendations for reapplication frequency.
For the final touch, consider adding transition strips where your hearth meets the existing flooring. This creates a clean, professional-looking edge and helps prevent tripping hazards, especially with raised hearths.
Alternative Hearth Construction Methods
While tile is a popular choice for DIY hearths, several other methods can create beautiful results. A brick hearth offers classic charm and can be laid in various patterns like herringbone or running bond. For a more contemporary look, consider polished concrete, which can be poured in place and later stained or stamped.
Natural stone slabs create a stunning hearth with minimal joints, though they require special tools for cutting and may be heavier to work with. For a rustic fireplace, flagstone or fieldstone set in mortar creates an organic, natural appearance that complements the informal style perfectly.
If you're working with an existing hearth fireplace that needs updating, you can often apply new tile or stone directly over the existing surface after proper preparation, saving time and effort compared to complete removal.
⚠️ Important Safety Considerations
- Always check local building codes for minimum hearth size requirements based on your fireplace type
- Use only non-combustible materials rated for hearth applications
- Ensure proper clearance between the hearth and combustible materials like wood flooring
- Install a hearth that extends far enough to catch any sparks or embers that might escape
- For raised hearths, ensure the structure can support the weight of the materials plus any additional loads
- Consider using a hearth rug as an additional safety measure, especially with wood-burning fireplaces
- If your fireplace is gas or wood-burning, ensure proper ventilation and that the hearth doesn't block air intake vents
- Regularly inspect your hearth for cracks, loose tiles, or other damage that could compromise safety
Specialized Hearth Projects
Heated Hearth Systems
For added luxury and comfort, consider installing a radiant heating system beneath your hearth. These systems use electric heating mats or hydronic tubing installed between the subfloor and your finished surface, creating a warm area that's especially appreciated in colder climates.
Heated hearths are particularly effective with electric fireplaces that may not produce as much ambient heat as other types. The heating system can be controlled with a separate thermostat, allowing you to enjoy the warmth even when the fireplace isn't in use.

Outdoor Hearth Considerations
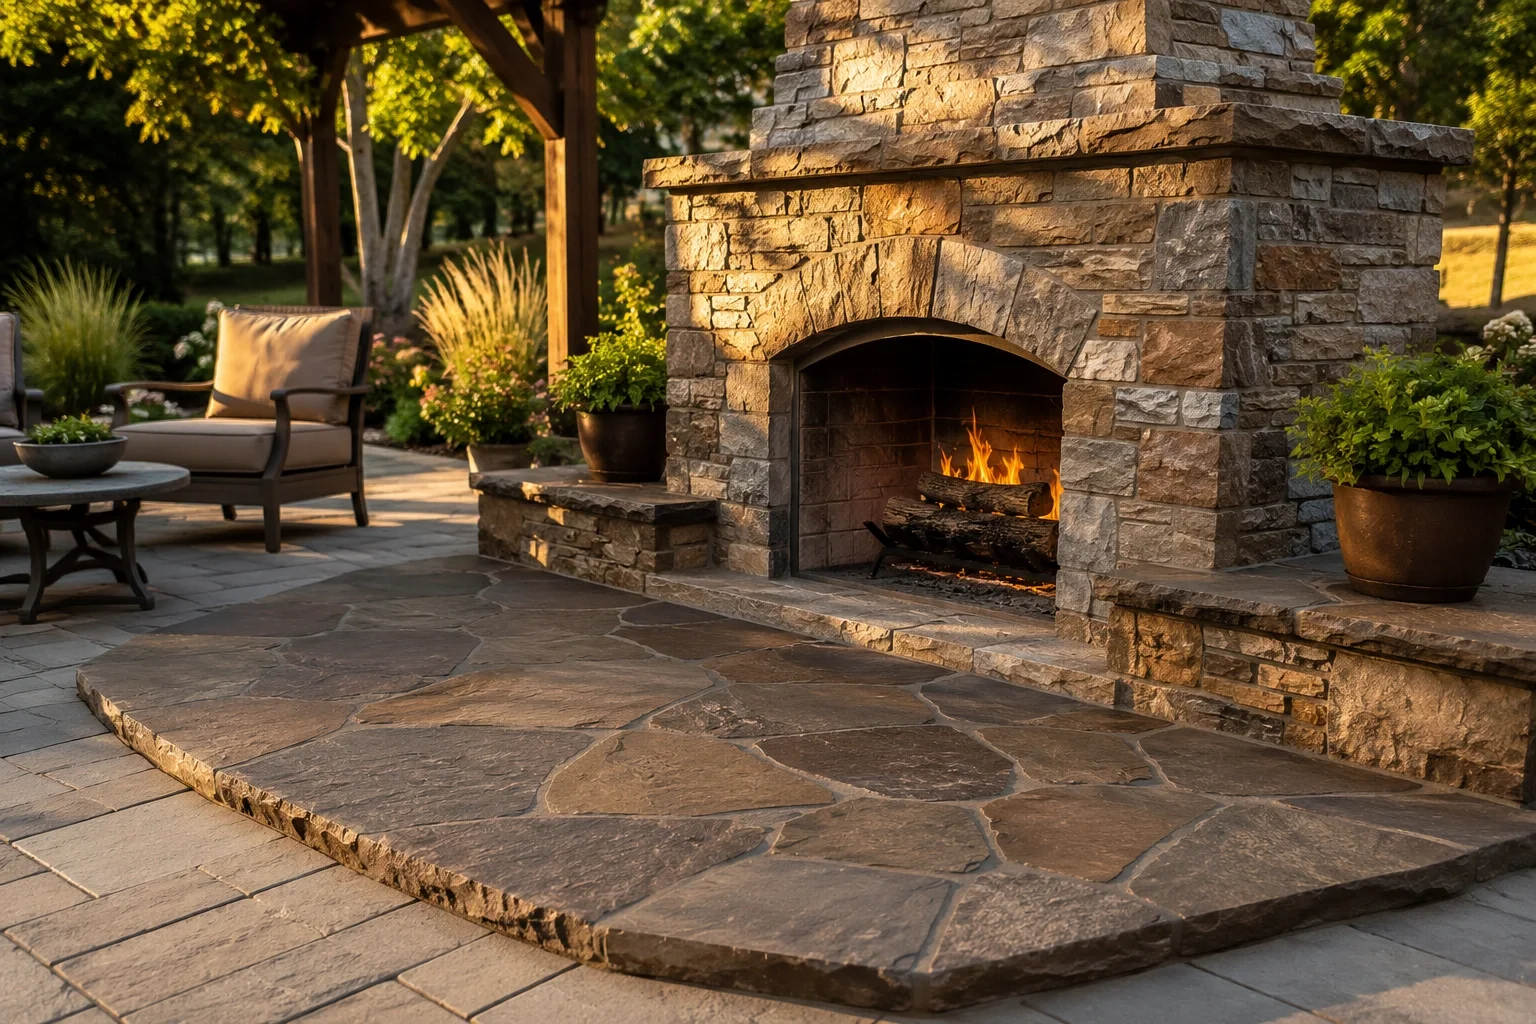
Building a hearth for an outdoor fireplace requires special considerations. Choose materials specifically rated for outdoor use that can withstand temperature fluctuations and moisture exposure. Natural stone, concrete, and certain porcelains are excellent choices for outdoor applications.
Ensure proper drainage by incorporating a slight slope away from the fireplace. For outdoor fireplaces, consider extending the hearth further to create a comfortable gathering space. Non-slip surfaces are essential for safety, especially in areas that may be exposed to rain or snow.
Hearth Storage Solutions
A raised hearth provides an excellent opportunity to incorporate hidden storage. Design your hearth with a hinged top or pull-out drawers to store firewood, fireplace tools, or media equipment. This is particularly useful for TV and fireplace wall combinations where you might want to conceal cables and electronics.
For a modern fireplace design, consider integrating storage for media components directly into the hearth structure, with ventilation holes in the back to prevent overheating. This creates a seamless, built-in appearance that maximizes both form and function.

Frequently Asked Questions About DIY Fireplace Hearths
For wood-burning fireplaces, most building codes require a minimum hearth extension of 16 inches in front of the fireplace opening and 8 inches on each side. For gas fireplaces, requirements vary but are generally less stringent—often 12 inches in front and 6 inches on the sides. Electric fireplaces don't have specific code requirements for hearth size, but a proportionally sized hearth still improves aesthetics and protects flooring from heat.
Yes, in most cases you can install a hearth over existing flooring, but there are important considerations. For wood-burning fireplaces, the hearth must be non-combustible, so you can't simply tile over a wood floor—the wood would need to be removed in the hearth area. For electric or gas fireplaces with lower heat output, you can often install a tile or stone hearth directly over existing flooring after ensuring the surface is clean, level, and properly prepared with appropriate underlayment.
While not required for safety reasons, a hearth significantly enhances the appearance of an electric fireplace and makes it look more like a traditional built-in unit. Even though electric fireplaces don't produce sparks or require the same clearances as wood-burning models, a hearth creates a defined space and protects your flooring from any heat output. Many homeowners find that adding a hearth makes their electric fireplace feel more substantial and authentic.
The best material depends on your skill level, budget, and design preferences. For beginners, ceramic or porcelain tile offers the easiest installation with the most design flexibility. For a more premium look, natural stone like slate or granite provides durability and elegance but requires more skill to install. Brick creates a classic appearance and is relatively DIY-friendly, especially for traditional fireplace styles. Concrete is an excellent modern option that can be customized with colors and stamps.
The thickness of your hearth depends on the design and materials used. For a flush hearth with tile, the total thickness is typically 1-1.5 inches (including cement board and tile). For a raised hearth, the total height often ranges from 4-8 inches, with the framing structure providing most of the height and the finished surface adding the final 1-2 inches. Natural stone slabs used for hearths are typically 1.25-2 inches thick and may require additional support due to their weight.
Yes, you can absolutely build a hearth for a ventless fireplace. While ventless fireplaces don't produce sparks or embers, a hearth still enhances the visual appeal and provides a defined space. Since ventless fireplaces have less stringent clearance requirements, you have more flexibility in hearth size and design. However, always follow the manufacturer's guidelines for minimum clearances, and ensure the hearth material can withstand the heat output of your specific fireplace model.
Final Tips for DIY Hearth Success: Always start with a detailed plan and accurate measurements. Invest in quality tools—they make the job easier and produce better results. Don't rush the drying times for thinset and grout, as proper curing is essential for durability. Finally, consider how your hearth will integrate with the rest of your fireplace surround and room design for a cohesive, professional-looking result.