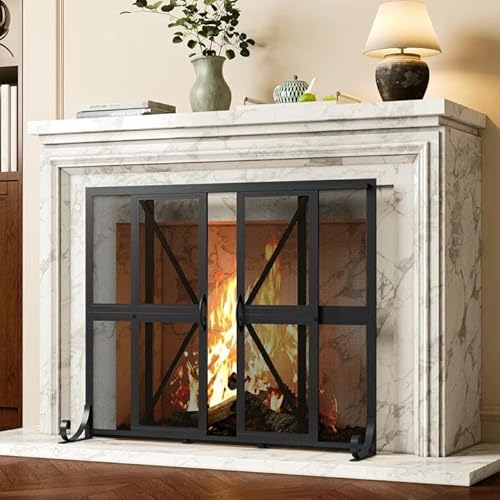
DIY Fireplace Screen: Build Custom Screens for Safety & Style
Protect your home while adding a personal touch with a custom-built fireplace screen. Our comprehensive guide covers materials, designs, and step-by-step instructions for creating the perfect screen.
EXPLORE DESIGNSA fireplace screen serves as both a critical safety feature and a decorative element for your home. While commercial fireplace screens are readily available, building your own allows for complete customization to match your decor, fit unusual fireplace dimensions, or create a unique focal point in your room.
Whether you have a wood-burning fireplace that needs spark protection or a gas fireplace where you simply want to add visual interest, a DIY fireplace screen project can be completed in a weekend with basic tools and materials. The process is rewarding and results in a functional piece that enhances both safety and aesthetics.
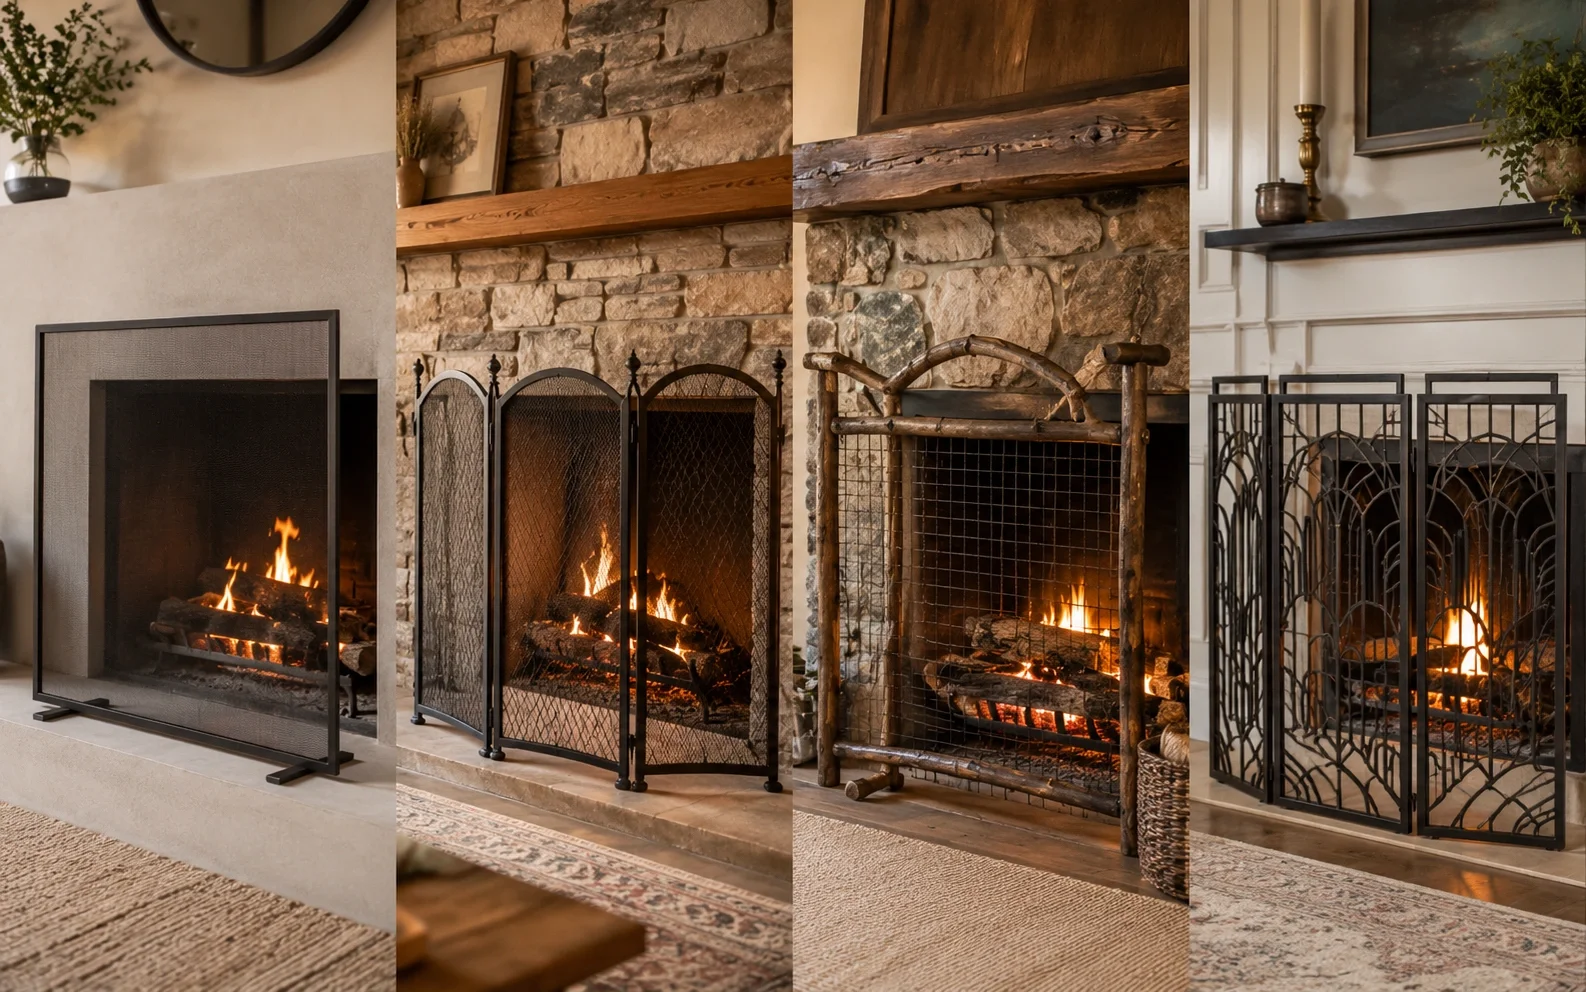
DIY fireplace screens can be customized to complement any home style, from rustic to contemporary
Benefits of a Fireplace Screen
Understanding the purpose and benefits of a fireplace screen helps you design one that meets your specific needs. Here are the key advantages of having a properly constructed screen:
Safety Protection
- Prevents sparks and embers from escaping
- Creates a barrier between fire and room
- Protects children and pets from burns
- Reduces risk of accidental fires
Energy Efficiency
- Helps direct heat into the room
- Reduces heat loss up the chimney when closed
- Can improve heating efficiency by 10-15%
- Lowers heating costs in cold months
Aesthetic Enhancement
- Adds visual interest to the fireplace area
- Can hide unattractive firebox when not in use
- Complements existing decor elements
- Creates a finished, polished look
Customization Options
- Tailored to fit your exact fireplace dimensions
- Personalized design to match your style
- Choice of materials and finishes
- Unique features like decorative panels or storage
Types of Fireplace Screens
Before beginning your DIY project, it's important to understand the different types of fireplace screens available. Each style offers distinct advantages and works better with certain fireplace types and room aesthetics.
Single Panel Screens
- Simple, flat design that stands in front of fireplace
- Easy to build with minimal materials
- Best for smaller fireplaces
- Can be decorated with paint, stain, or appliques
Three-Panel Folding Screens
- Classic design with center panel and two side panels
- Folds for easy storage when not in use
- Adjustable to fit different fireplace widths
- More stable than single panel designs
Mesh Curtain Screens
- Wire mesh that pulls across the fireplace opening
- Minimal visual impact when not in use
- Excellent for traditional fireplaces
- Provides full coverage of the opening
Decorative Panel Screens
- Features cutout designs, etchings, or stained glass
- Serves as art piece when fireplace isn't in use
- Perfect for contemporary spaces
- May require more advanced DIY skills
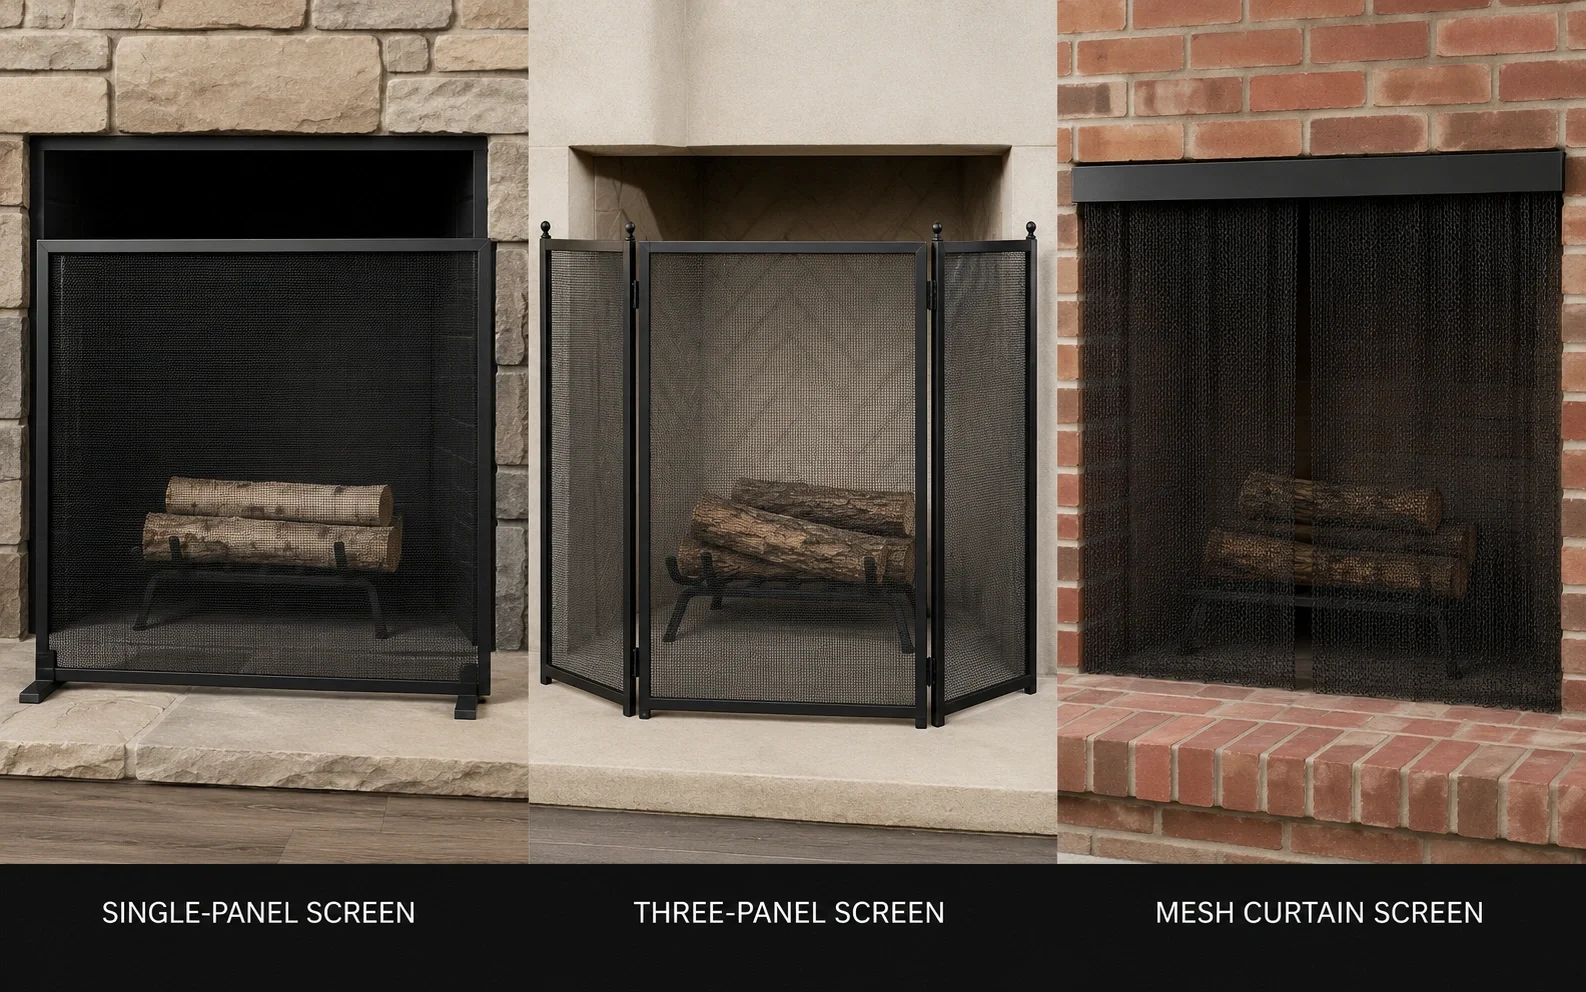
From simple single panels to elaborate folding screens, there's a style to suit every need
Essential Materials for Your DIY Project
Selecting the right materials is crucial for both the functionality and appearance of your fireplace screen. The materials you choose will depend on your design, skill level, and budget. Below is a comprehensive list of options for different screen styles.
Frame Materials
- Steel Angle Iron: Sturdy and heat-resistant, ideal for simple frames ($15-$25 for a 4-foot length)
- Aluminum Extrusions: Lightweight and rust-resistant, easy to work with ($10-$20 for a 6-foot length)
- Wood Boards: Traditional look, requires heat-resistant treatment ($8-$15 per board)
- Copper Tubing: Attractive finish that develops a patina over time ($20-$35 for a 10-foot length)
- Wrought Iron: Classic appearance, extremely durable ($25-$40 for a 4-foot length)
Screen Materials
- Black Woven Wire Mesh: Traditional look, good visibility of fire ($8-$15 per square foot)
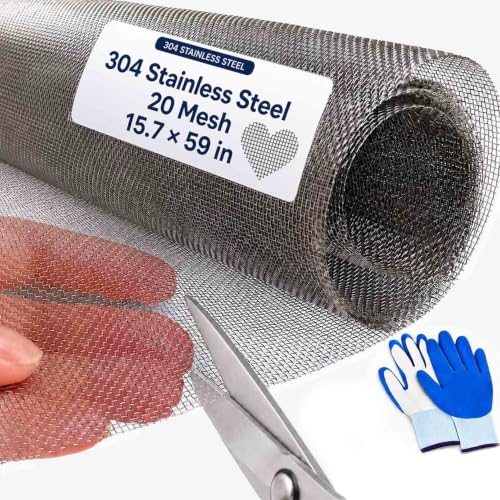
- Stainless Steel Mesh: More durable and heat-resistant ($12-$20 per square foot)
- Copper Mesh: Beautiful appearance that develops character with age ($15-$25 per square foot)
- Decorative Metal Panels: Pre-cut designs in various patterns ($20-$50 per panel)
- Stained Glass Panels: Artistic option for decorative screens ($30-$80 per square foot)
Hardware and Finishes
- Hinges: For folding screen designs ($5-$15 per pair)
- Feet or Base Supports: To ensure stability ($8-$20 per set)
- Heat-Resistant Paint: High-temperature spray paint in various colors ($8-$15 per can)
- Metal Primer: For proper paint adhesion ($6-$12 per can)
- Rivets or Screws: For assembling components ($5-$10 per package)
- Decorative Elements: Finials, corner brackets, or appliques ($10-$30 per set)
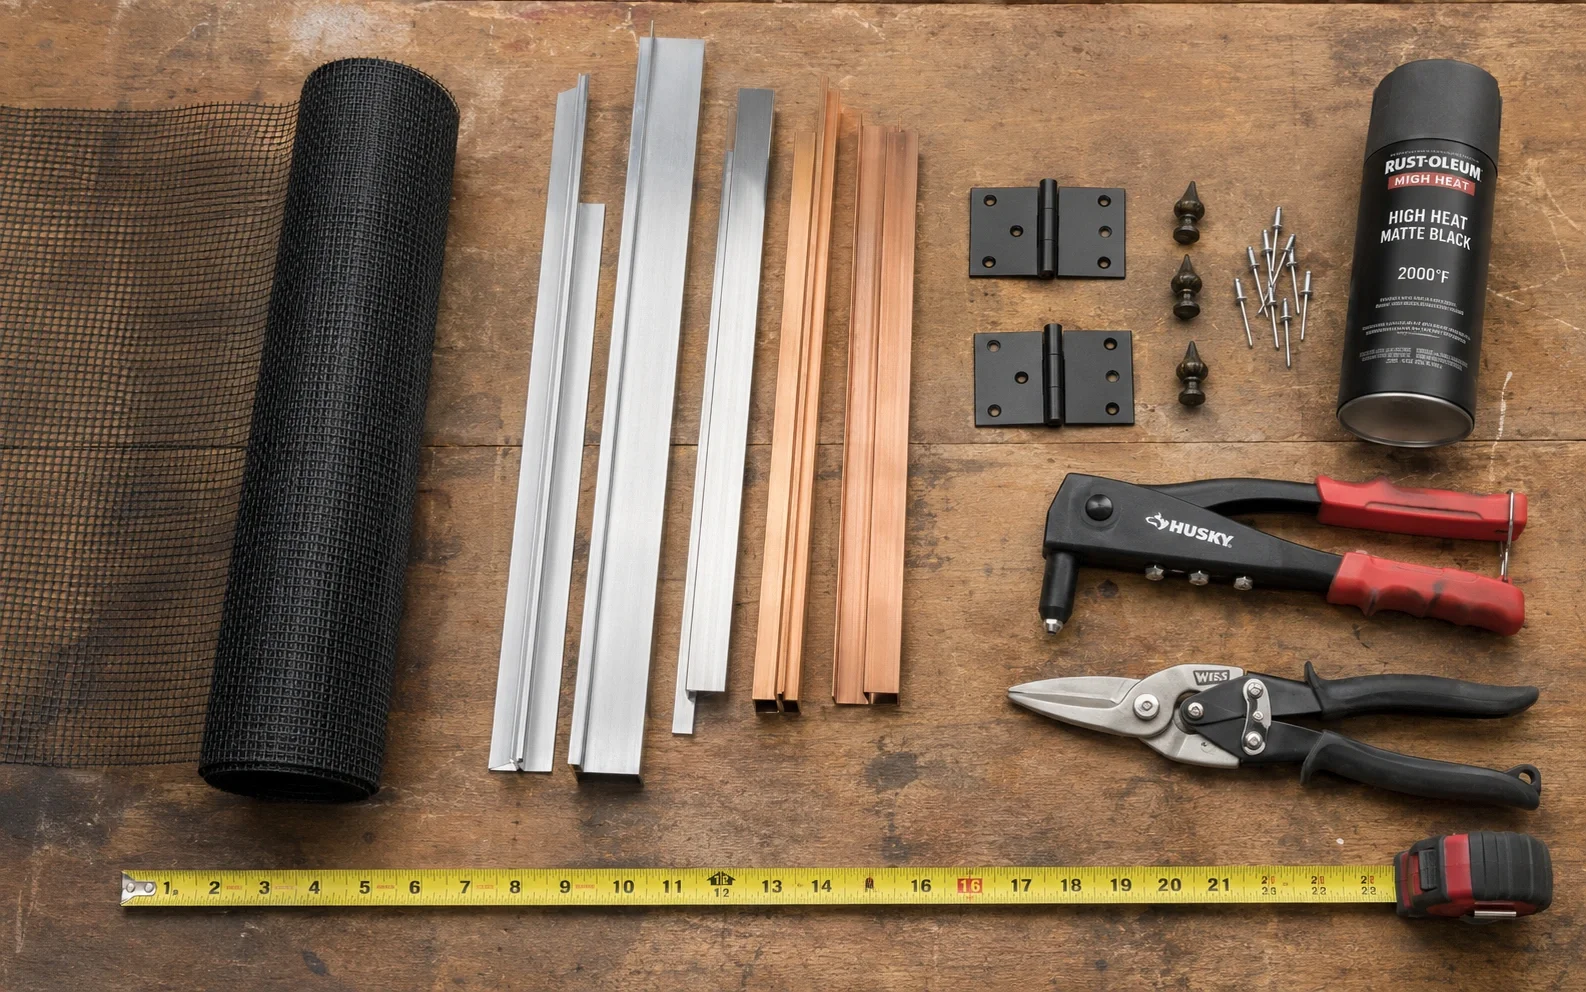
A variety of materials can be used to create custom fireplace screens, from metal mesh to decorative panels
Essential Tools for the Project
Having the right tools will make your DIY fireplace screen project much easier and ensure professional-looking results. Most of these tools are common household items, though you may need to purchase or rent a few specialized ones depending on your chosen design.
Cost Breakdown for DIY Fireplace Screen
Building your own fireplace screen is typically much more cost-effective than purchasing a pre-made one, especially for custom sizes or designs. The total cost will vary based on your chosen materials and design complexity.
| Component | Low-End Cost | High-End Cost |
|---|---|---|
| Frame Material (per linear foot) | $3 | $10 |
| Screen Material (per square foot) | $8 | $25 |
| Hardware (hinges, feet, etc.) | $15 | $40 |
| Finish (paint, stain, etc.) | $10 | $30 |
| Decorative Elements | $0 | $50 |
| Tools (purchase or rental) | $0 | $50 |
| Total Estimated Cost | $50 | $250 |
Cost Comparison: A comparable quality pre-made fireplace screen typically costs between $150-$500, making a DIY project potentially 50-70% more economical while allowing for complete customization.
Step-by-Step Construction Guide
Follow these detailed steps to build a three-panel folding fireplace screen, one of the most popular and versatile designs. This guide can be adapted for other styles with minor modifications.
Measure Your Fireplace
Begin by measuring the width and height of your fireplace opening. Add 4-6 inches to the width to ensure adequate coverage. For a three-panel screen, divide the total width by approximately 2.5 (center panel should be slightly wider than side panels). Standard height is usually 30-36 inches, but adjust based on your fireplace surround and room proportions.
Cut Frame Pieces
Using your measurements, cut the frame pieces from your chosen material. For a three-panel screen, you'll need six vertical pieces and six horizontal pieces (two of each per panel). Use a metal cutter or saw appropriate for your material. File all cut edges smooth to prevent injuries and ensure a clean appearance.
Assemble the Frames
Position the frame pieces to form rectangles, with the horizontal pieces positioned 1-2 inches from the top and bottom of the vertical pieces to create a border. Drill pilot holes and secure with screws or rivets. Check that each frame is square by measuring diagonally from corner to corner - the measurements should be equal.
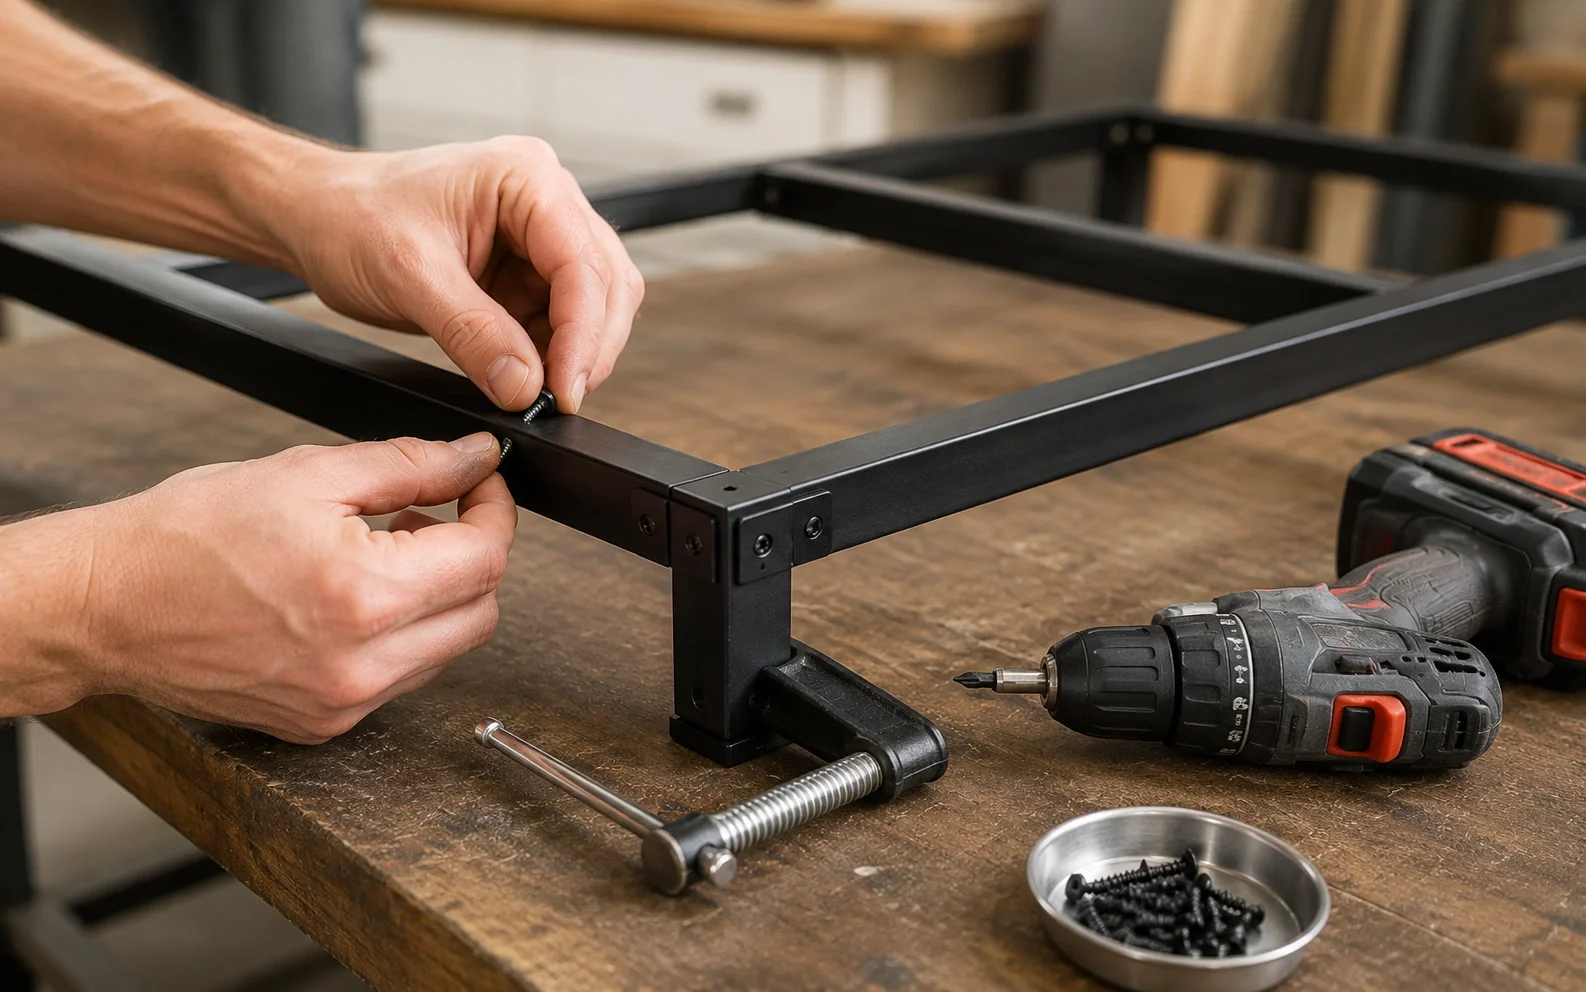
Proper frame assembly is crucial for a sturdy and professional-looking fireplace screen
Cut and Attach the Mesh
Unroll your chosen mesh material and cut it to size, adding 1 inch on all sides to allow for attachment. Center the mesh over the back of each frame and secure it using rivets or screws with washers at regular intervals around the perimeter. Pull the mesh taut as you work to prevent sagging. Trim any excess mesh with tin snips once attached.
Attach Hinges
Position the panels side by side with a small gap (about 1/8 inch) between them. Attach hinges to connect the panels - place two hinges evenly spaced along the vertical edges where panels meet. Ensure the hinges allow the panels to fold in the same direction. Test the folding action to ensure smooth movement without binding.
Add Feet or Base Supports
Attach feet or base supports to the bottom of the outer panels to provide stability. These can be simple L-shaped brackets, small feet with rubber pads, or decorative metal feet. Position them at the outer edges of the side panels to provide the widest base of support and prevent tipping.

Properly installed hinges and feet ensure your screen is stable and functional
Apply Finish
Clean all metal surfaces thoroughly and apply a metal primer if necessary. Once dry, apply heat-resistant spray paint in your chosen color, following the manufacturer's instructions for application and drying times. Apply two thin coats rather than one thick coat for the best results. Allow to dry completely before use.
Add Decorative Elements (Optional)
Personalize your screen with decorative elements such as finials on top corners, decorative corner brackets, or applied metal designs. These can be attached with screws or appropriate adhesive. For a more elaborate design, consider adding decorative metal panels or stained glass inserts to sections of the screen.
Creative Design Ideas for Your Screen
Once you've mastered the basic construction technique, consider these creative design ideas to make your fireplace screen truly unique:
Rustic Branch Screen
- Use natural branches for the frame
- Combine with wire mesh for functionality
- Perfect for rustic or cabin-style homes
- Seal with clear protective coating
Art Deco Metal Screen
- Geometric patterns cut into metal panels
- Gold or silver metallic finish
- Complements contemporary interiors
- Requires metal cutting skills
Stained Glass Panel Screen
- Replace mesh with stained glass panels
- Creates beautiful light patterns
- Works well with Victorian-style fireplaces
- More advanced DIY project
Repurposed Material Screen
- Use salvaged architectural elements
- Old window frames, grates, or gates
- Eco-friendly and unique character
- May require additional modifications

From rustic to elegant, there are endless design possibilities for custom fireplace screens
Important Safety Considerations
While a fireplace screen enhances safety, the screen itself must be constructed and used properly to be effective. Follow these critical safety guidelines:
Fire Safety Alert: Never use flammable materials in your fireplace screen construction. All materials must be heat-resistant and non-combustible. Keep the screen at least 6 inches away from the fireplace opening when in use.
- Material Selection: Only use heat-resistant materials rated for high temperatures. Standard plastics, fabrics, or untreated wood can melt or catch fire.
- Mesh Size: For spark protection, use mesh with openings no larger than 1/4 inch to effectively contain embers while still allowing heat to radiate.
- Stability: Ensure your screen is stable and won't easily tip over. This is especially important in households with children or pets.
- Clearance: Maintain proper clearance between the screen and the fireplace opening. The screen should be close enough to catch sparks but not so close that it becomes dangerously hot.
- Ventilation: Don't completely seal off the fireplace with your screen. Ensure adequate airflow for proper combustion and to prevent carbon monoxide buildup.
- Regular Inspection: Check your screen regularly for damage, loose parts, or signs of heat stress. Replace or repair damaged screens immediately.
- Supervision: A screen is not a substitute for adult supervision. Always monitor children and pets around fireplaces.
- Professional Installation: For gas fireplaces, ensure your screen doesn't interfere with ventilation systems or safety sensors.
Maintaining Your Fireplace Screen
Proper maintenance will extend the life of your DIY fireplace screen and keep it looking attractive. Follow these guidelines for care and cleaning:
Routine Cleaning
- Dust regularly with a soft brush or cloth
- Vacuum mesh screens with brush attachment
- Wipe frame with damp cloth as needed
- Remove soot buildup with appropriate cleaner
Deep Cleaning
- Remove screen from fireplace area
- Wash mesh with warm soapy water
- Scrub stubborn stains with soft brush
- Dry completely to prevent rust
Seasonal Maintenance
- Inspect for damage before heating season
- Touch up paint or finish as needed
- Check hinges for smooth operation
- Tighten any loose screws or rivets
Storage Tips
- Clean thoroughly before storing
- Store in dry location to prevent rust
- Cover with cloth to prevent dust accumulation
- Store standing up to prevent bending