
DIY Shiplap Fireplace: Transform Your Space with Rustic Charm
Complete guide to designing, building, and finishing a stunning shiplap fireplace surround that adds character and value to your home
START BUILDINGWhat Is a Shiplap Fireplace?
A shiplap fireplace features wooden boards with a distinctive rabbet joint that creates a tight, overlapping seal. Originally used in shipbuilding to make structures watertight, shiplap has evolved into a popular interior design element that brings texture, warmth, and character to any space.
When applied to a fireplace surround, shiplap transforms an ordinary hearth into a focal point that blends modern aesthetics with rustic charm. Unlike traditional tile or stone surrounds, shiplap offers a lighter, more versatile appearance that complements various design styles from modern minimalist to farmhouse chic.
The beauty of a DIY shiplap fireplace lies in its accessibility. With basic carpentry skills and the right materials, homeowners can create a professional-looking installation at a fraction of the cost of hiring a contractor. This comprehensive guide will walk you through every aspect of planning, building, and finishing your shiplap fireplace project.
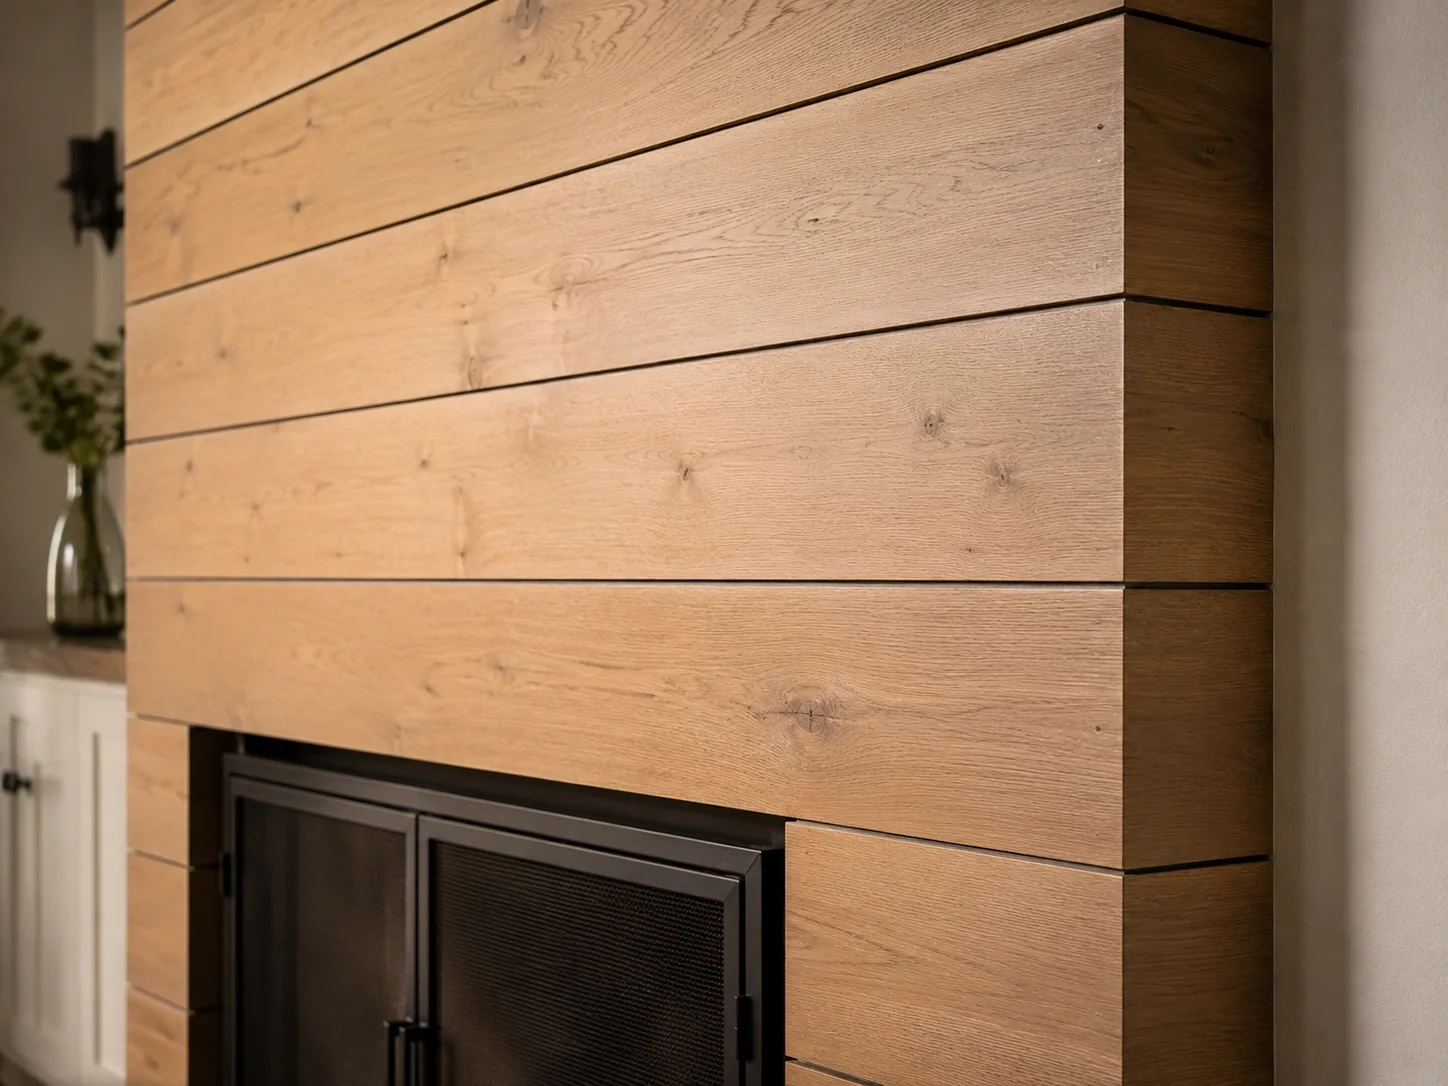
Recommended Shiplap & Installation Supplies
⚠️ AFFILIATE DISCLOSURE: This website contains affiliate links. As an Amazon Associate, we earn from qualifying purchases. If you make a purchase through these links, we may receive a small commission at no additional cost to you. Read our full affiliate policy.

Innoflame 65" Electric Fireplace with Mantel, 50" Replaceable Insert Heater, 16 Flame Colors, 5000 BTU, Remote, 9H Timer, Overheat Protection, Shiplap White Fireplace Mantel for Living Room

Real Wood Wall Planks-5" White Shiplap Panel Peel and Stick 10Pack 12.5SqFt

duraflame® Shiplap Wall Mantel Electric Fireplace, Barstow Acacia

Real Wood Wall Planks-5" White Shiplap Panel Peel and Stick 10Pack 12.5SqFt
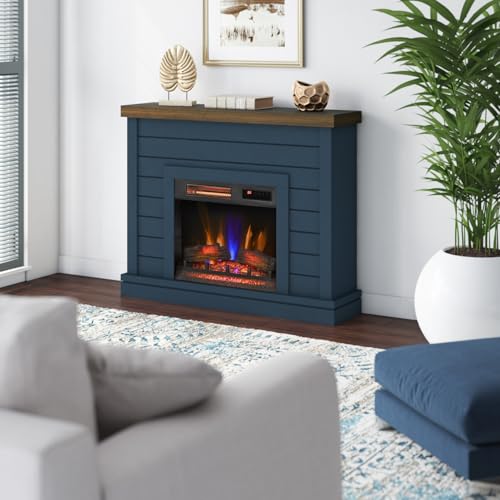
duraflame® Shiplap Wall Mantel Electric Fireplace, Fontana Blue

duraflame® Shiplap Wall Mantel Electric Fireplace, Weathered Grey

Real Wood Wall Planks-5" White Shiplap Panel Peel and Stick 10Pack 12.5SqFt

BoscoMondo 5.5 Inches Wide Barnwood Wall Planks, Rustic Solid Wood Panels, Accent Wall Decor - 16 Inches Long Panels, 24 Pack, 14.66 Sqr Ft, Grey Tones
Benefits of a Shiplap Fireplace Surround
Cost-Effective Transformation
Compared to stone or tile, shiplap is significantly more affordable. A complete shiplap fireplace project typically costs $200-$500 in materials, making it an economical way to dramatically update your space.
DIY-Friendly Installation
Unlike complex tile work that requires specialized skills, shiplap installation is straightforward and forgiving. The overlapping design hides minor imperfections, making it perfect for first-time DIYers.
Versatile Design Options
Shiplap can be left natural, painted white for a clean look, or stained to match your existing decor. It pairs beautifully with various mantel styles and works in both traditional and contemporary spaces.
Quick Installation Time
Most shiplap fireplace projects can be completed in a single weekend. The straightforward installation process means you can transform your space without weeks of construction disruption.
Materials Needed for Your Shiplap Fireplace
Essential Materials
Opt for tongue-and-groove or nickel-gap shiplap for the most authentic look. Pre-primed boards save time, but raw wood allows for more staining options. For electric fireplaces or gas fireplaces, standard pine shiplap works well, but if you have a wood-burning unit, ensure proper clearances and consider using fire-resistant materials near the opening.
Essential Tools for the Project
Before starting your shiplap fireplace project, gather these essential tools. Many can be rented if you don't already own them:
Cutting Tools
Miter saw for precise angle cuts, circular saw for long straight cuts, and a jigsaw for notching around obstacles like electrical outlets or hearth extensions.
Fastening Tools
A brad nailer or finish nail gun makes quick work of securing shiplap boards. A hammer and nail set can work as alternatives, but will significantly increase installation time.
Measuring & Leveling
A 4-foot level ensures straight installation, a tape measure for accurate cuts, and a combination square for marking consistent reveals between boards.
Finishing Tools
Putty knife for applying wood filler, sandpaper in various grits for smoothing, and quality brushes or rollers for applying paint or stain.
Step-by-Step Installation Guide
Prepare the Surface
Begin by removing any existing trim, mantel, or surround materials. Inspect the wall around your fireplace for damage and make necessary repairs. If the wall has a textured finish, consider skim-coating it with joint compound to create a smooth surface for the shiplap to adhere to.
Mark the fireplace surround boundaries with a level and pencil. Typically, shiplap extends 12-18 inches beyond the fireplace opening on each side and 6-12 inches above. Ensure your markings are perfectly level, as any errors will be magnified as you add shiplap boards.
For gas or wood-burning fireplaces, ensure the unit is completely cool and turned off. If you have a gas fireplace, consider shutting off the gas supply during installation. Never install combustible materials within the specified clearance zones of your fireplace unit.
Plan Your Layout
Before cutting any boards, plan your layout to avoid ending with narrow strips at the top or sides. Measure the total height of your installation area and divide by the width of your shiplap boards plus the reveal (the visible gap between boards, typically 1/8 inch).
If your calculations show you'll end with a narrow piece at the top, adjust your starting position to distribute the narrow pieces evenly at both top and bottom. For a more balanced look, consider starting with a half-board at the bottom.
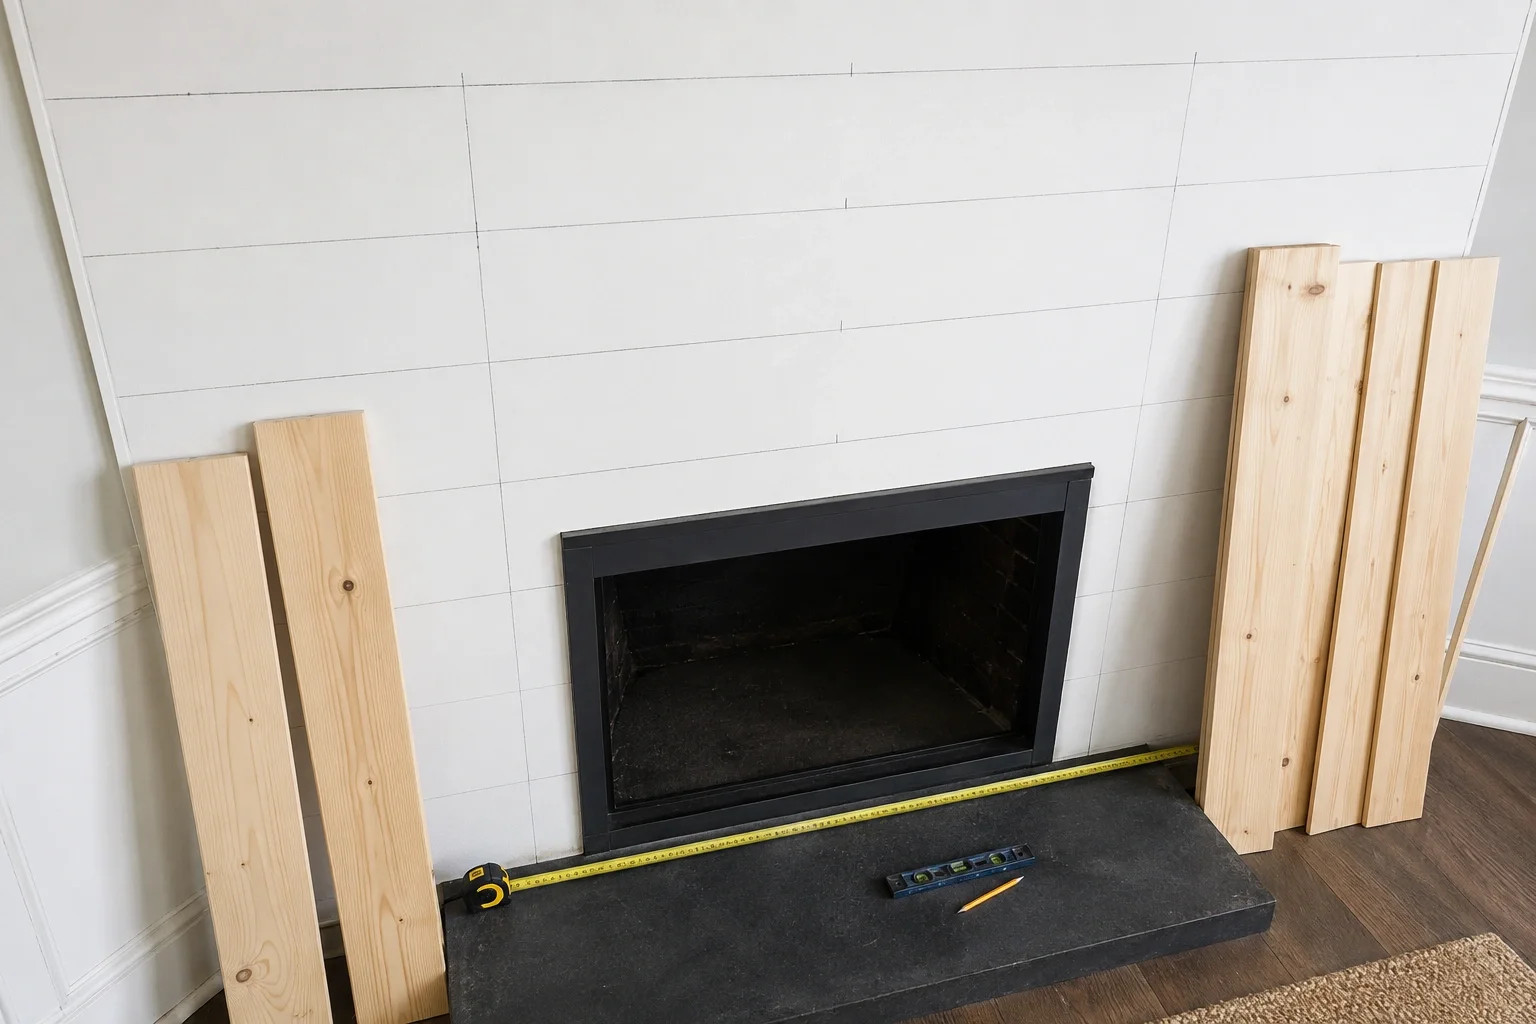
Cut and Install the First Board
Using your miter saw, cut your first shiplap board to the required width, accounting for any corner trim you'll be adding later. Apply a bead of construction adhesive to the back of the board, then position it at your starting point (typically the bottom of the installation area).
Use your level to ensure the board is perfectly horizontal before securing it with finish nails. Place nails at the top and bottom of each board where they'll be covered by the overlapping boards above and below. Space nails every 12-16 inches along the board.
Continue Installing Remaining Boards
Work your way up the wall, interlocking each shiplap board with the previous one. Use spacers or a consistent reveal tool to maintain even gaps between boards. Check for level periodically, making small adjustments as needed.
When you reach the fireplace opening, you'll need to notch boards around it. Measure carefully and make precise cuts with your jigsaw. For a professional look, add trim pieces around the fireplace opening to create clean transitions between the shiplap and the firebox.
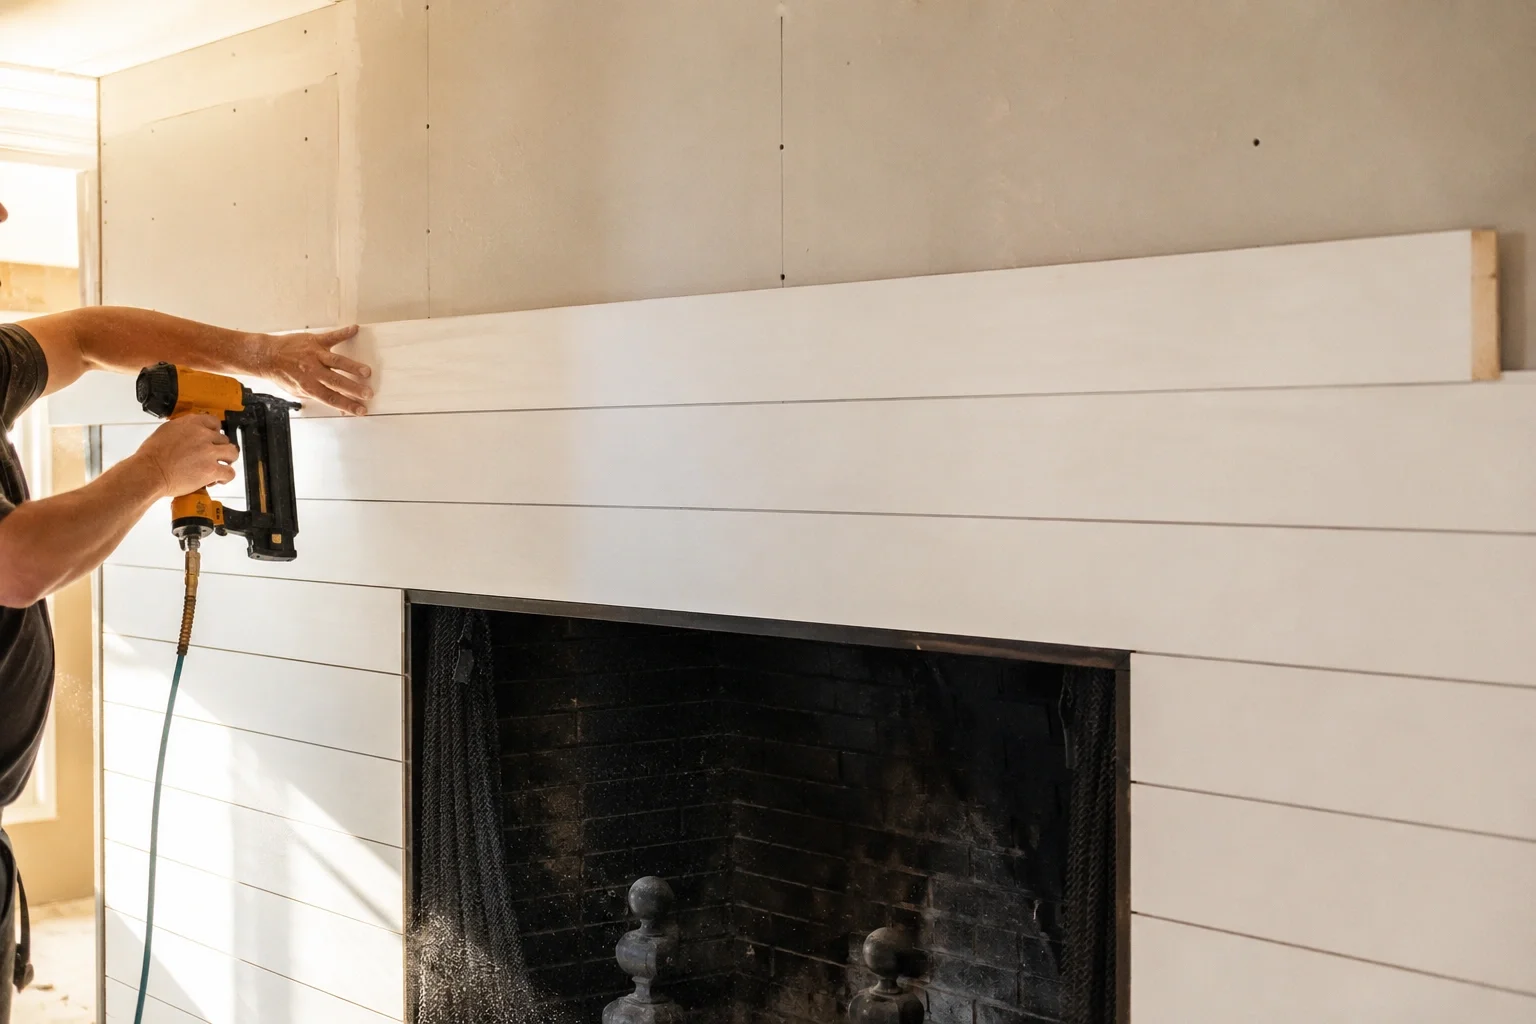
Add Trim and Finish Details
Once all shiplap boards are installed, add trim pieces to frame the installation and create clean edges. Corner boards, baseboards, and crown molding can all enhance the finished look. For a more modern appearance, consider using simple, flat trim or even no trim at all.
Apply wood filler to any nail holes and seams, then sand smooth once dry. If you're painting, apply a coat of primer followed by two coats of quality paint. For a natural look, apply wood conditioner followed by stain and a protective finish.
Finally, apply heat-resistant caulk around the fireplace opening to create a seal between the shiplap and the firebox. This step is crucial for safety and prevents drafts.
Reinstall Mantel and Accessories
If you removed a mantel, reinstall it using appropriate hardware that can penetrate through the shiplap and into the wall studs. Consider adding a new mantel that complements your shiplap installation—floating shelves work particularly well with shiplap surrounds.
Complete your project by adding any desired decorative elements such as artwork, mirrors, or seasonal decorations that enhance the new shiplap backdrop.

Design Considerations for Your Shiplap Fireplace
Horizontal vs. Vertical Installation
While horizontal shiplap is the most common orientation, vertical installation can create visual interest and make ceilings appear higher. Horizontal installation emphasizes width and creates a more traditional look, while vertical lines draw the eye upward. Consider your room's proportions and the effect you want to achieve when deciding on orientation.
Board Width and Reveal Size
Shiplap typically comes in widths ranging from 4 to 10 inches. Narrower boards (4-6 inches) create a more refined, detailed appearance, while wider boards (8-10 inches) offer a bolder, more dramatic look. The reveal—the visible gap between boards—also affects the overall appearance. A narrow reveal (1/8 inch) creates a subtle texture, while a wider reveal (1/4 inch or more) makes the individual boards more pronounced.
Finish Options
Your choice of finish dramatically impacts the final appearance of your shiplap fireplace:
| Finish Type | Appearance | Best For | Difficulty |
|---|---|---|---|
| White Paint | Clean, bright, contemporary | Modern, coastal, farmhouse styles | Easy |
| Natural Wood | Warm, rustic, textured | Cabin, rustic, traditional styles | Medium |
| Dark Stain | Rich, dramatic, sophisticated | Contemporary, industrial styles | Medium |
| Gray Wash | Weathered, subtle, relaxed | Coastal, transitional styles | Medium |
| Two-Tone | Unique, custom, eye-catching | Eclectic, modern styles | Advanced |
Detailed Cost Breakdown
The total cost of your DIY shiplap fireplace project will vary based on the size of your installation, the quality of materials chosen, and whether you need to purchase or rent tools. Here's a comprehensive breakdown:
| Item | Budget Option | Mid-Range Option | Premium Option |
|---|---|---|---|
| Shiplap Boards | $80 (Pine, 6") | $150 (Cedar, 8") | $300 (Reclaimed, 8") |
| Fasteners & Adhesive | $15 | $25 | $35 |
| Finish (Paint/Stain) | $25 (Basic paint) | $45 (Quality paint) | $80 (Premium stain + sealer) |
| Trim Pieces | $15 (MDF) | $30 (Pine) | $60 (Hardwood) |
| Tools (if needed) | $0 (Borrowed) | $75 (Rental) | $250+ (Purchase) |
| Total Estimated Cost | $135-$235 | $325-$425 | $725-$1,025 |
If you're working with a tight budget, consider using MDF shiplap instead of solid wood. While it doesn't offer the same authentic wood grain, it's significantly cheaper (around $1-$2 per square foot) and takes paint beautifully. For a smaller fireplace, you might complete the entire project for under $100 in materials.
Common Mistakes to Avoid
Skipping the Planning Phase
Rushing into installation without proper planning often results in uneven boards, narrow pieces at the edges, or misaligned reveals. Take time to measure twice and plan your layout before making any cuts.
Ignoring Clearance Requirements
Installing combustible materials too close to the fireplace opening creates a serious fire hazard. Always follow the manufacturer's specified clearance requirements for your specific fireplace type.
Not Accounting for Expansion
Wood expands and contracts with changes in humidity and temperature. Leave small gaps at the edges and don't nail boards too tightly together to allow for this natural movement.
Using Inadequate Fasteners
Using nails that are too short or too few can result in loose boards that may warp or separate over time. Use appropriate length fasteners and space them adequately for secure installation.
Neglecting the Finish Work
Proper filling, sanding, and finishing are what separate an amateur-looking installation from a professional one. Don't rush these final steps—they're crucial for achieving polished results.
Maintaining Your Shiplap Fireplace
Proper maintenance ensures your shiplap fireplace remains beautiful for years to come:
Regular Cleaning
Dust your shiplap regularly with a soft cloth or duster. For painted surfaces, occasional wiping with a damp cloth is usually sufficient. Avoid harsh chemicals that could damage the finish.
Inspect Annually
Check for any loose boards, separation, or signs of heat damage near the fireplace opening. Address issues promptly to prevent further damage. This is especially important for wood-burning fireplaces.
Touch Up as Needed
Keep leftover paint or stain for touch-ups. Small chips or scratches can be easily repaired by lightly sanding the area and applying a matching finish.
Monitor Moisture Levels
Excessive humidity can cause wood shiplap to warp or develop mold. Ensure proper ventilation in the room and address any moisture issues promptly. This is particularly important for ethanol fireplaces which can produce moisture.
Alternative Options to Consider
While shiplap is an excellent choice for many homeowners, these alternatives might better suit specific situations:
Tongue and Groove Paneling
Similar to shiplap but with a different joint profile, tongue and groove offers a smoother, more refined appearance. It's an excellent option if you prefer less visible gaps between boards.
Reclaimed Wood Planks
For maximum character and a truly unique look, consider reclaimed wood planks. While more expensive, they offer unmatched authenticity and history.
Faux Shiplap
If you're renting or want a temporary solution, consider peel-and-stick shiplap panels. While not as authentic, they can be removed without damaging walls and cost significantly less.
Tile with Shiplap Accent
Combine the heat resistance of tile near the fireplace opening with shiplap on the surrounding walls for a hybrid approach that balances safety and aesthetics.
Final Thoughts on Your DIY Shiplap Fireplace
A DIY shiplap fireplace project offers an achievable way to dramatically transform your living space. With proper planning, quality materials, and attention to detail, even beginning DIYers can create a stunning focal point that adds character and value to their home.
Remember that the key to a successful installation lies in thorough preparation and patience during execution. Take the time to plan your layout, invest in quality materials within your budget, and don't rush the finishing process. The result will be a beautiful shiplap fireplace that you can be proud of for years to come.
Whether you're looking to create a cozy living room retreat, add character to a bedroom sanctuary, or enhance your fireplace wall, a shiplap surround offers versatility, beauty, and a satisfying DIY experience that's hard to match with other materials.